Skip to content
  • There are no suggestions because the search field is empty.

Understanding and Configuring Survey Feature

Watch the video below for the tutorial:

00:00: Collecting patient. Feedback is a powerful way to understand their experiences and

00:04: improve the quality of care in kilogram.

00:07: You can configure surveys to gather structure ratings, open-ended comments,

00:11: or a combination of both.

00:14: The survey settings and patient care Journey.

00:16: Now, give you flexibility to decide how and when patients are asked

00:20: for feedback, whether you want to run full, surveys, capture comments only

00:24: or follow up on negative ratings, you can choose the approach that best fits

00:28: your practices workflow.

00:31: By customizing these options you can ensure patients, always have

00:35: a way to share their thoughts. Keep surveys, simple, or detailed depending on

00:39: your needs personalize. The messaging patients.

00:41: See when asked for feedback Target follow-up.

00:44: Only, when patients report negative experiences, this guide explains

00:49: each survey option and how you can configure it for your practice.

00:52: If you don't see this feature contact your practice admin or customer

00:56: support at support at Kiera graham.com,

01:00: So, let's get started.

01:02: On your kilogram app dashboard navigate to the settings tab?

01:07: Next, find and look for the patient care Journey option.

01:11: You'll find various options here. However, let's first discuss the

01:15: different survey options available.

01:18: Here you'll see the first survey option and how to edit those templates.

01:22: Let's discuss first. The rich for all and basic plus Rich

01:26: for negative review survey option.

01:29: When you use the rich for all or basic plus Rich for negative review

01:33: survey options, you'll see a pop-up where you can add or edit Rich survey

01:37: questions these questions. Let you collect structured feedback on areas like staff

01:42: providers or wait time. At least one question must always

01:46: remain to avoid errors. Removing all questions would cause an error.

01:50: When a patient open, the link. So the system prevents deleting the last one below.

01:54: The questions you'll find the direct feedback messaging field.

01:58: This allows you to customize the open-ended message patients.

02:02: See when leaving comments, the text is limited to 500

02:06: characters sync to cross both the rich survey and feedback modals and

02:10: comes with a default template. You can edit to fit your practices tone.

02:15: Here's a sample of the survey. The patient receives for either Rich.

02:17: For all or basic plus Rich for negative review.

02:21: Survey options.

02:23: If you choose feedback for all know, ratings are collected patience

02:27: simply receive a feedback link where they can type in their thoughts freely.

02:31: This is perfect for practices that prefer open-ended comments rather

02:35: than structured scores.

02:38: Here's a sample of the patient's responses for the feedback for all survey option.

02:43: Selecting basic only keeps things, simple patients.

02:46: Just get the basic survey with a quick satisfaction rating.

02:49: It's the fastest way to measure General sentiment without extra

02:53: questions.

02:55: Here are the additional survey settings.

02:58: First up is EMR status trigger.

03:01: This is where you decide which EMR status will actually send

03:05: out the survey like when an appointment is marked completed.

03:09: Next, we have appointment types here, you can pick which kinds of visits,

03:13: get surveys. Maybe you only want them for follow-ups or maybe for

03:17: all types. It's up to you.

03:20: Then there's delay. This just means how long after the appointment the

03:24: survey will go out. For example, you might set it to one hour later.

03:29: Retry, gives you two choices, either.

03:32: Keep sending the survey until the patient answers or just send one for

03:36: every visit.

03:38: Now re-enroll is Handy. It sets how many days after patient

03:42: responds before they're eligible to get another survey so you don't overwhelm

03:46: them with too many requests.

03:49: The negative rating threshold is the score you decide is not good enough.

03:53: If a patient's response is that or below that number it, can

03:57: trigger a follow-up like a rich survey or feedback form.

04:01: And finally Trigger Time. This is about when the survey goes out

04:05: right after the appointment or only once the visit is marked as completed.

04:10: And that's it. You've now seen how to set up, surveys, customized

04:14: feedback options and adjust the additional settings to fit your practices needs.

04:18: Remember these tools are here to help you capture patient experiences

04:23: in the way that works. Best for your workflow, take a moment to explore the settings.

04:27: Fine-tune your messaging and start collecting feedback.

04:30: That makes a difference. Thanks for watching.


A. Step-by-step instructions

Collecting patient feedback is a powerful way to understand their experiences and improve the quality of care. In Curogram, you can configure surveys to gather structure ratings, open-ended comments, or a combination of both.
 

Go to app.curogram.com

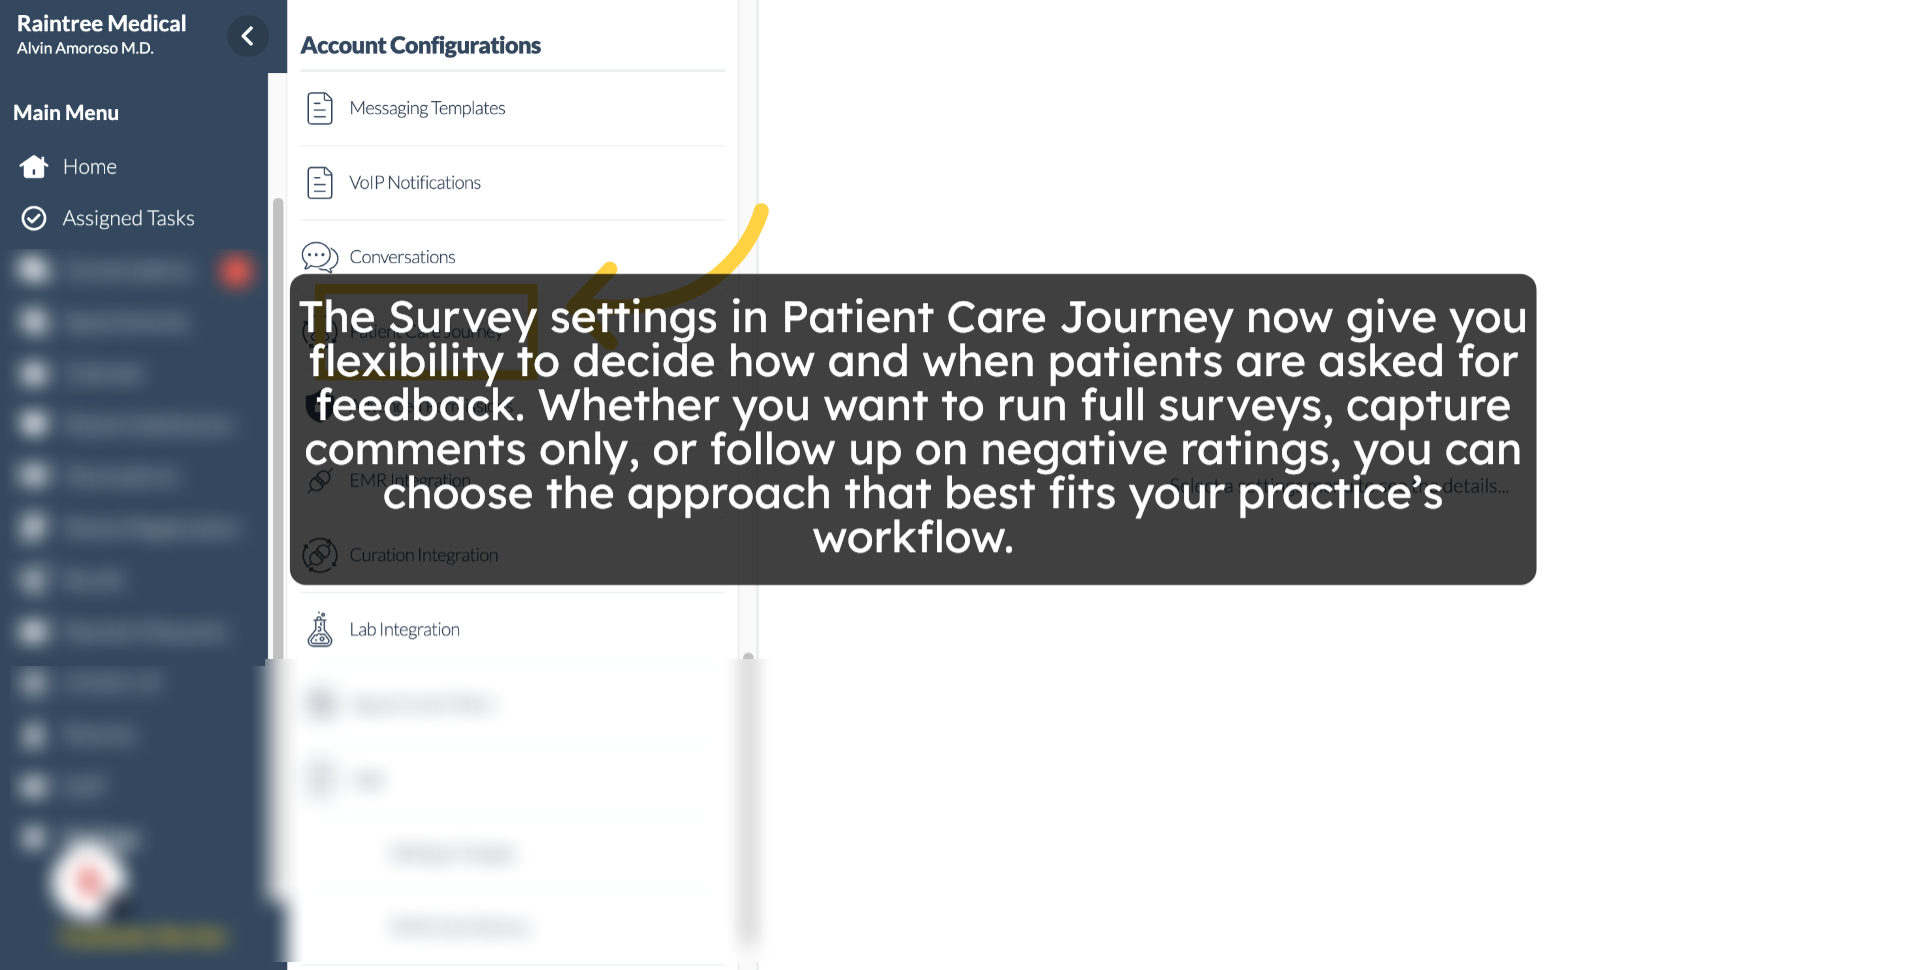
1. Survey Settings in Patient Care Journey

The survey settings and patient care Journey. Now, give you flexibility to decide how and when patients are asked for feedback, whether you want to run full, surveys, capture comments only or follow up on negative ratings, you can choose the approach that best fits your practices workflow.

Click 'Patient Care Journey'

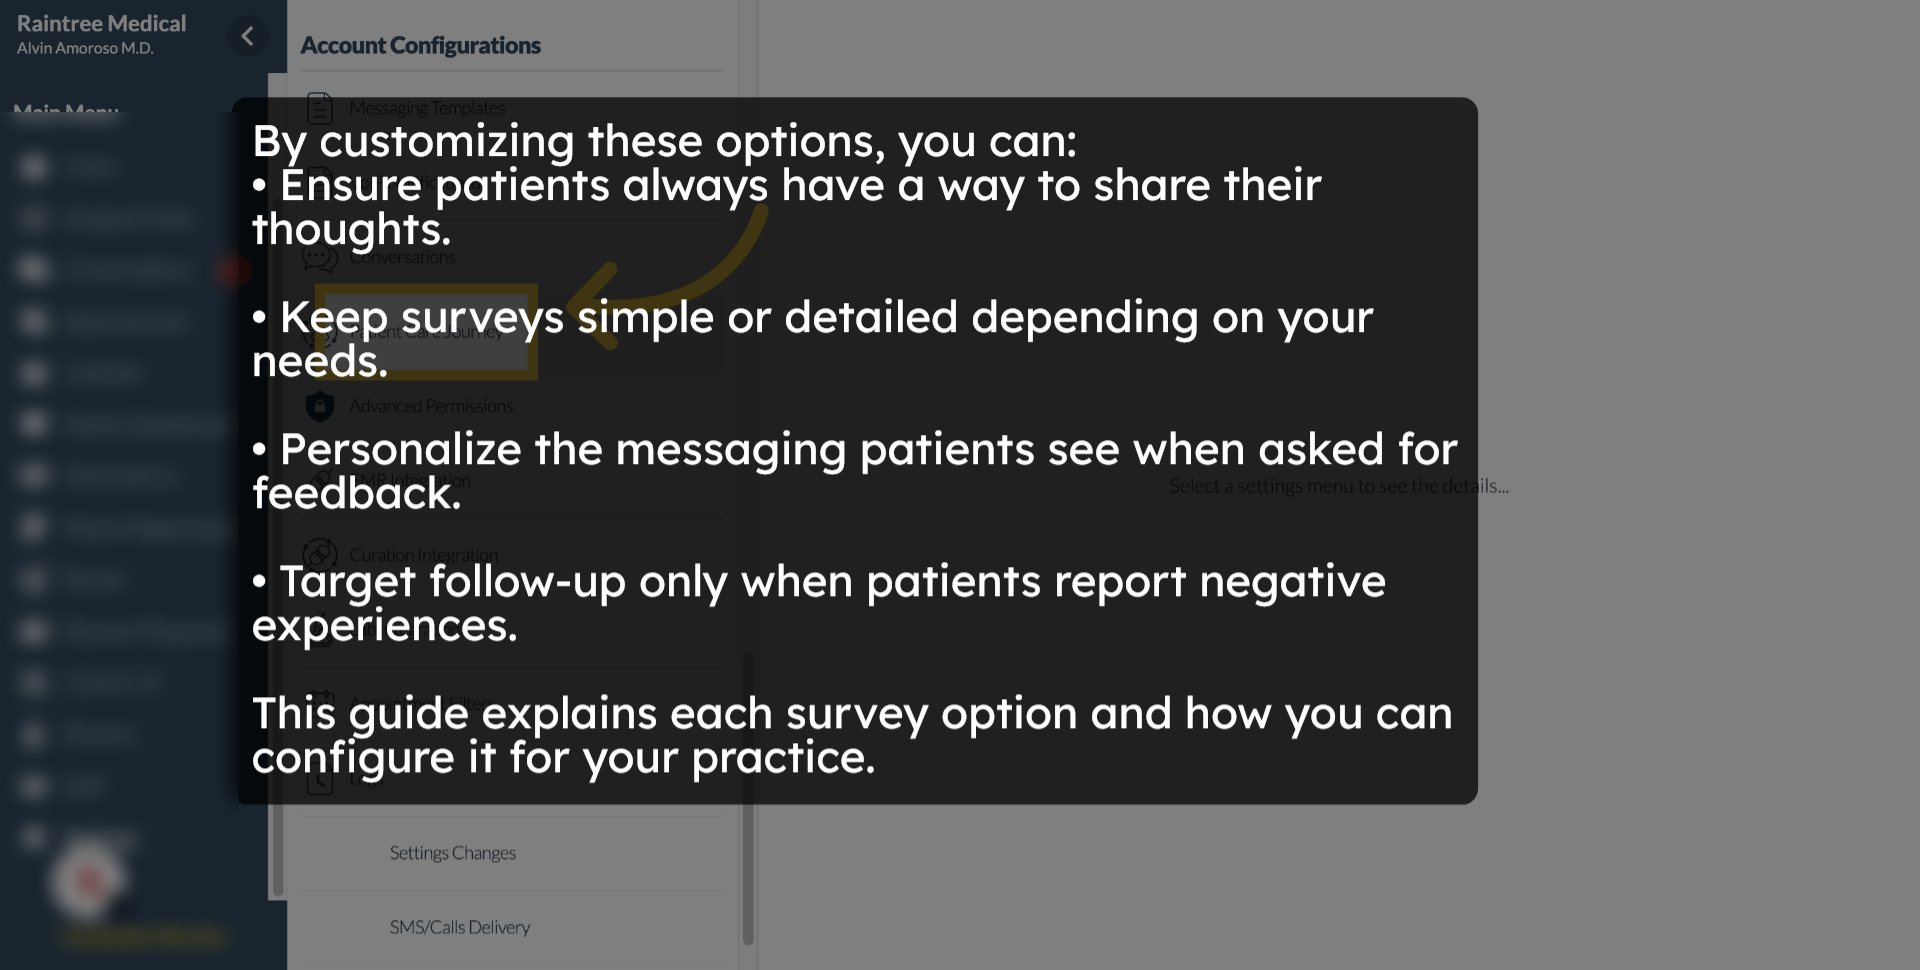
2. Customizing Survey Options

By customizing these options ,you can ensure patients:
    1. Always have a way to share their thoughts.
    2. Keep surveys, simple, or detailed depending on your needs.
    3. Personalize the messaging patients see when asked for feedback.
    4. Target follow-up only when patients report negative experiences.


This guide explains each survey option and how you can configure it for your practice.


If you don't see this feature contact your practice admin or customer support at support@curogram.com.

Click 'Patient Care Journey'

3. Accessing Survey Configuration

So, let's get started.

Click 'Patient Care Journey'


Click 'Patient Care Journey'
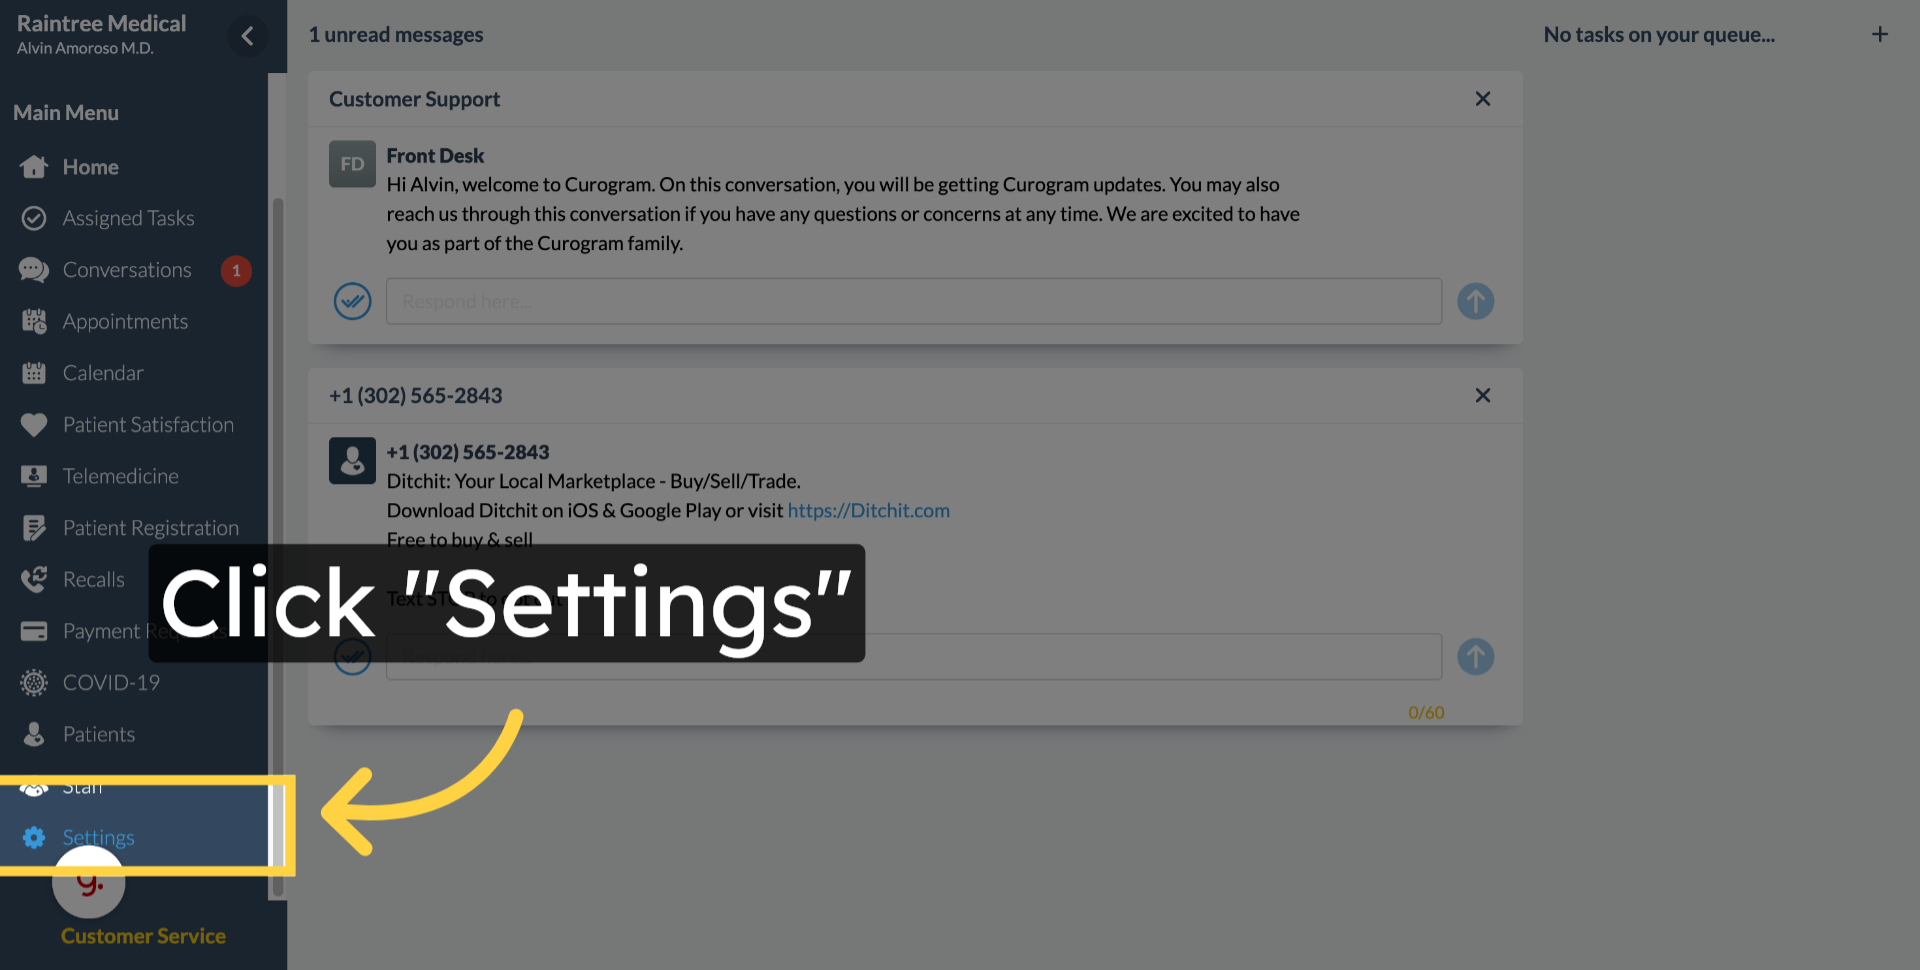
4. Navigate to Settings tab.

On your Curogram app dashboard navigate to the settings tab.

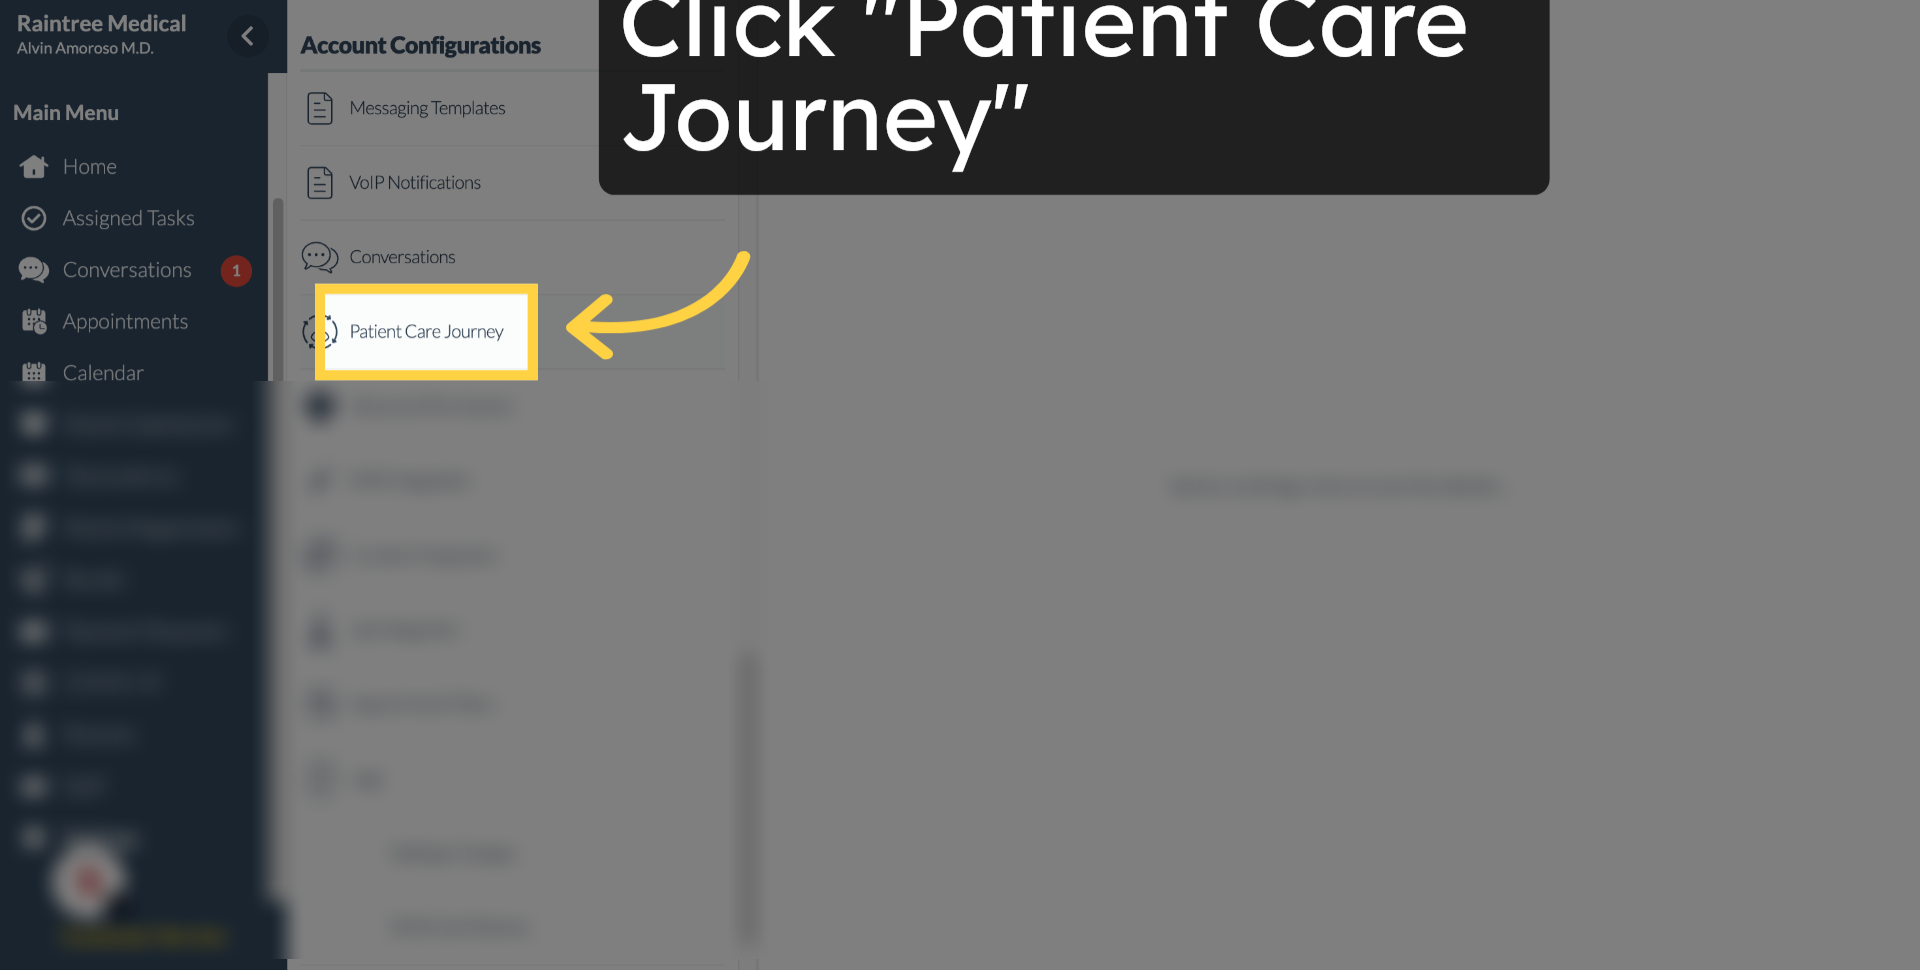
5. Click "Patient Care Journey"

Next, find and look for the "Patient Care Journey" option.
Click 'Patient Care Journey'

Click 'Patient Care Journey'6. Navigating the Survey Options

You'll find various options here. However, let's first discuss the different survey options available.


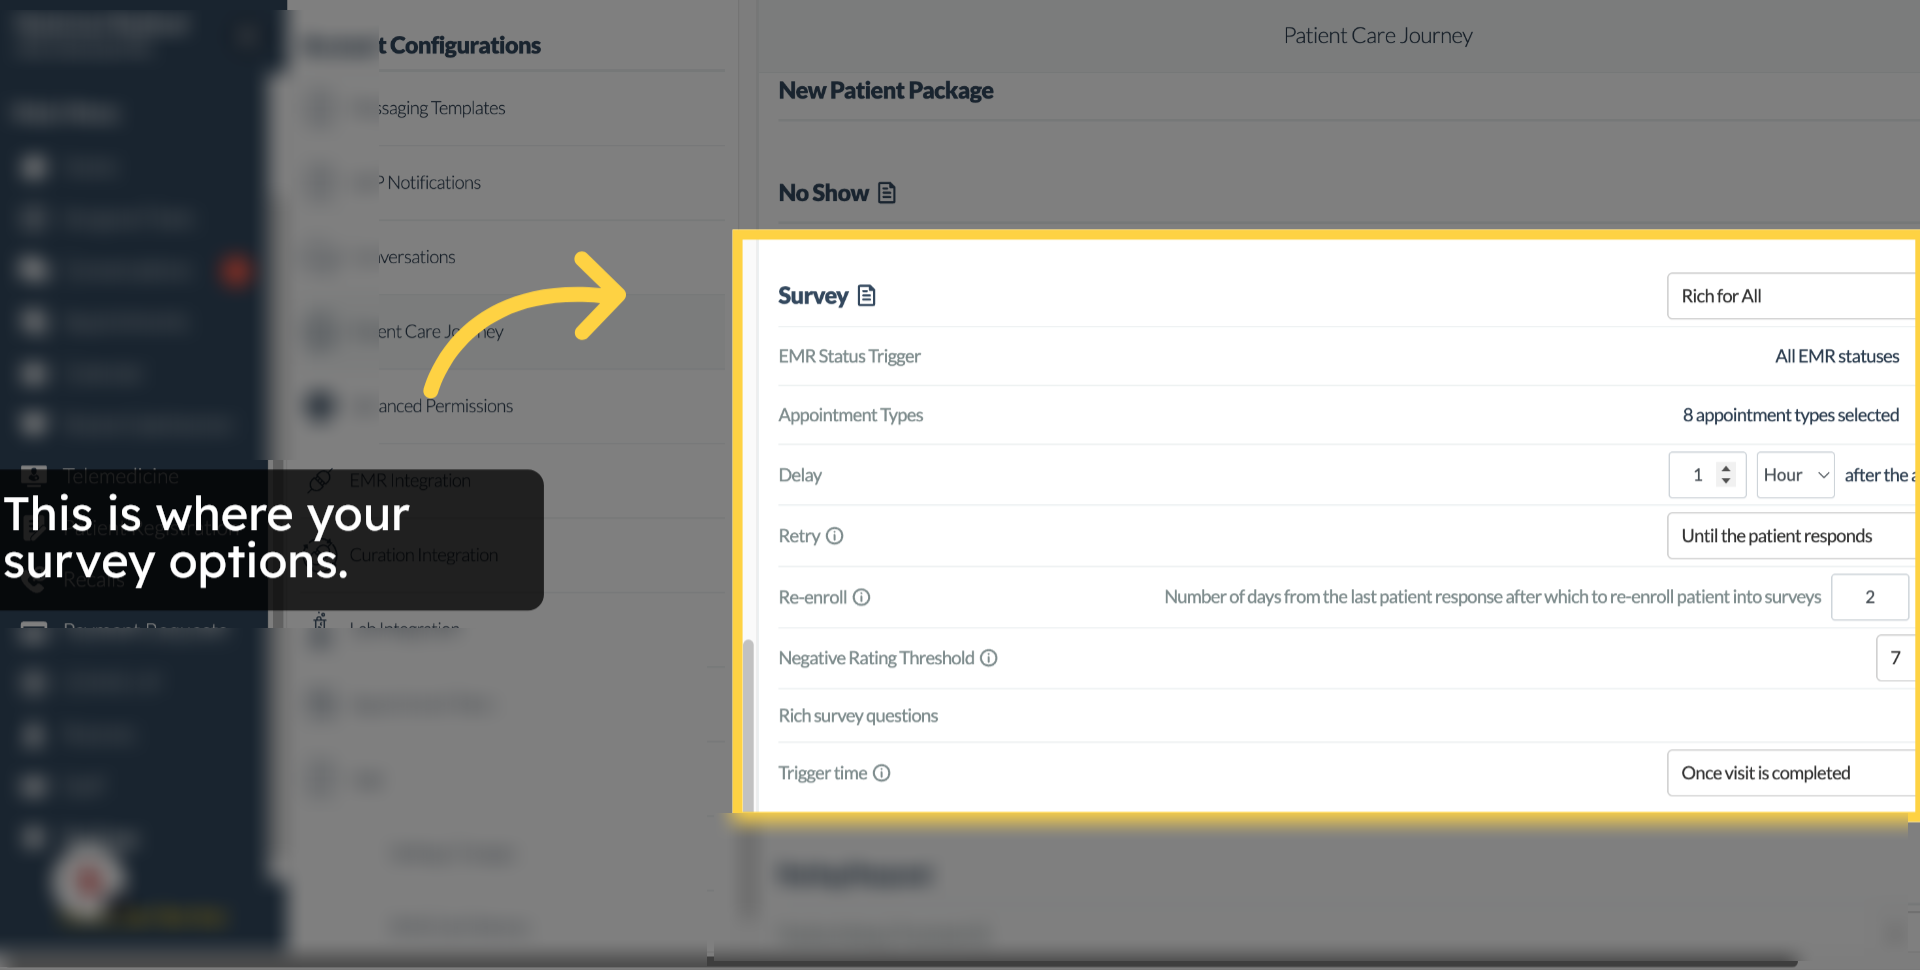
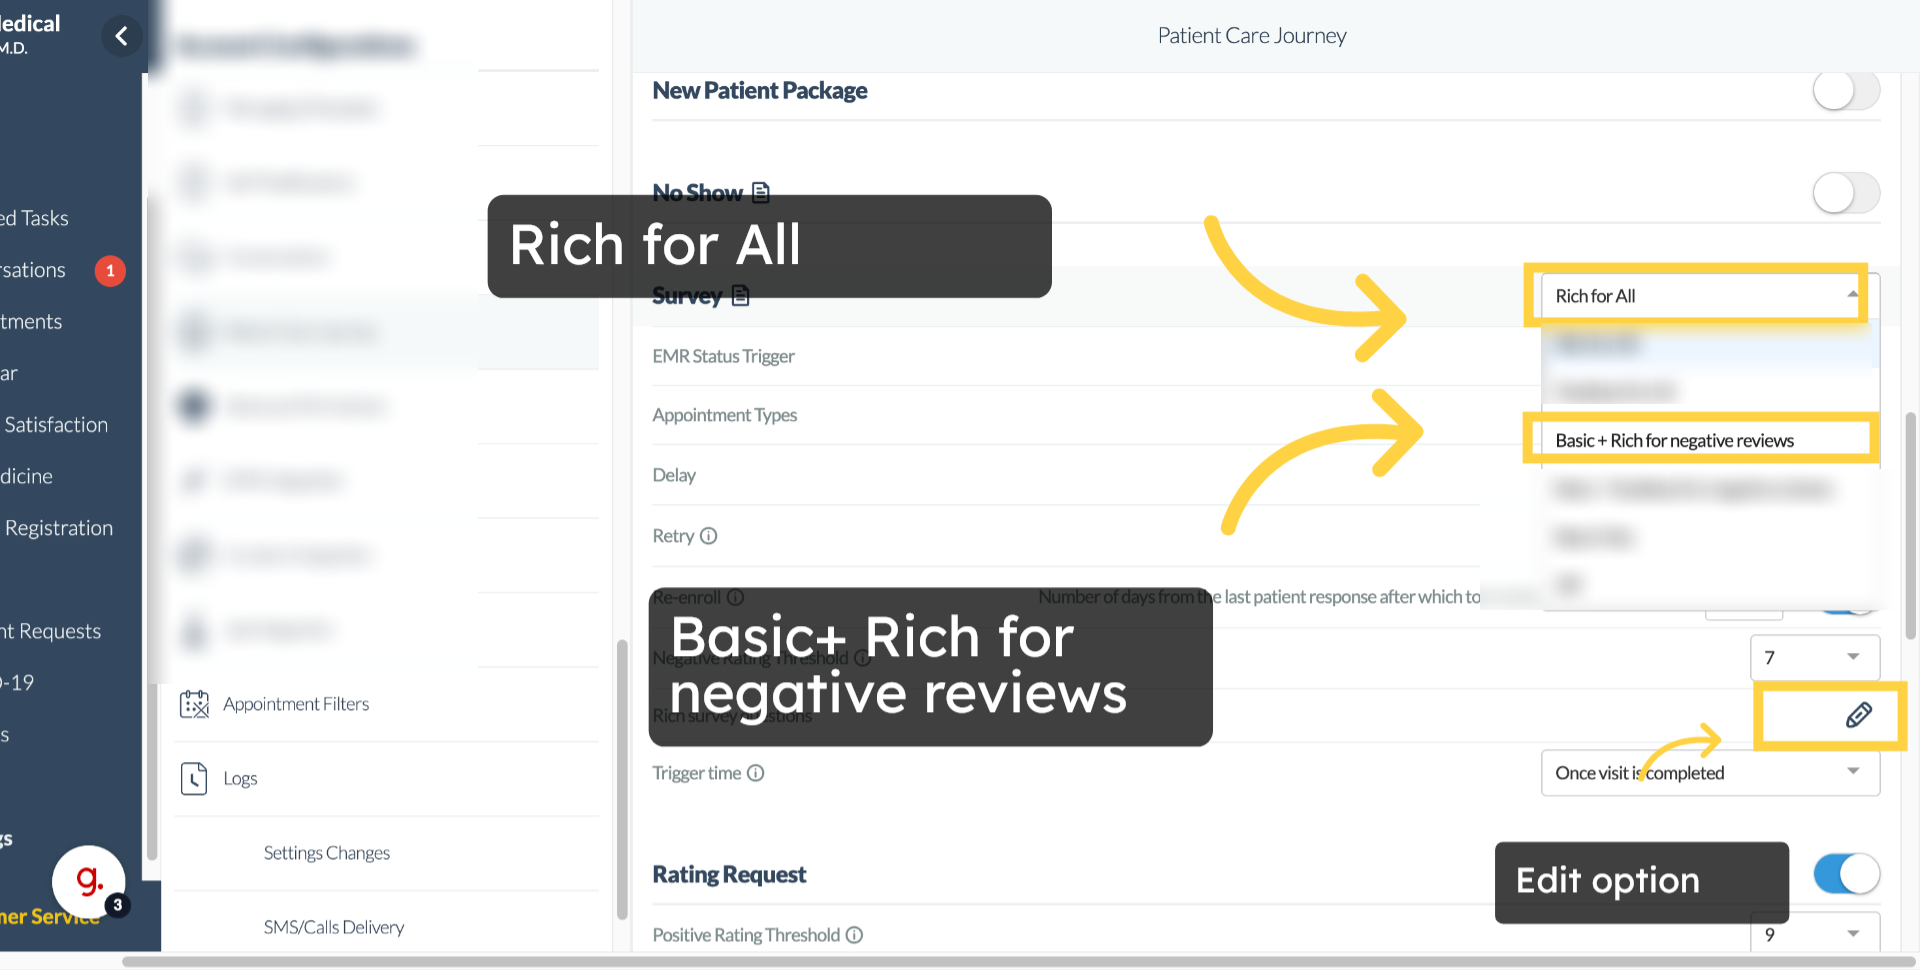
7. Discussing"Rich for All" or "Basic+Rich for Negative review" option.

Here, you'll see the first survey option and how to edit those templates. Let's discuss first. The "Rich for all" and "Basic+Rich for negative review" survey option.

8. Configuring "Rich for All" or "Basic+Rich for Negative review"

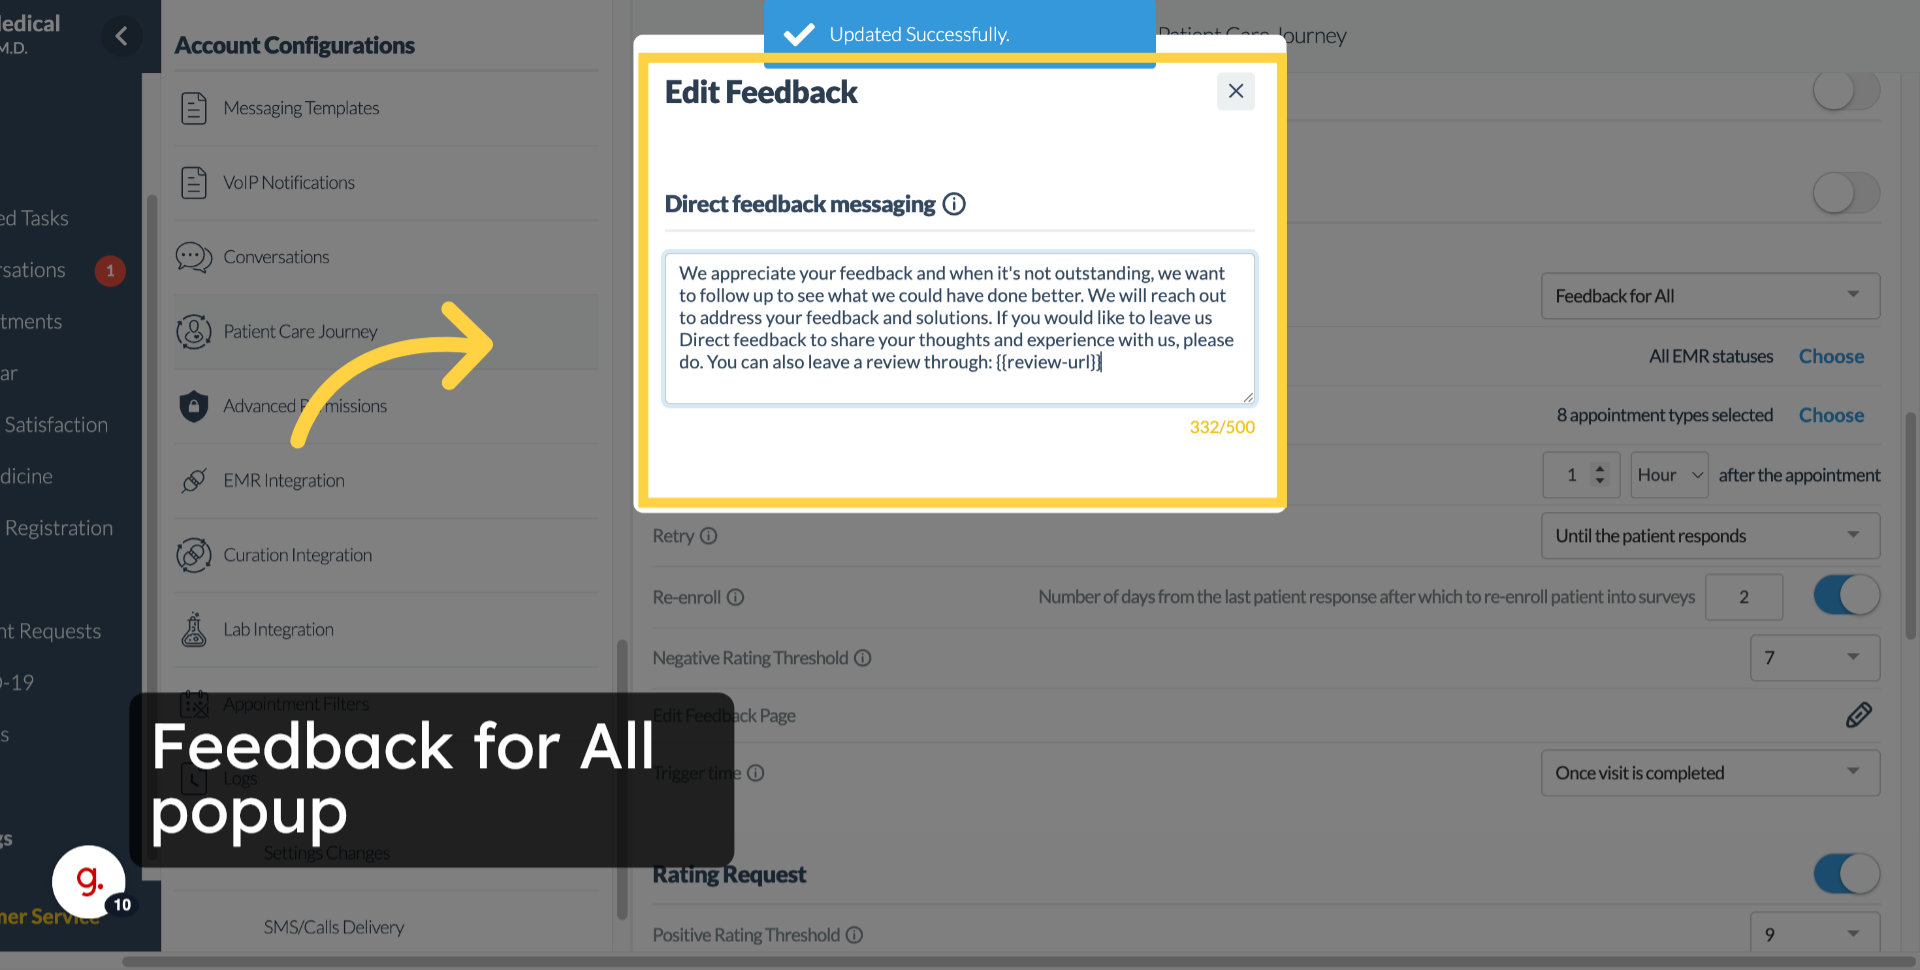
When you use the rich for all or basic plus Rich for negative review survey options, you'll see a pop-up where you can add or edit Rich survey questions. These questions lets you collect structured feedback on areas like staff providers or wait time. At least one question must always remain to avoid errors. Removing all questions would cause an error when a patient open the link. So, the system prevents deleting the any last remaining question.


Next, the template you'll find the direct feedback messaging field. This allows you to customize the open-ended message patients see when leaving comments. The text is limited to 500 characters to sync cross both the rich survey and feedback modals and comes with a default template. You can edit to fit your practices tone.

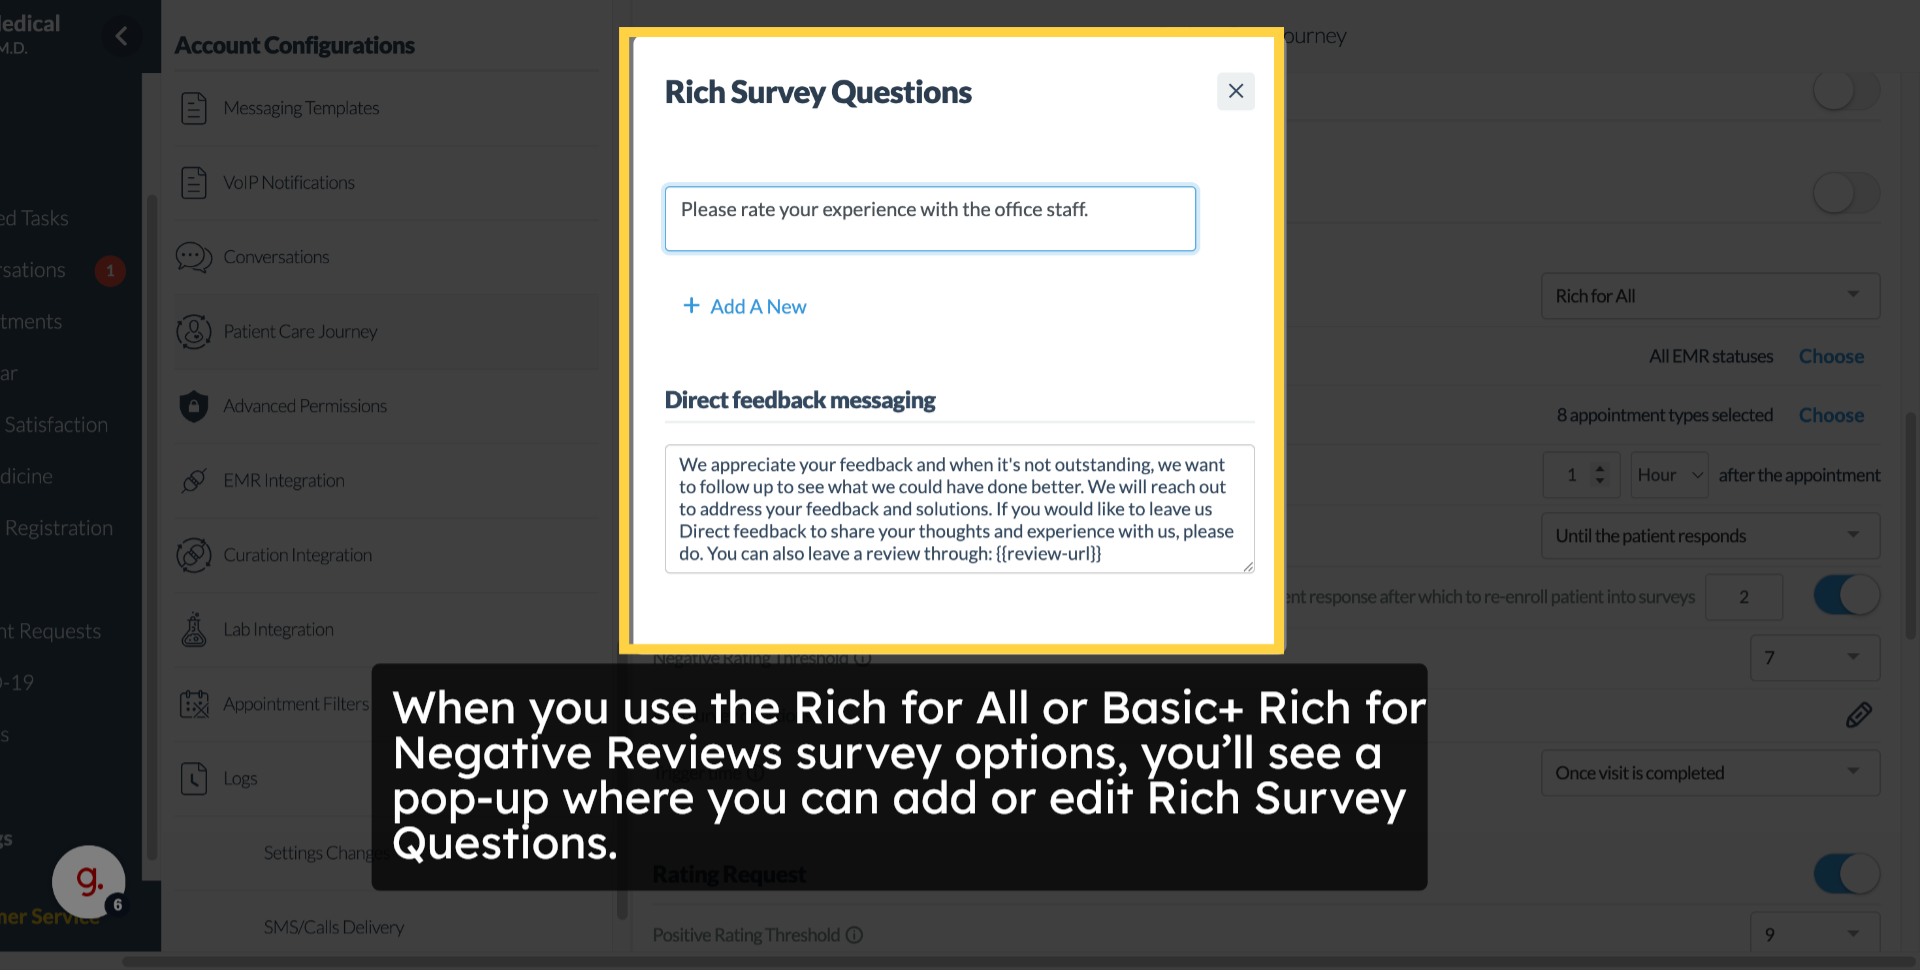
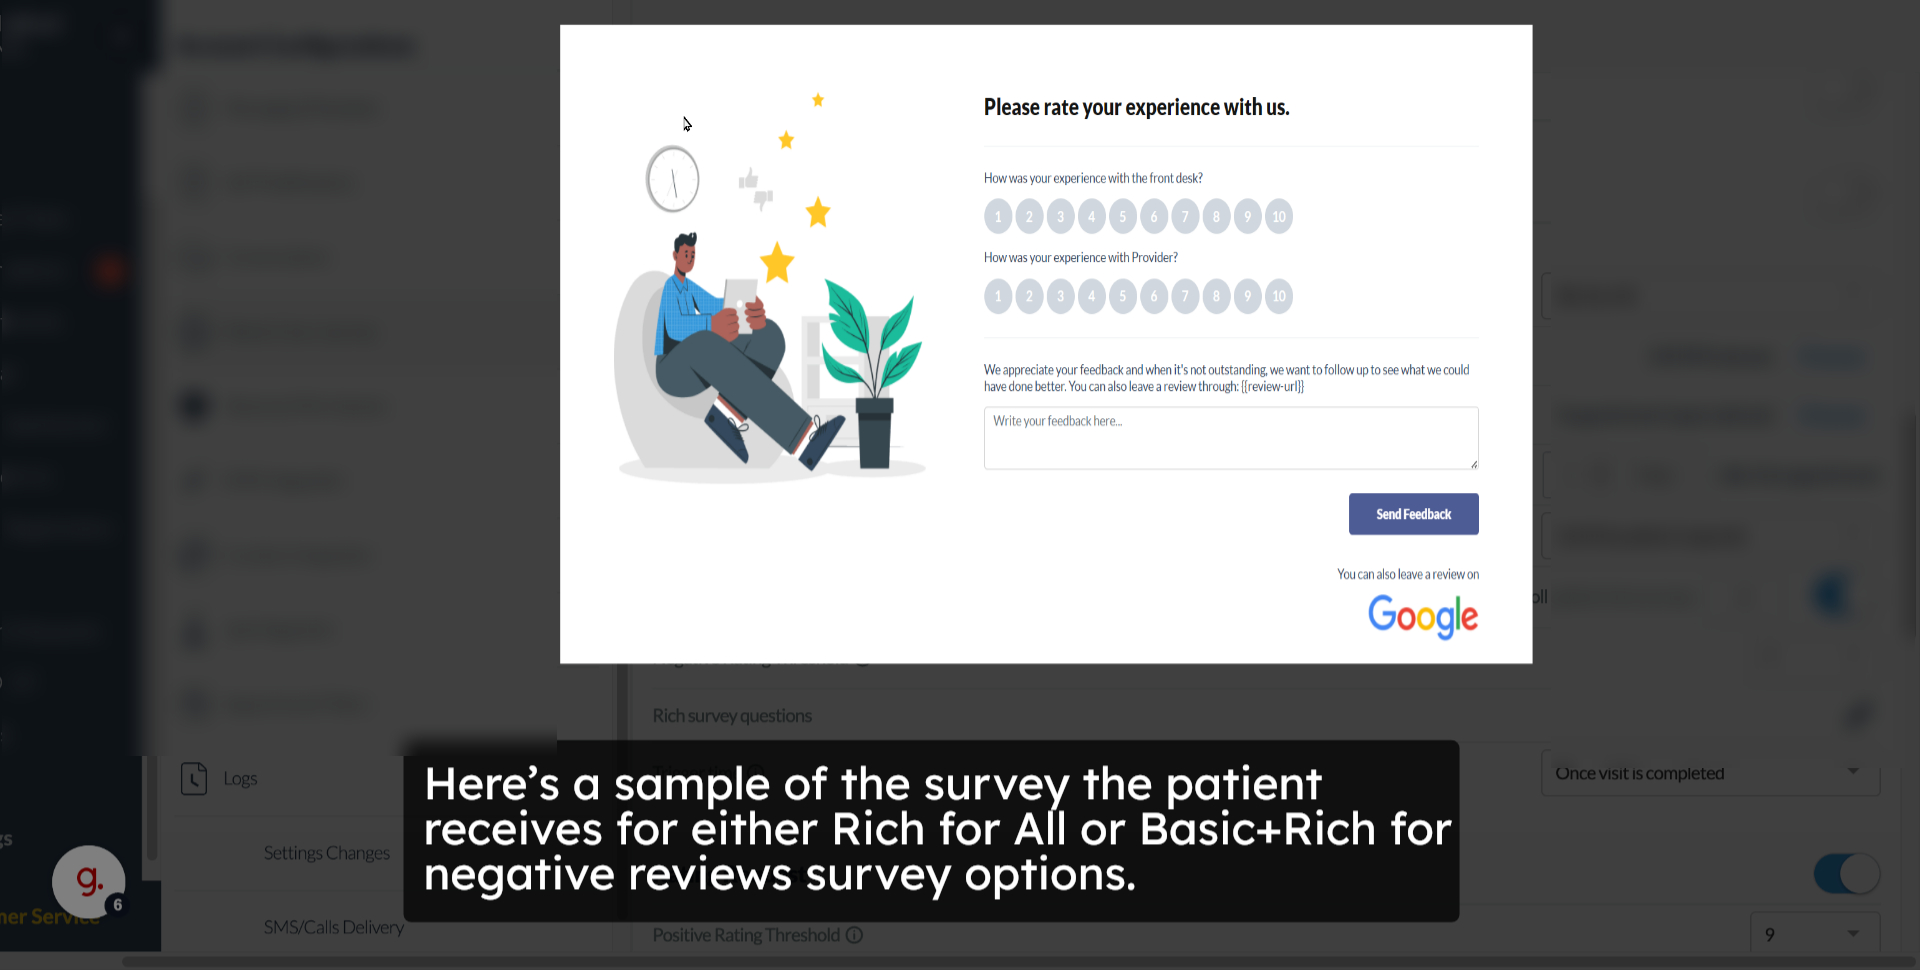
9. Sample for "Rich for All" or "Basic+Rich for Negative review"

Here's a sample of the survey. The patient receives for either Rich. For all or basic plus Rich for negative review. Survey options.
Click here

Click here10. Feedback for All Survey Option

If you choose feedback for all know, ratings are collected patience simply receive a feedback link where they can type in their thoughts freely. This is perfect for practices that prefer open-ended comments rather than structured scores.

Click here

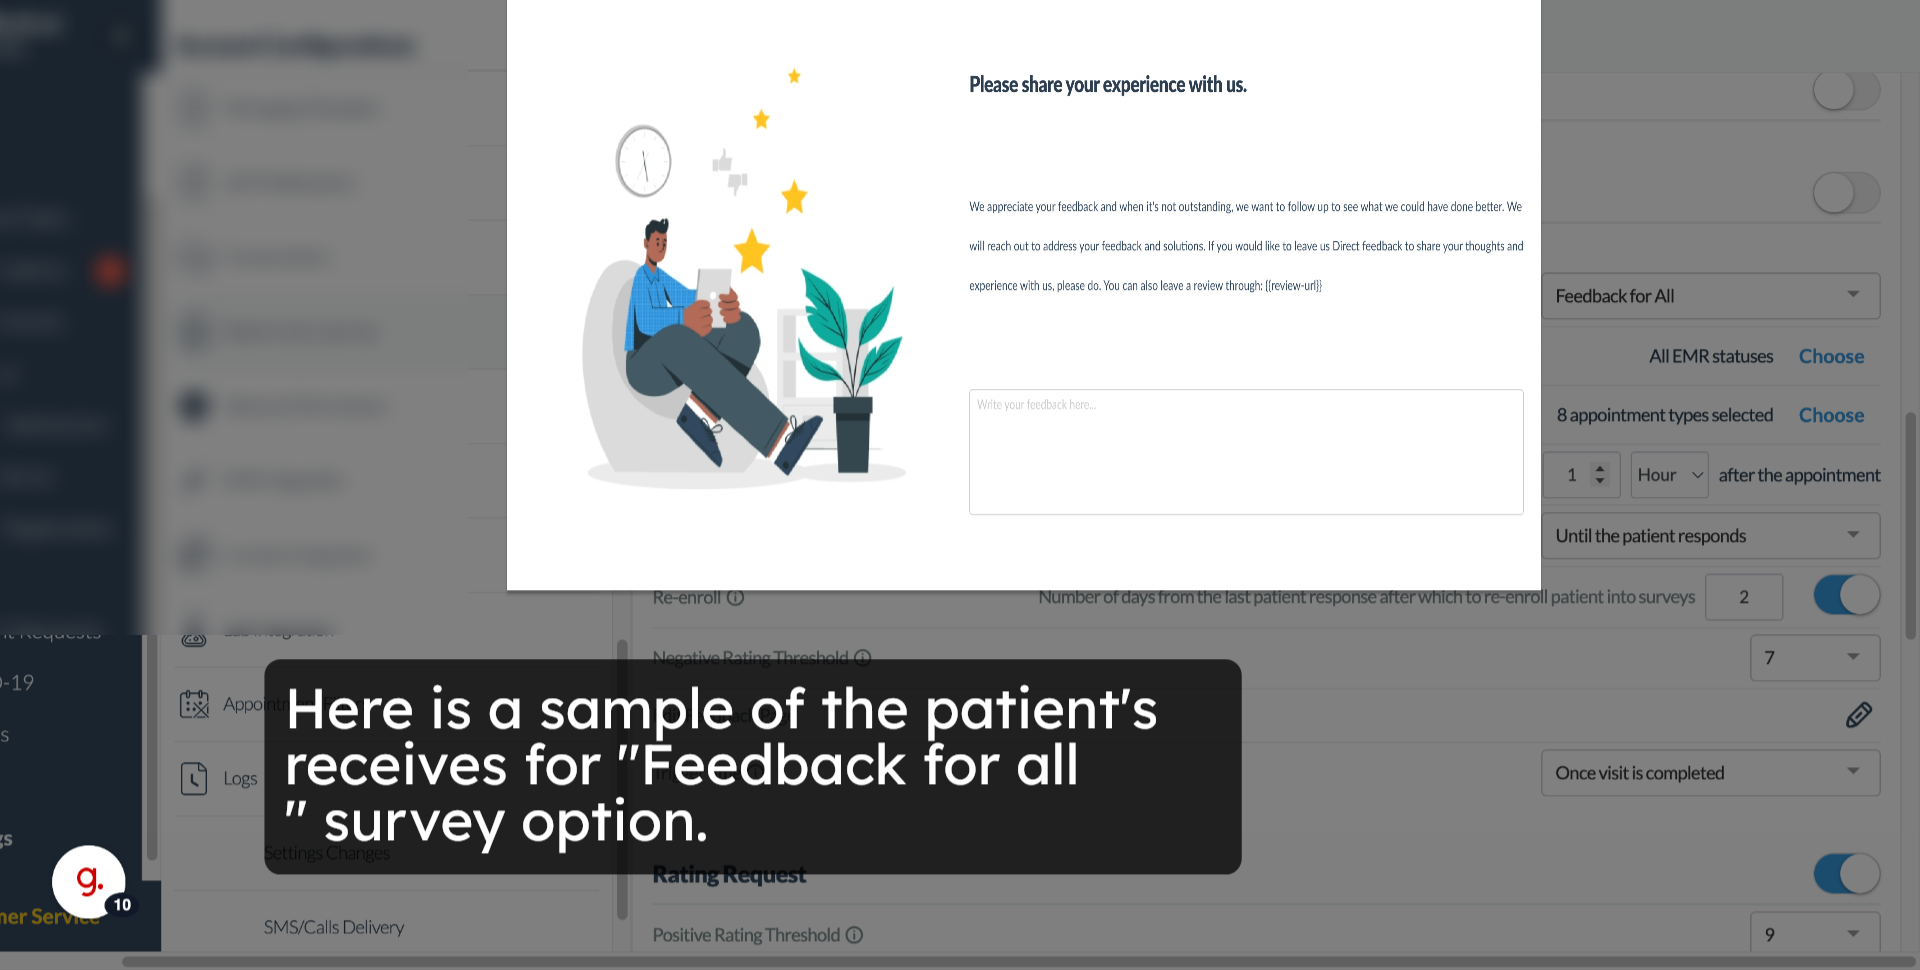
11. Sample for "Feedback for All' Survey Option

Here's a sample of the patient's responses for the feedback for all survey option.

12. Basic Only Option

Selecting basic only keeps things, simple patients. Just get the basic survey with a quick satisfaction rating. It's the fastest way to measure General sentiment without extra questions.

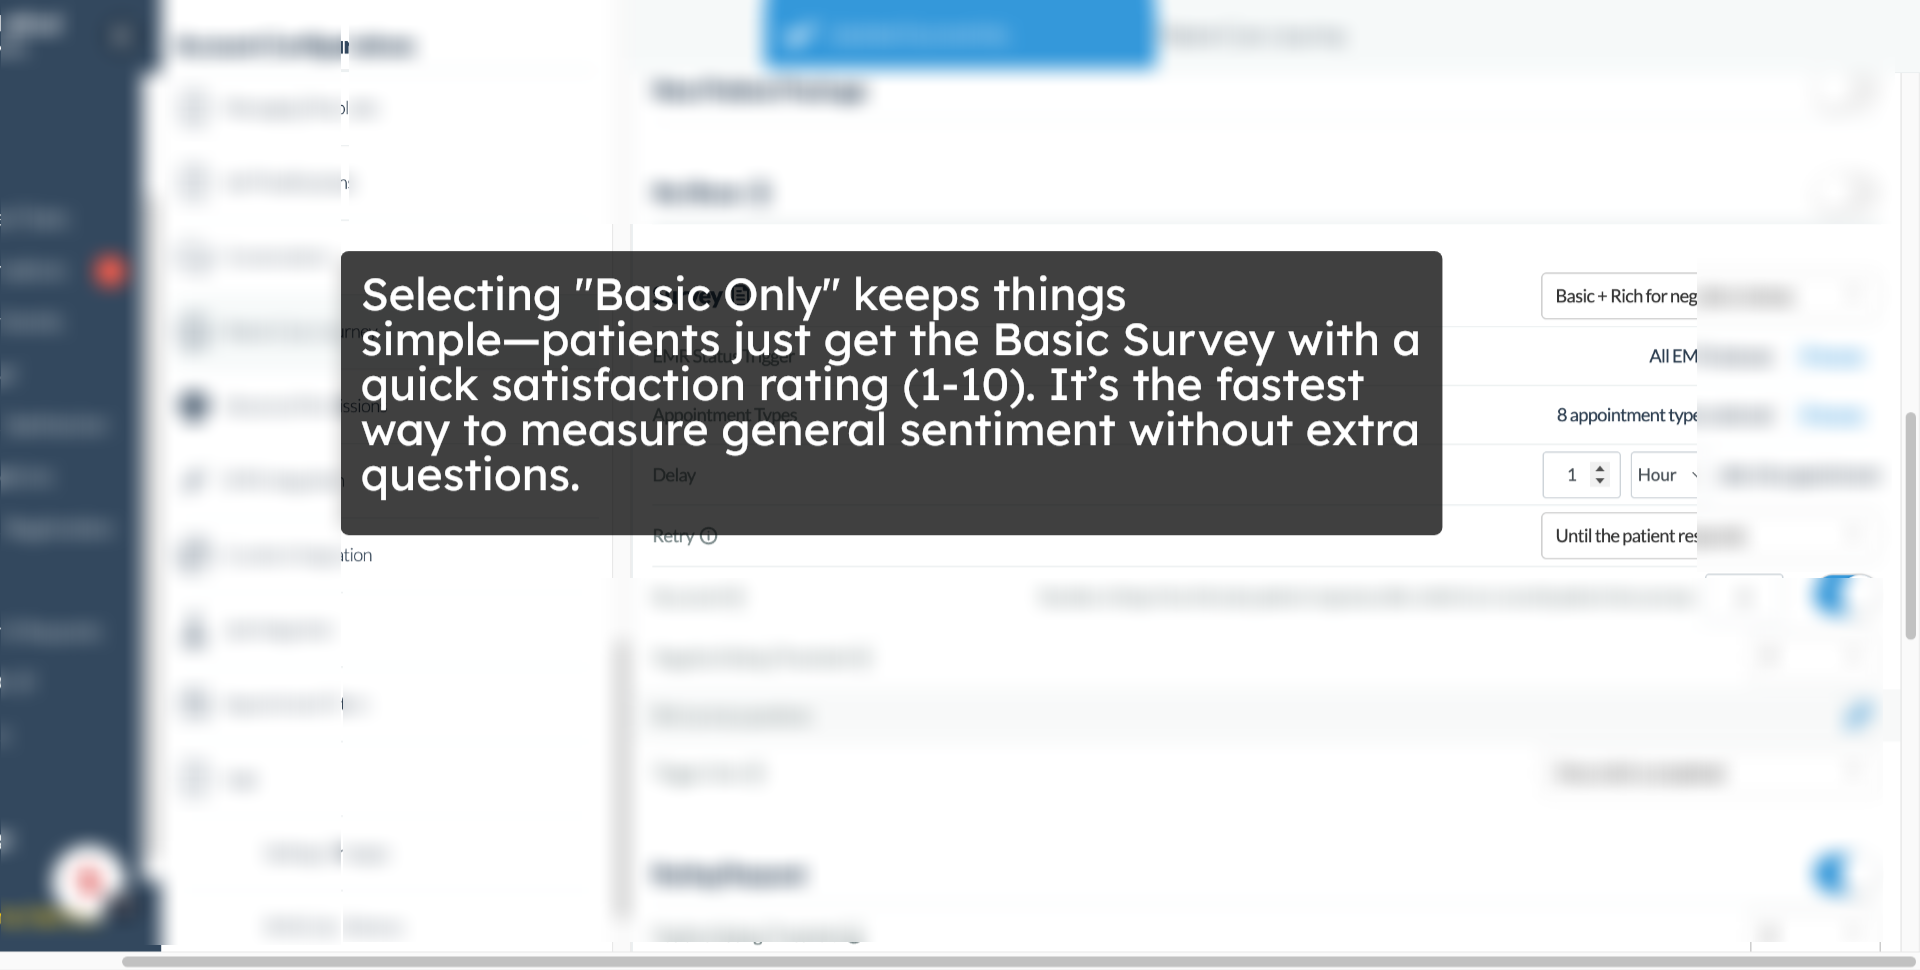
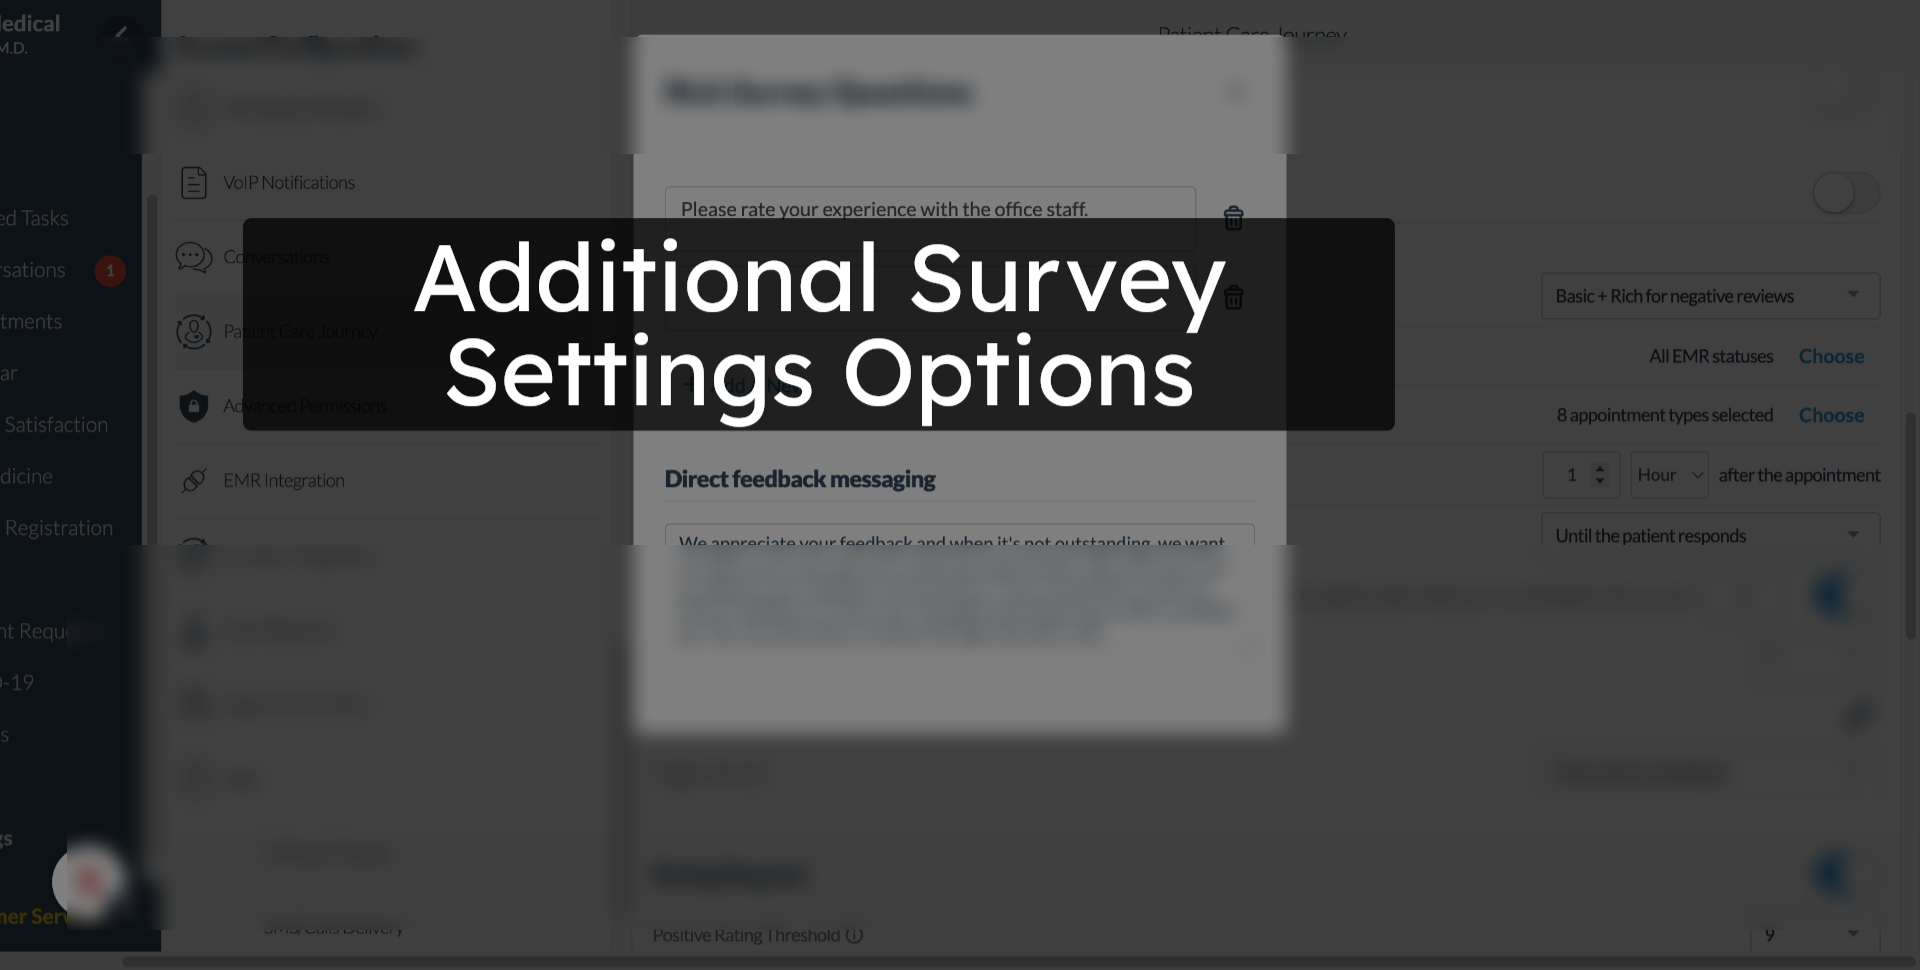
13. Additional Survey Settings

Here are the additional survey settings.

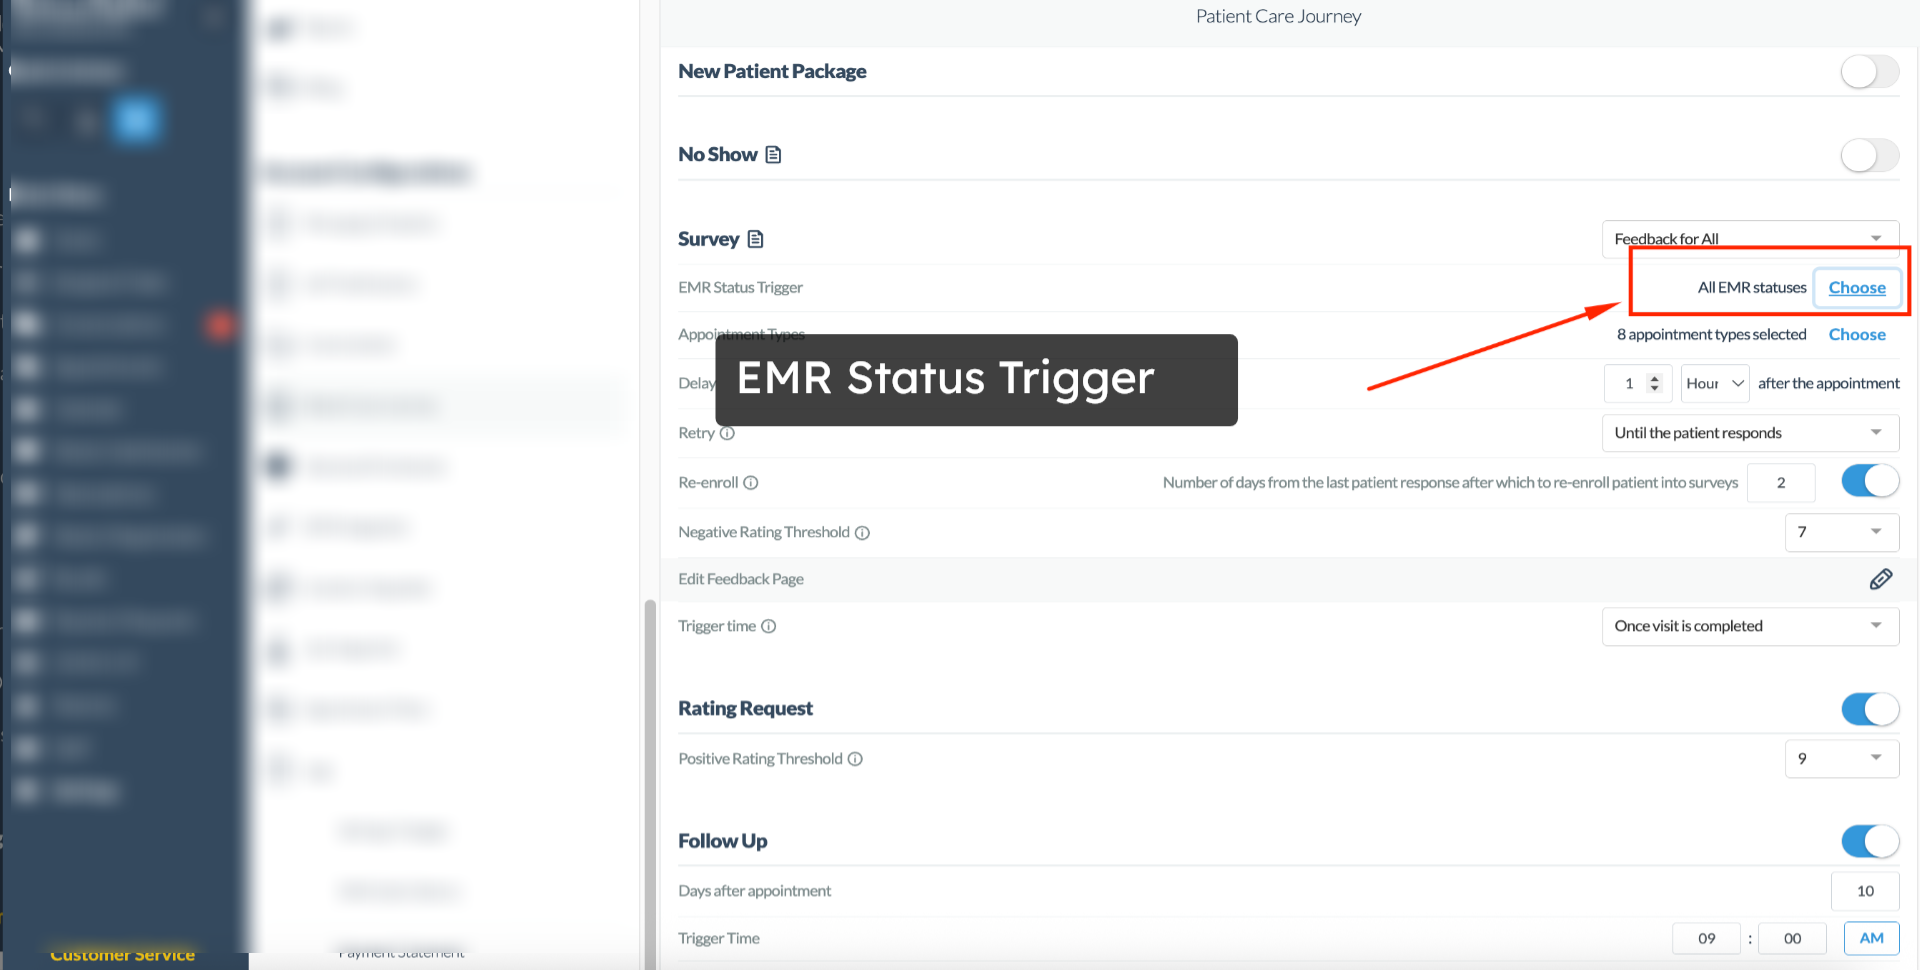
14. EMR Status Trigger

First up is EMR status trigger. This is where you decide which EMR status will actually send out the survey like when an appointment is marked completed.

15. Appointment Types

Next, we have appointment types. Here you can pick which kinds of visits, get surveys. Maybe you only want them for follow-ups or maybe for all types. It's up to you.
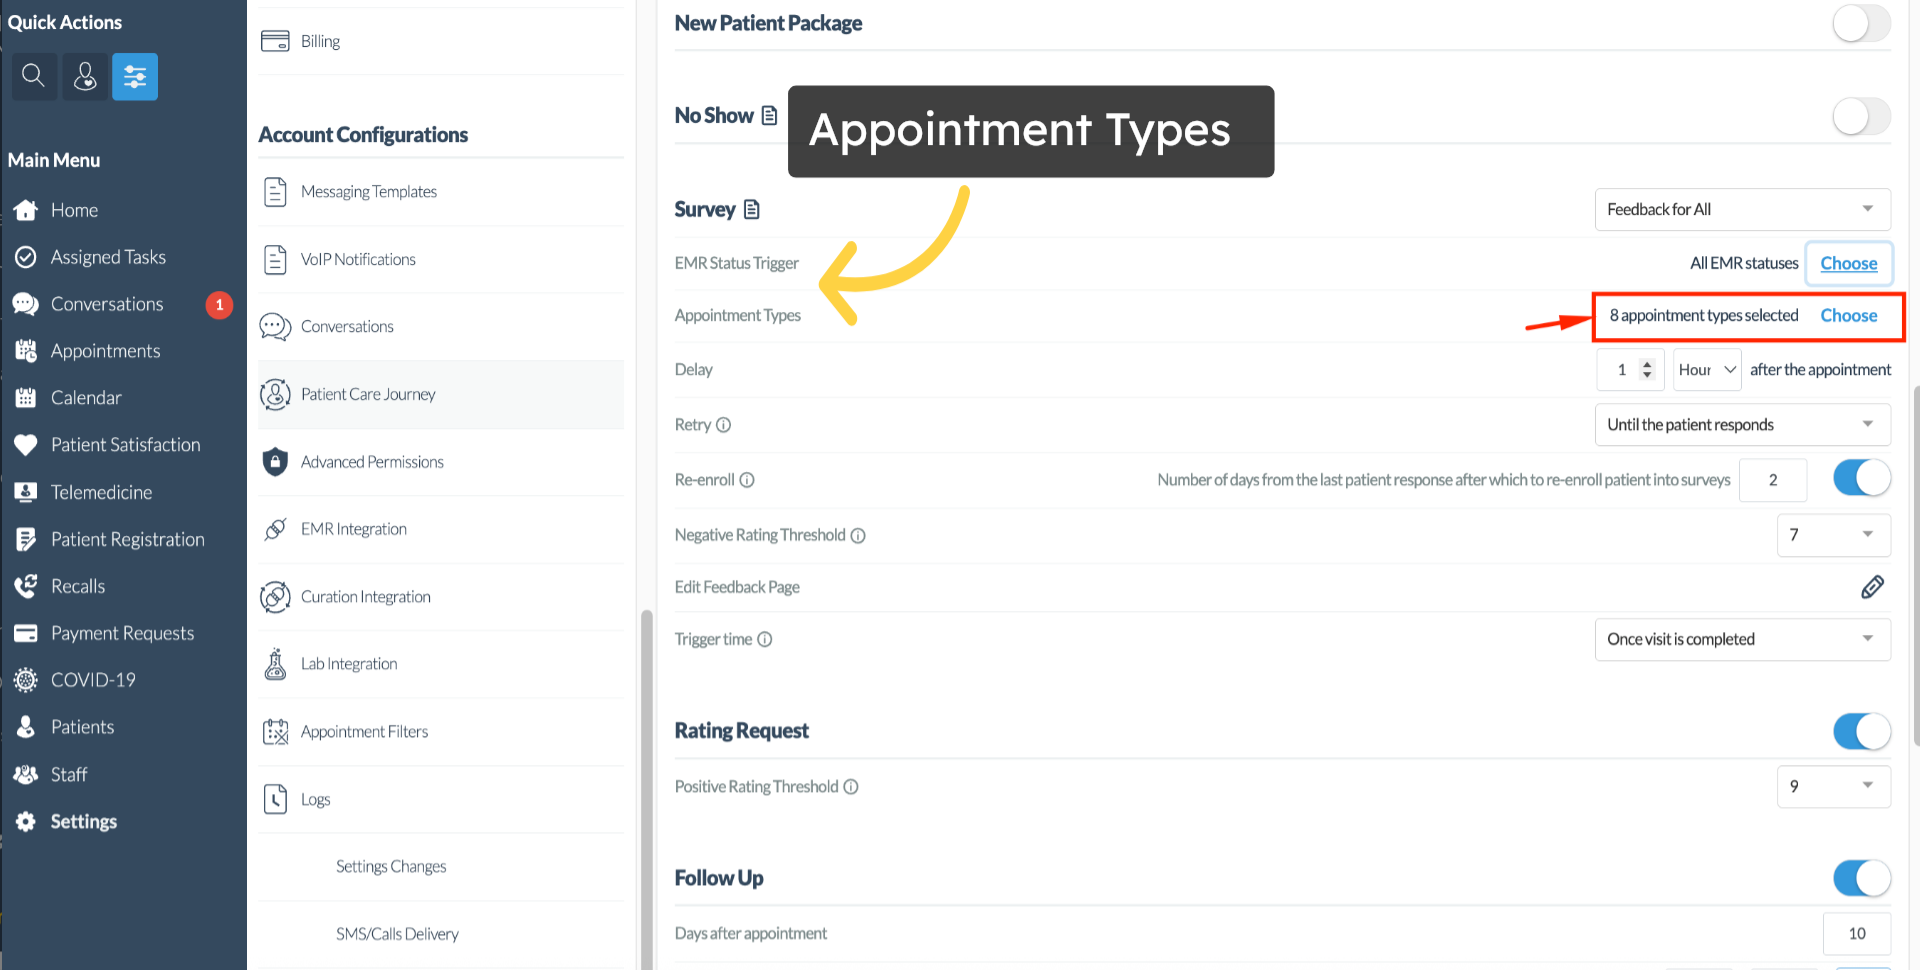
Click here
 

Click here16. Delay

Then, there's delay. This just means how long after the appointment the survey will go out. For example, you might set it to one hour later.
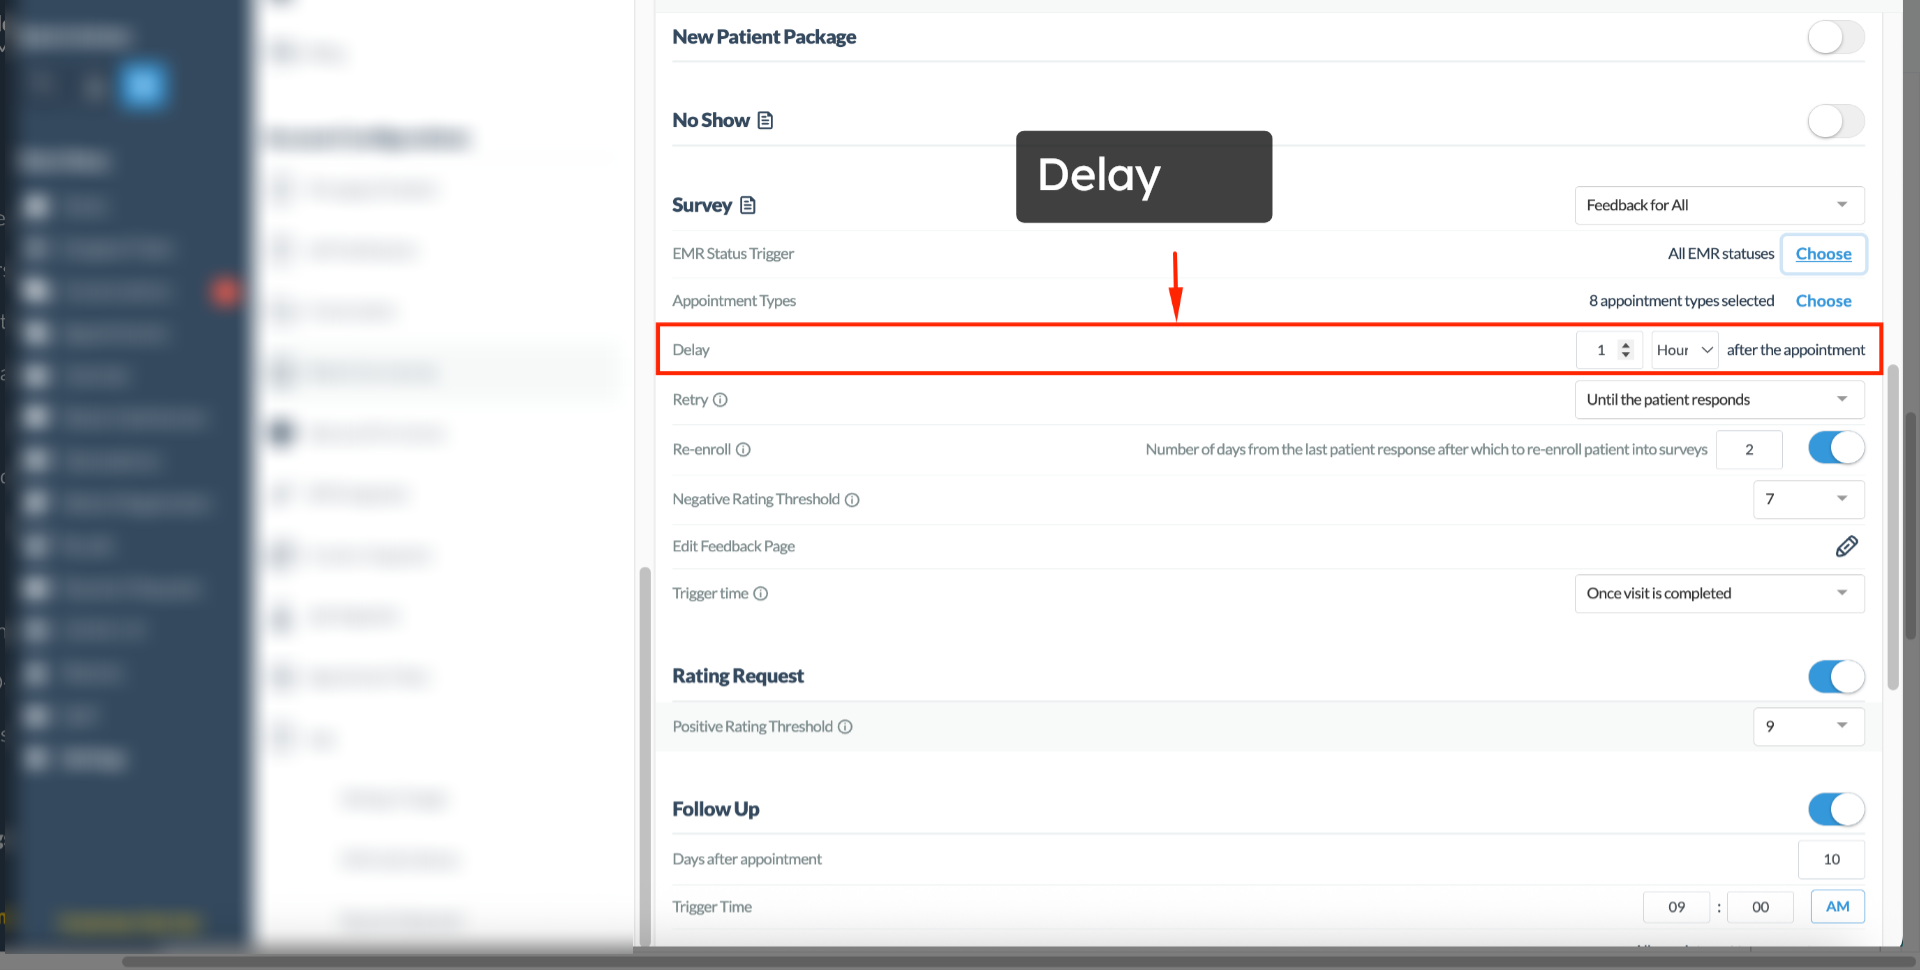
17. Retry

Retry gives you two choices either keep sending the survey until the patient answers or just send one for every visit.
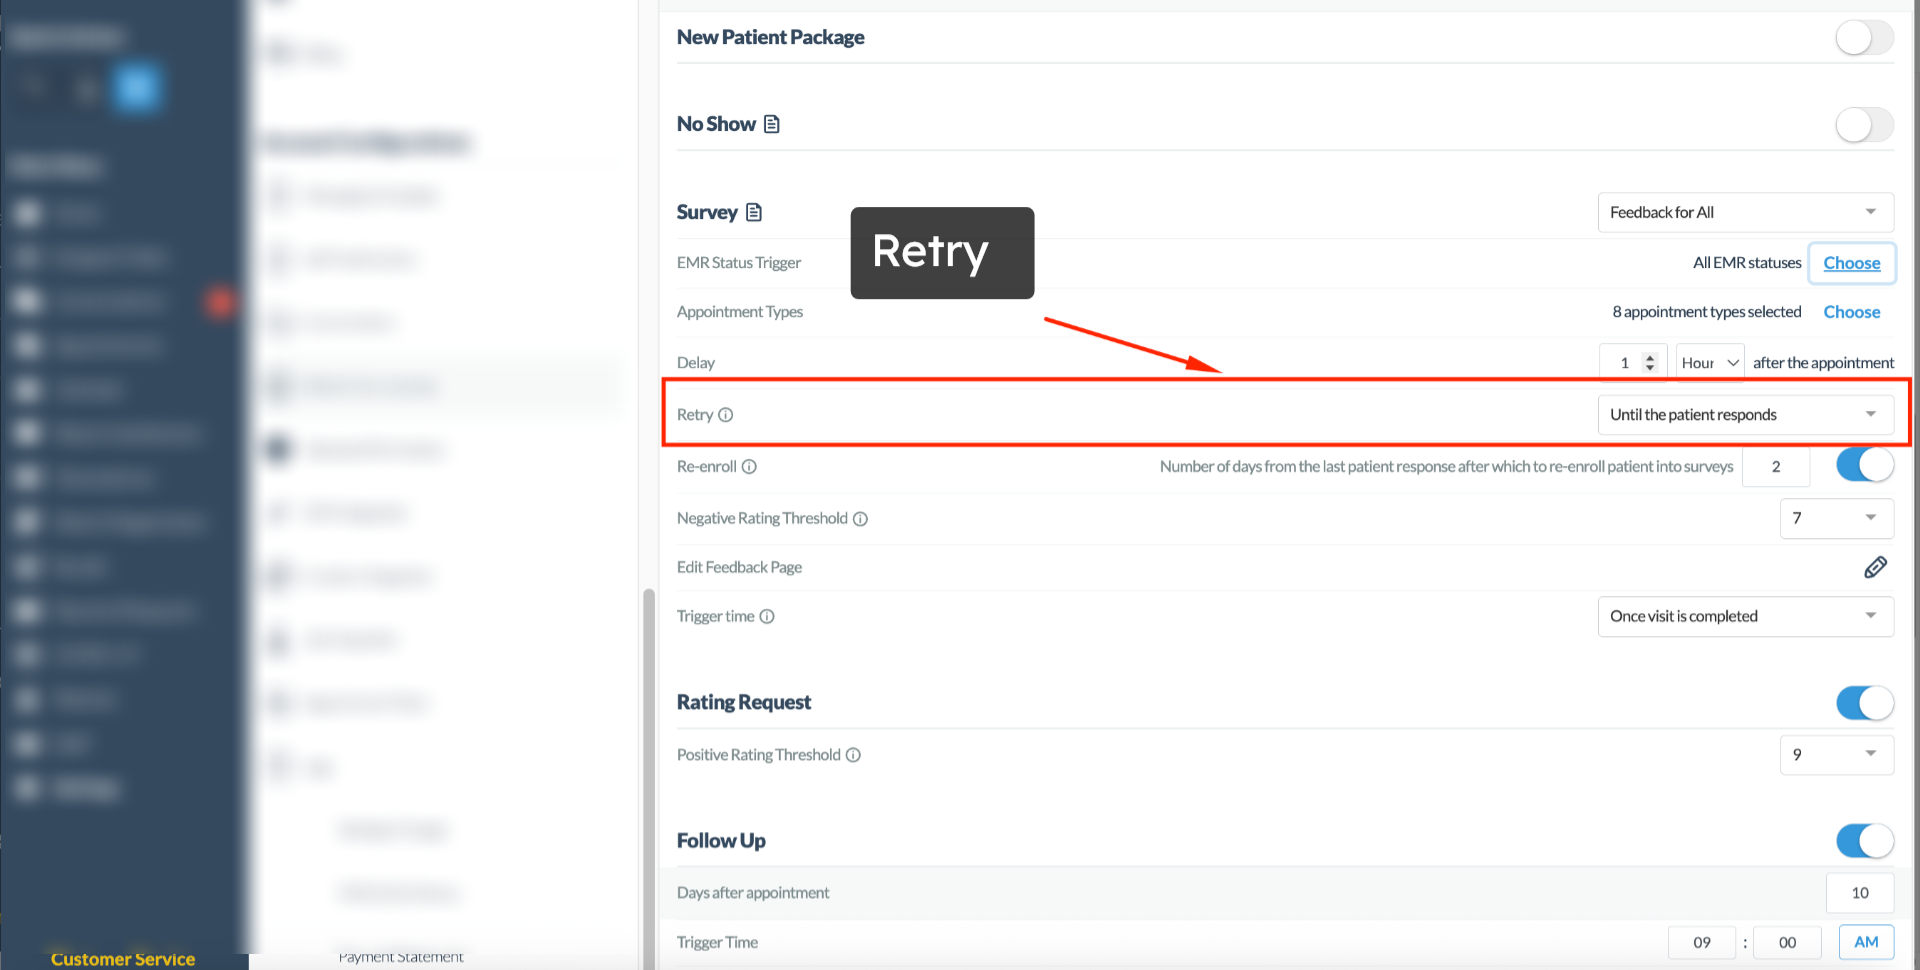
18. Re-enroll

Now, re-enroll is Handy. It sets how many days after patient responds before they're eligible to get another survey so you don't overwhelm them with too many requests.


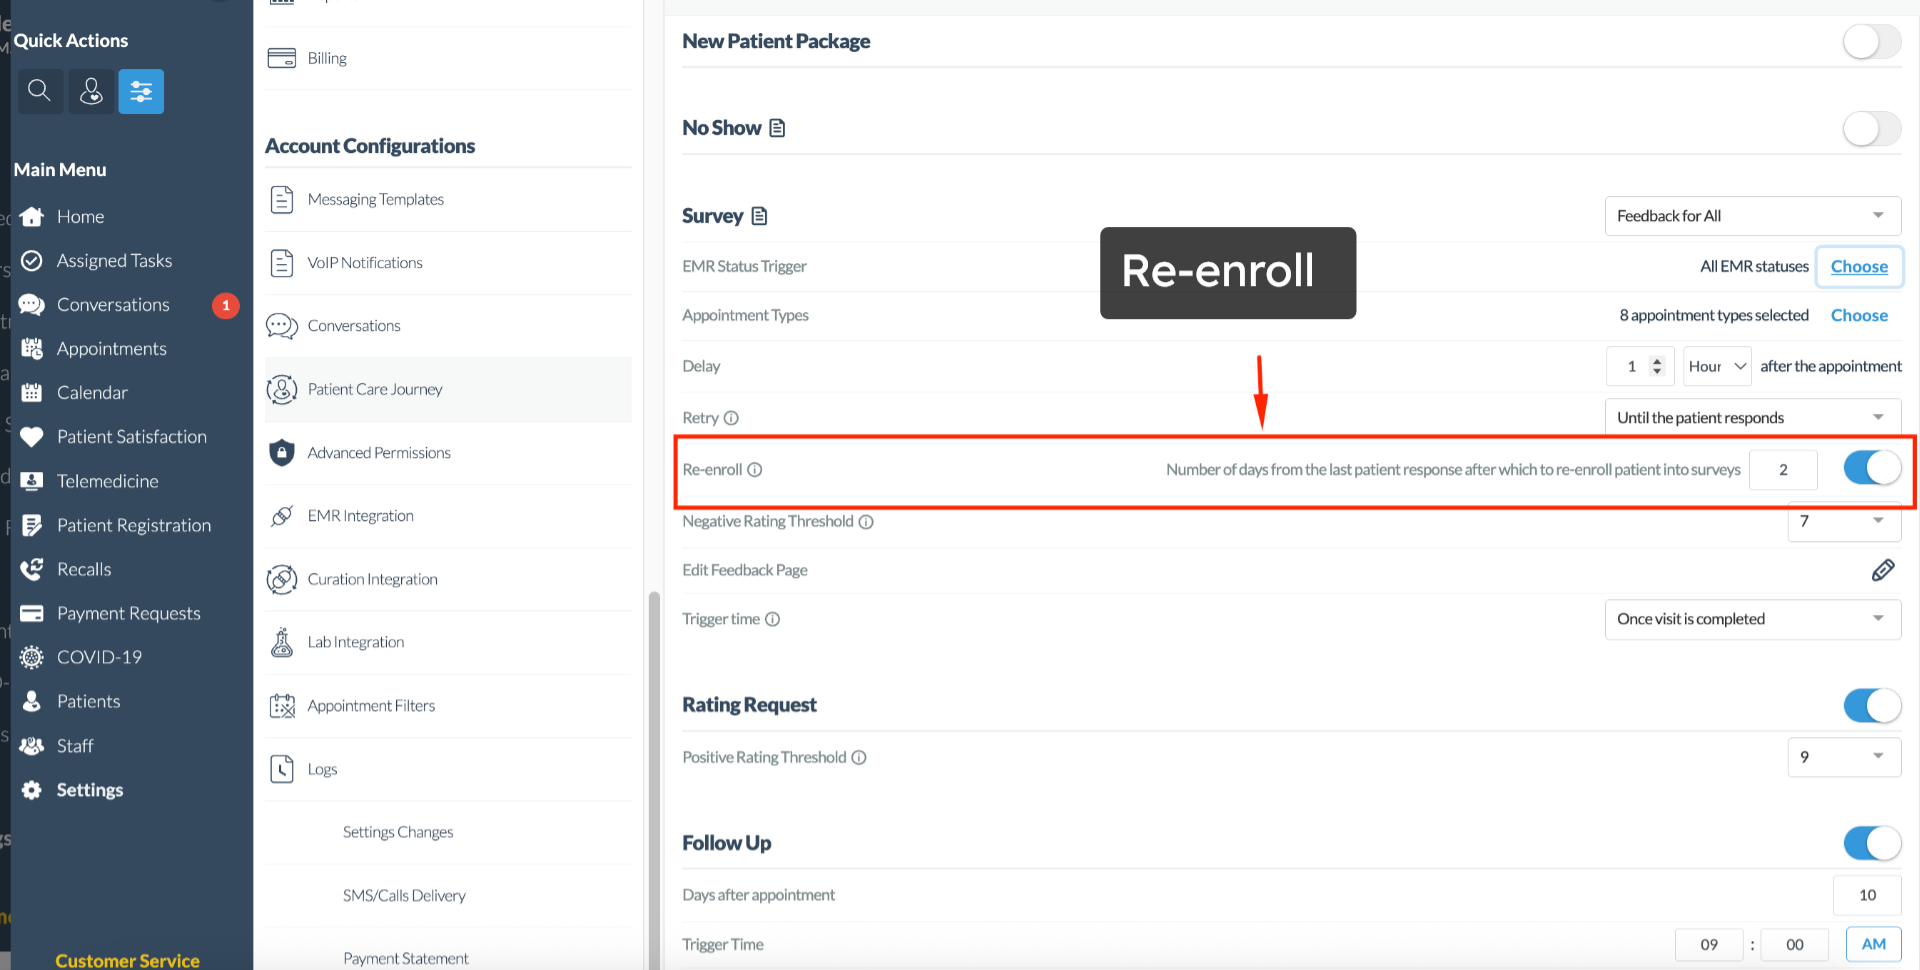
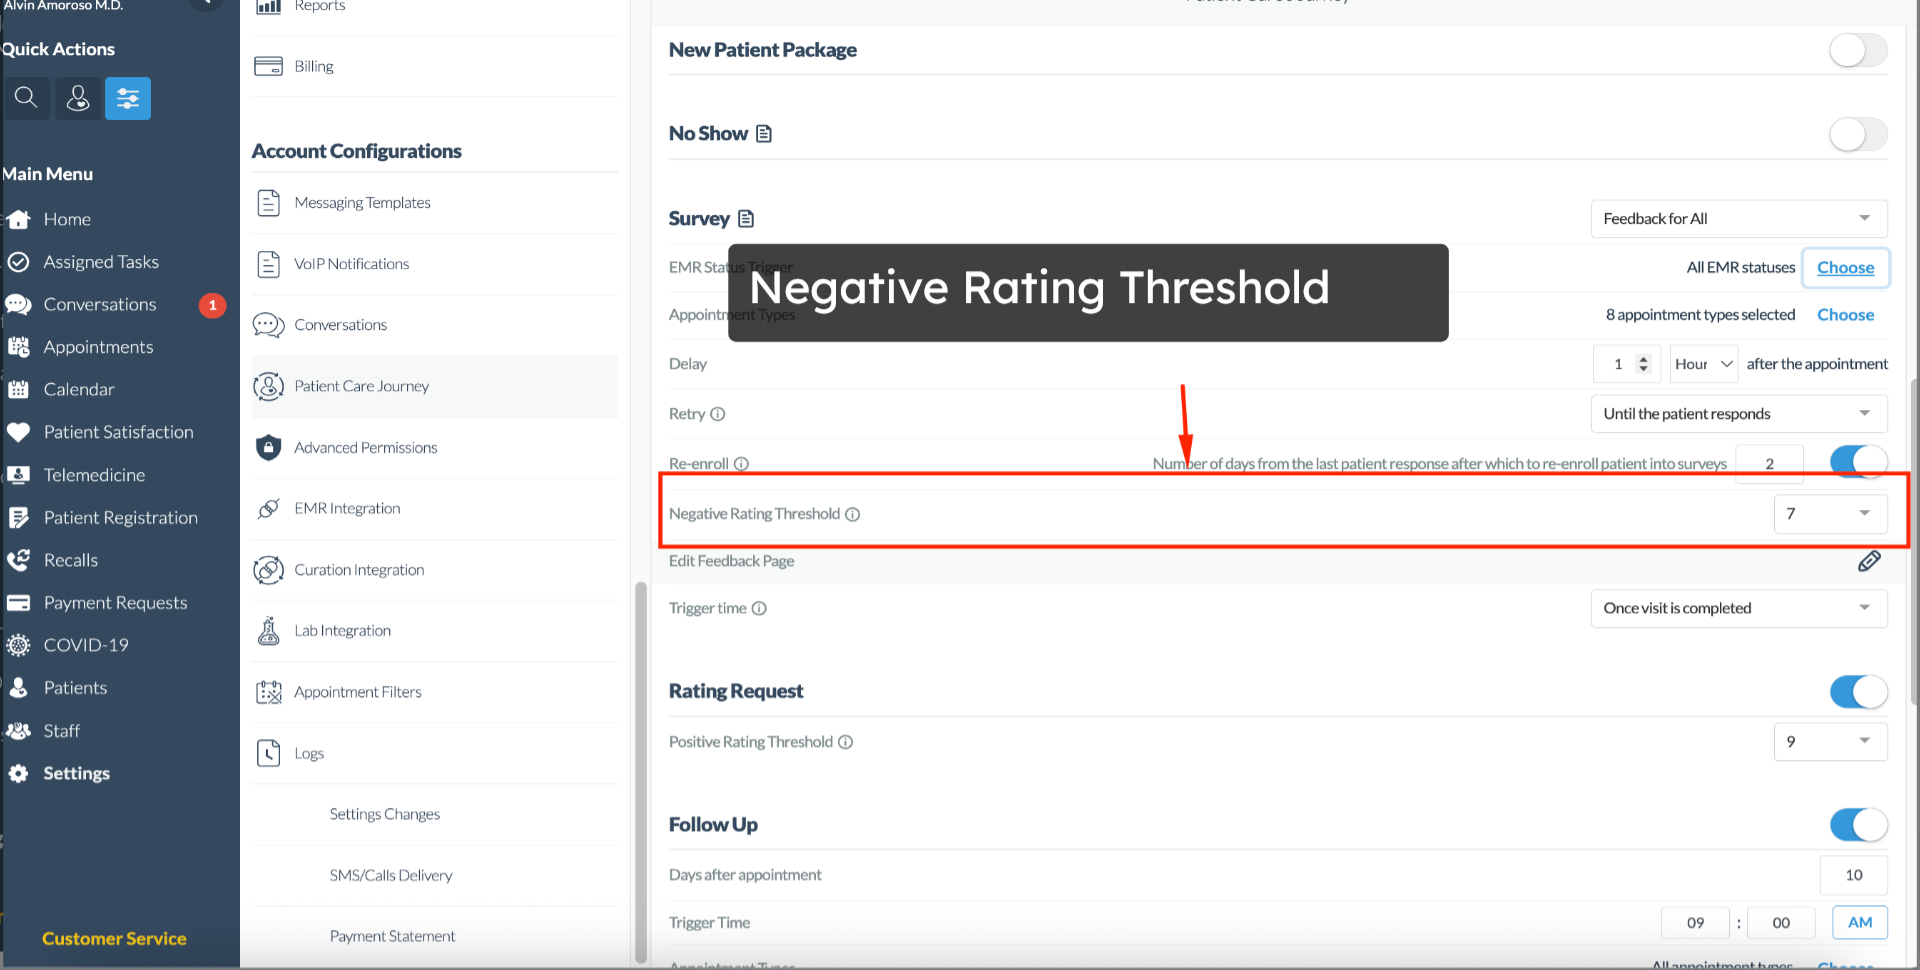
19. Negative Rating Threshold

The negative rating threshold is the score you decide is not good enough. If a patient's response is that or below that number, it can trigger a follow-up like a rich survey or feedback form.
Click here

Click here20. Trigger Time

And finally Trigger Time. This is about when the survey goes out right after the appointment or only once the visit is marked as completed.
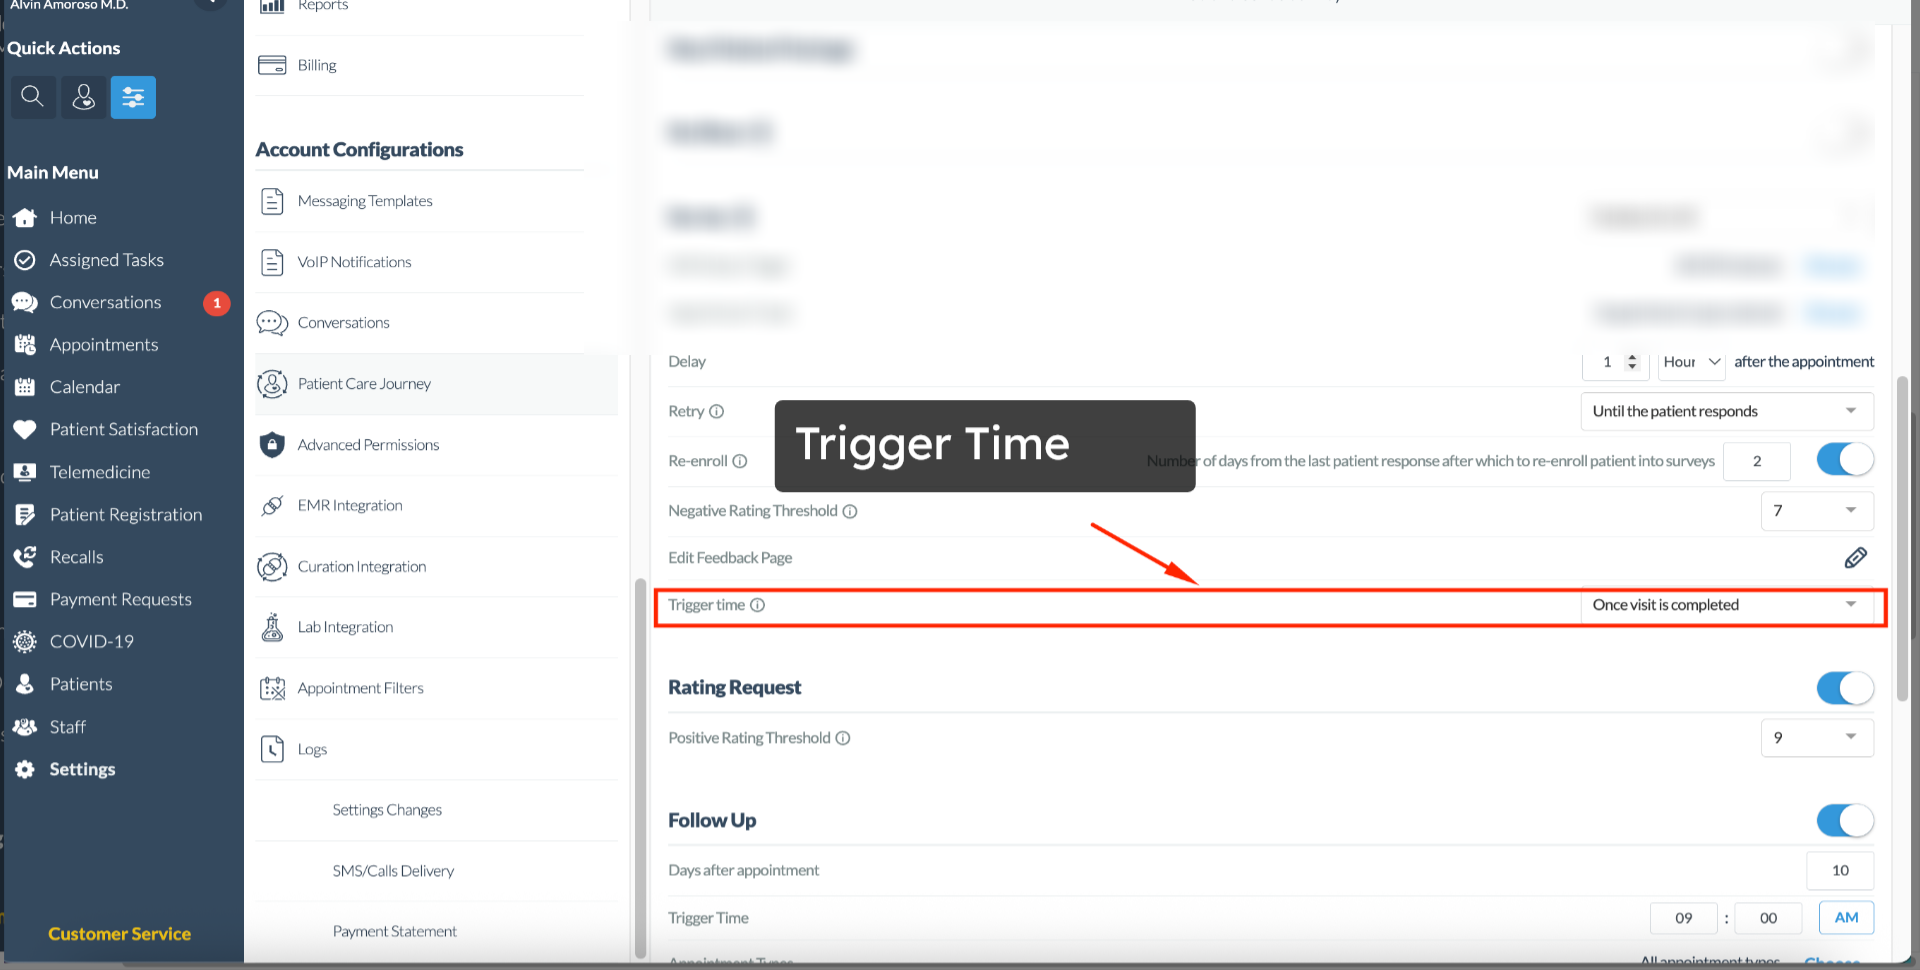
And that's it. You've now seen how to set up, surveys, customized feedback options and adjust the additional settings to fit your practices needs. Remember these tools are here to help you capture patient experiences in the way that works best for your workflow.
Take a moment to explore the settings, fine-tune your messaging and start collecting feedback.That makes a difference.


For more information, contact us at support@curogram.com