A. Step-by-step Instructions
This guide will walk you through the process on scheduling recall manually.
Go to app.curogram.com
1. Click on the recall tab.
On the Curogram App Dashboard, Navigate to the Recall tab.

2. Click the plus sign button.

3. Schedule Recall Pop-up
A "Schedule a Recall" dialogue will pop up. Click the "Select Patient" button to choose the patient to whom you want to address this recall.”

4. Search the patient and click on it.
Search the patient and click on it. Alternatively, if the patient is a new one, you can create a new patient by tapping the "Create a new patient" button.

5. You may create a new template for the recall message or go ahead with the existing one.
Click the selected location

6. Click on Schedule
Once everything is set, click on schedule button.

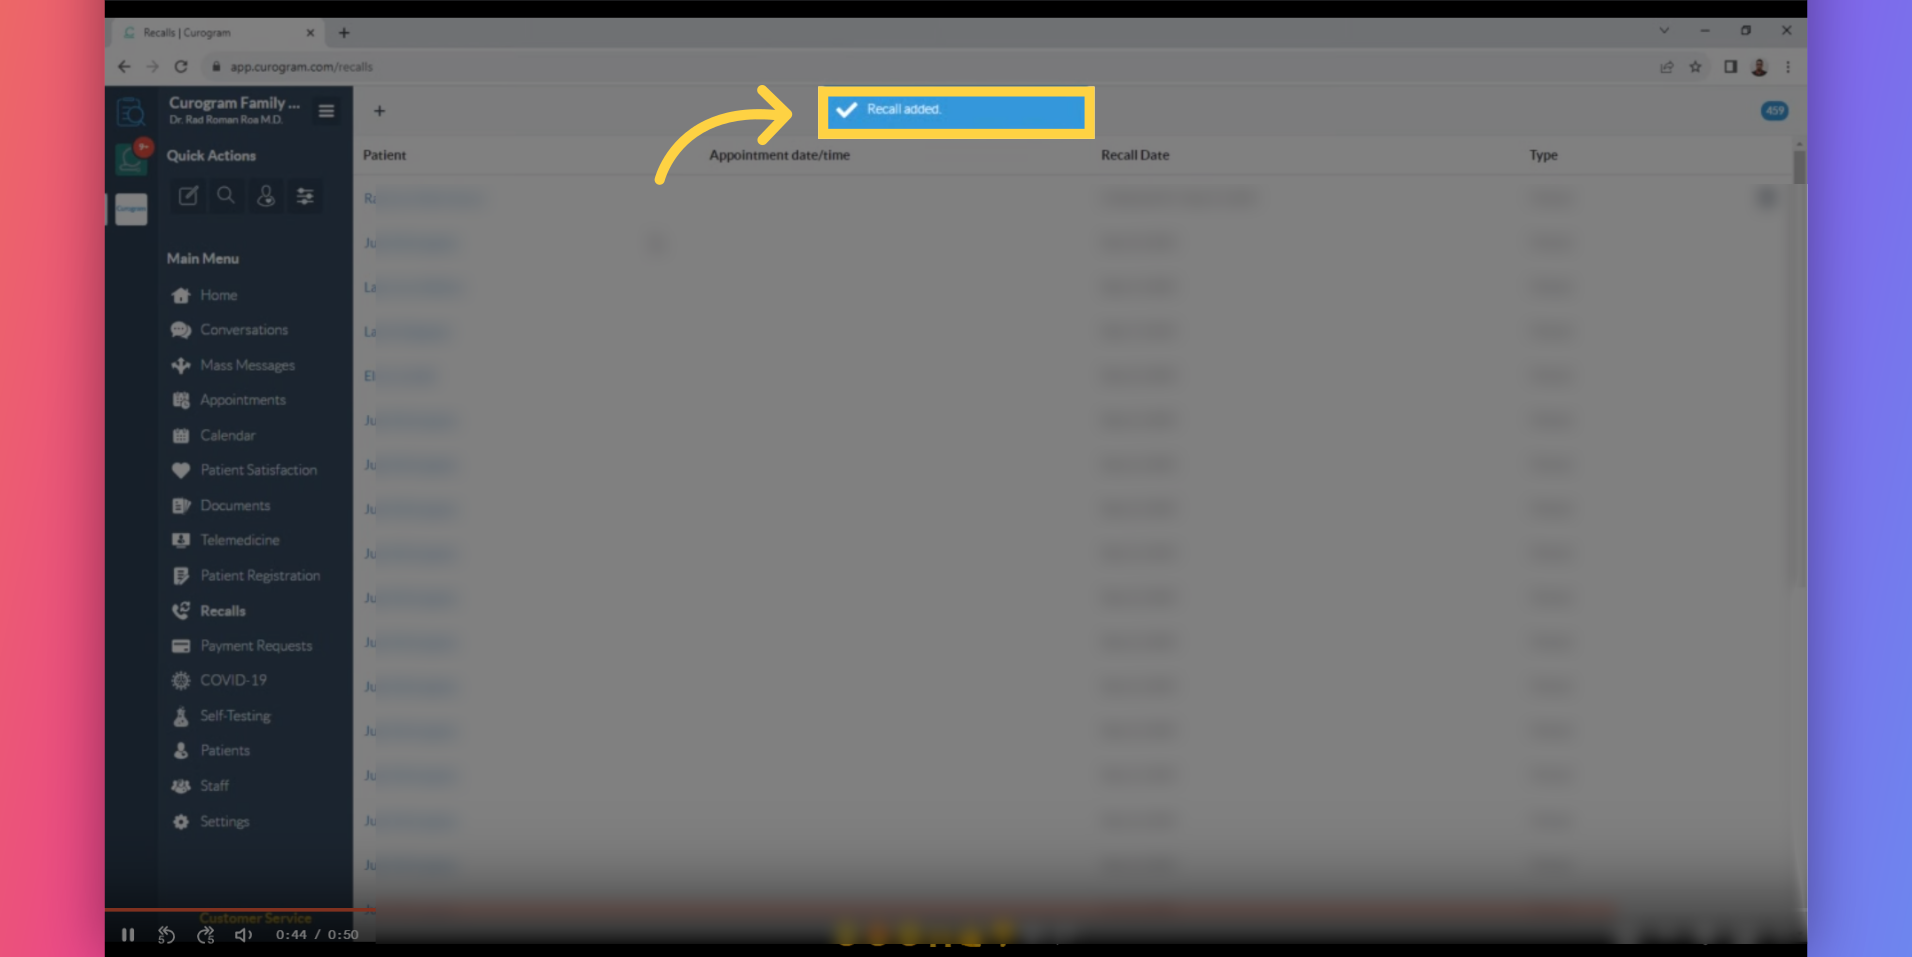
7. Confirmation message will appear.
A confirmation message will appear indicating that recall message has been sent.