
1. Initiating a Payment Request from a Patient Conversation
The most common way to send a payment request is directly from a patient's conversation thread.
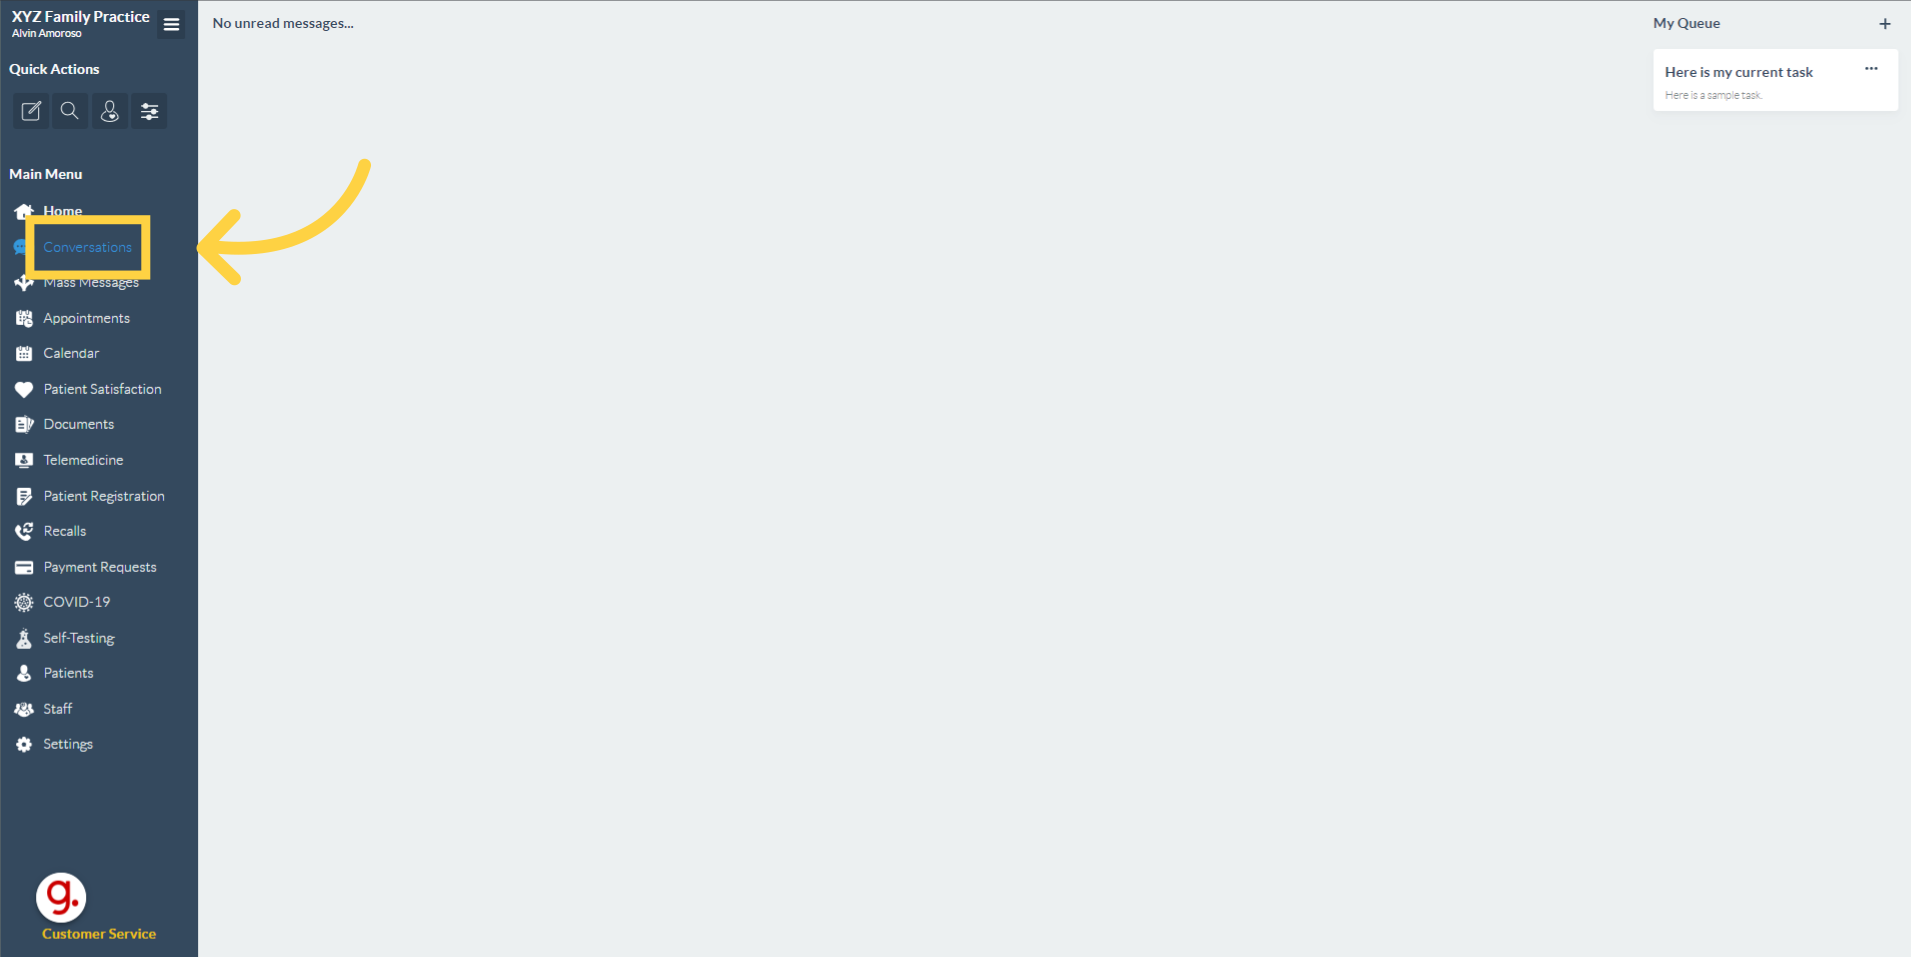
- Step 1: Go to app.curogram.com Navigate to the Curogram App Dashboard.
- Step 2: Click Conversations. On the Curogram App Dashboard, navigate to and click the Conversations tab in the left-hand menu.
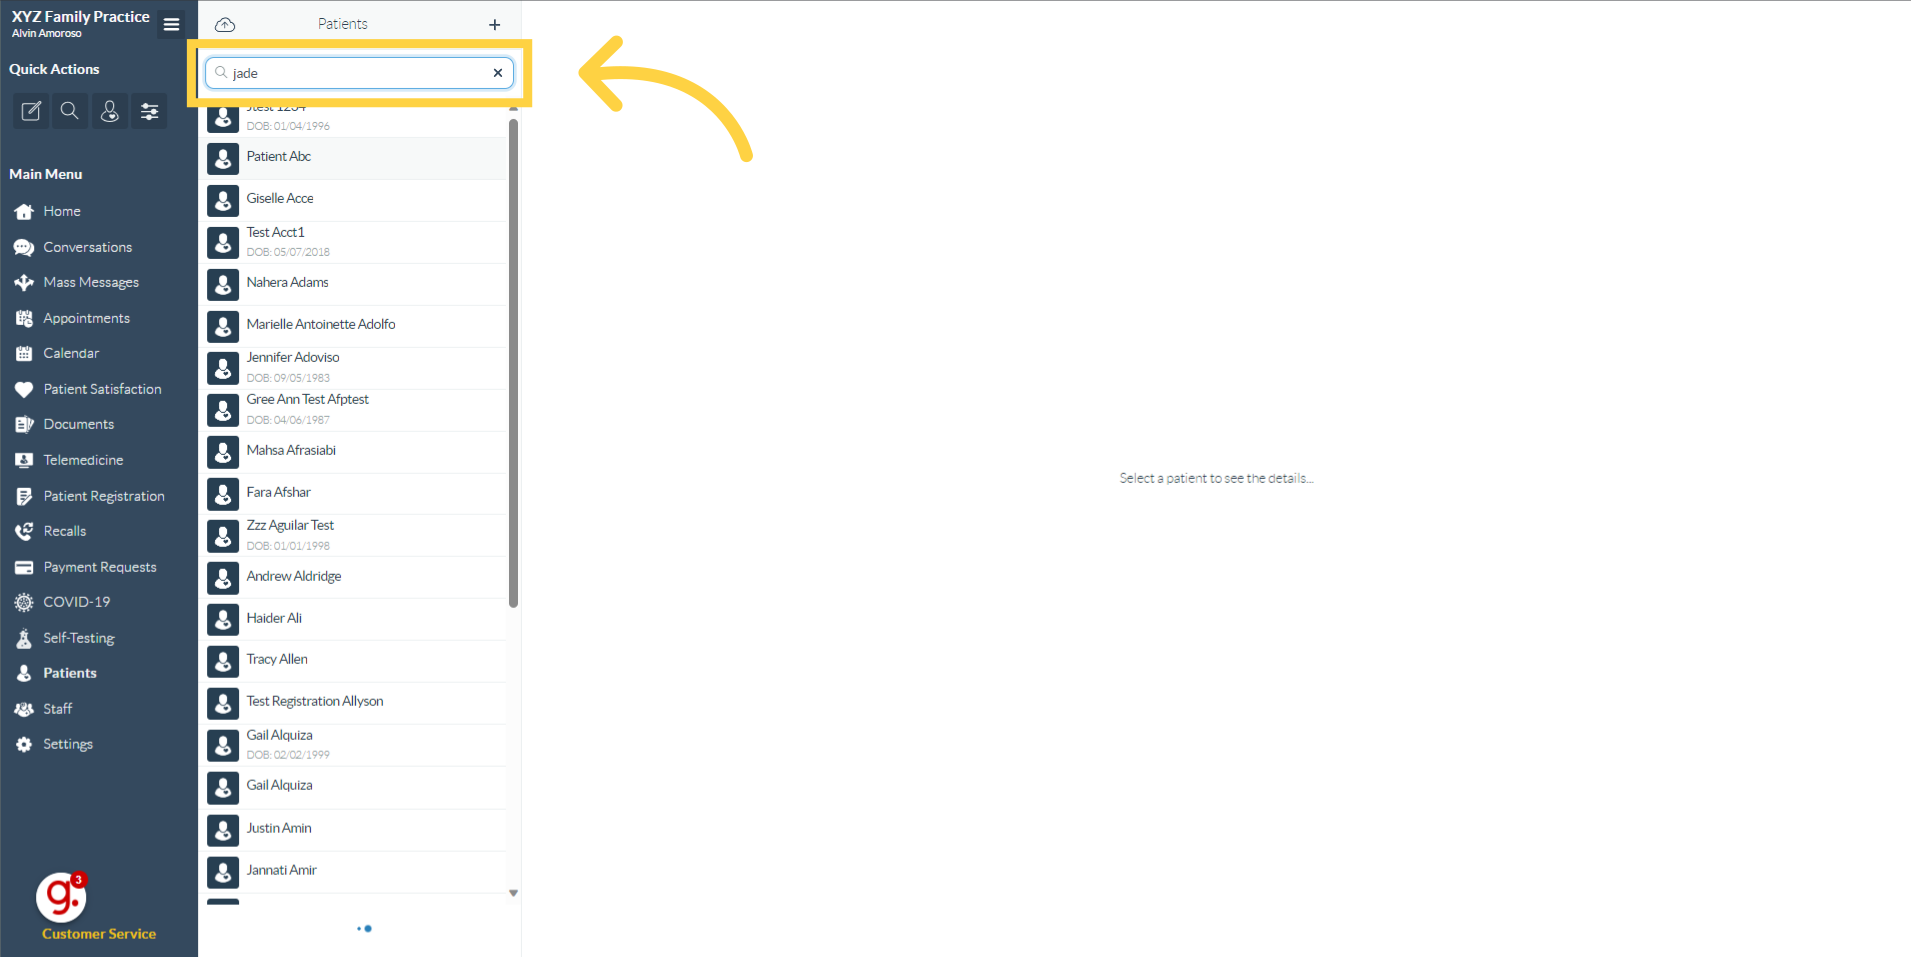
- Step 3: Click on patient's name. In the conversations list, find and click on the name of the patient to whom you want to send a payment request. This will open the conversation thread in the central panel.
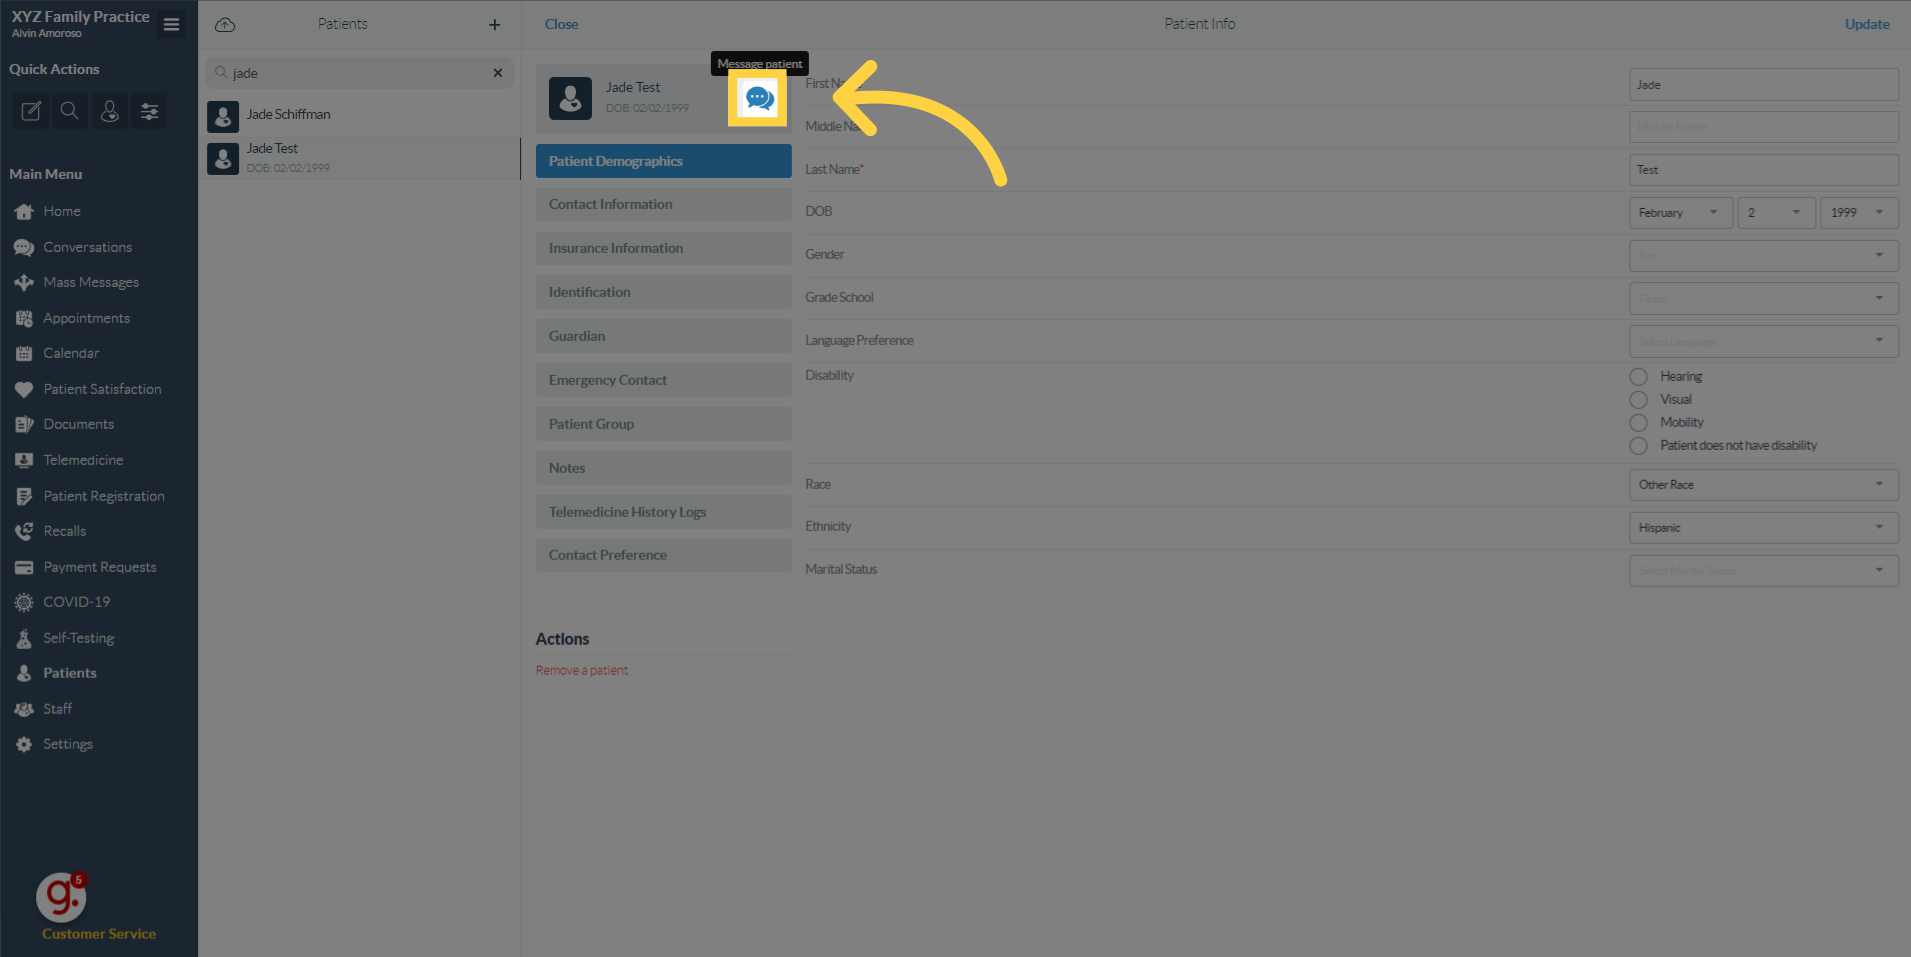
- Alternatively, you may create a new message to start the conversation with that specific patient.
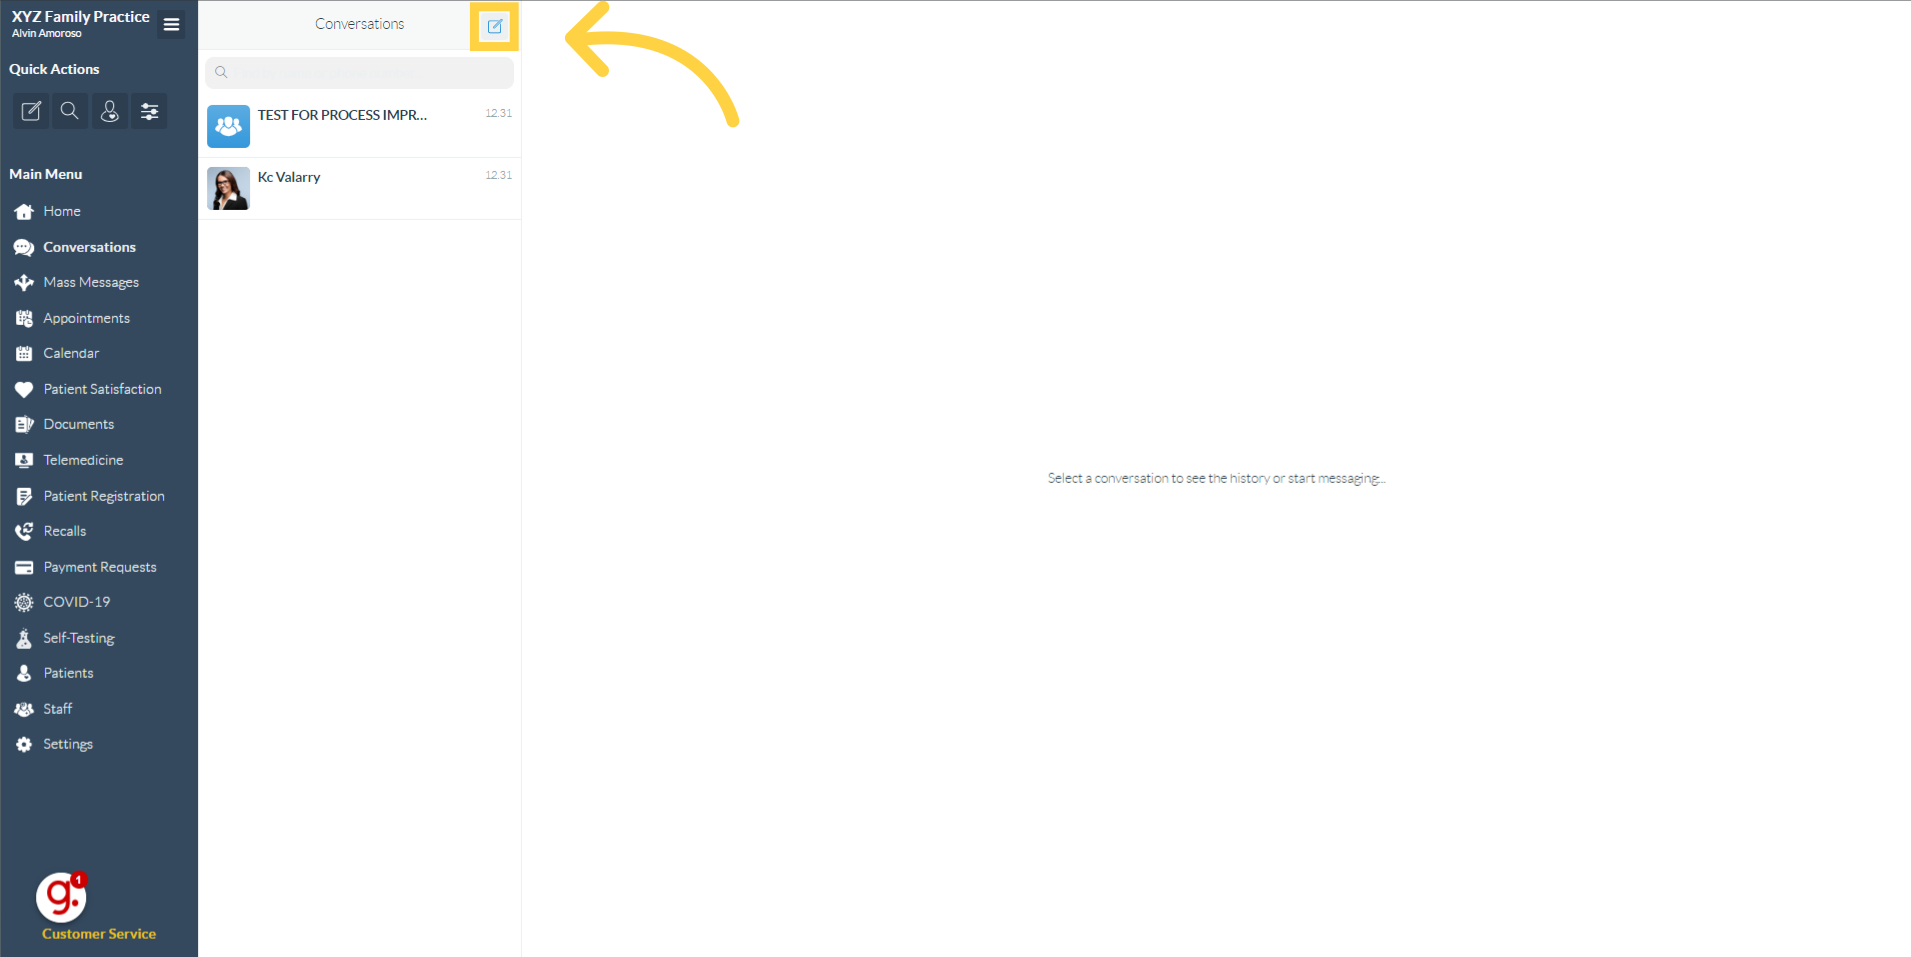
- Step 4: Click the send an invoice/payment request button. In the patient's conversation thread, locate and click the button to send an invoice or payment request. This will open the "New Invoice Payment Request" modal.

2. Creating a New Invoice Payment Request
The modal for creating a new invoice payment request has been updated.
- Step 5: Fill up the details. In the "New Invoice Payment Request" modal:
- Fill up the boxes with the description and amount for the payment request and click to add them.
-
- Add the Description

- Add the Description
-
- Fill up the boxes with the description and amount for the payment request and click to add them.
-
-
-
-
Add the amount

-
-
- You can also attach a PDF file, such as an invoice or statement, if needed.
- Add Location. A Location dropdown field has been added to this modal. Select the relevant practice location for this payment request from the choices provided (based on your practice locations).

-
- Step 6: Click the send request button. Once all the details are entered and the location is selected, click on the Send Request button.

3. Patient Experience with the Payment Link
After you send the request, the patient will receive a message with a payment link. The behavior when viewing the link has been updated..
- Step 7: A message will be received by the patient. The patient will receive a message on their phone that includes a payment link.

- Step 8: This is the payment link. The message will contain a clickable link.

- Step 9: Clicking the payment link. When the patient clicks the payment link, they will be redirected to a payment dialogue page in their browser.
- View Link Text.
- If the payment request is for an invoice, the clickable link text in the patient's message will be View Invoice. Clicking it opens the Payment Request Details modal (see below).

- If the payment request is for a statement (uploaded PDF), the clickable link text will be View Statement. Clicking it will open the statement PDF file in another browser tab.

- If the payment request is for an invoice, the clickable link text in the patient's message will be View Invoice. Clicking it opens the Payment Request Details modal (see below).
- View Link Text.
- Step 10: Verify identity. As part of Curogram's security and verification process, the patient will be requested to enter information to verify their identity (e.g., patient's last name and date of birth).
- Step 11: Click the verify button. Once the verification details are entered, the patient clicks the Verify button.
- Step 12: View Charges (for Invoices). If the request was for an invoice, after verification, the patient will be redirected to a dialogue showing the list of charges and any attached documents.

- Step 13: Click the pay button. Once they have reviewed the charges, the patient clicks the Pay button to proceed to the payment gateway.
- Step 14: Fill up with patient's credit card details. The patient will be directed to a secure payment gateway to enter their credit card details and complete the payment.


HERE IS THE FULL VIDEO GUIDE
4. Understanding Payment Status Changes

The display names and logic for several payment statuses have been updated for clarity on the Payment Request dashboard and elsewhere.
- Status: Pending:
- For invoices: If the backend Payment Status is Pending, it will now display as
Scheduled(Color: Gray). - For statements: If the Approval Status is Approved and the backend Payment Status is Pending, it will display as
Scheduled(Color: Gray). Otherwise, if the backend Payment Status is Pending, it will display asPending(Color: Gray).
- For invoices: If the backend Payment Status is Pending, it will now display as
- Status: Pending Payment:
- This status is now displayed as
Sent(Color: Blue).
- This status is now displayed as
- Status: Pending Validation:
- This status is now displayed as
Missing Info(Color: Orange). - A tooltip icon next to "Missing Info" will display "DOB is missing. Please update the Patient Record." on hover.
- This status is now displayed as
Other statuses like Seen, Paid, Cancelled by the Office, Paid Different Method, Refunded, and Deleted remain.
5. Changes to the Payment Request Dashboard
The Payment Request dashboard provides an overview of all payment requests. It has been significantly updated with new columns and enhanced filtering.
-
Accessing the Dashboard:

-
New Columns Added:
- Location: Displays the practice Location selected when creating a new invoice request through the updated modal. This field will be blank if no location was selected or if the request was not created via this modal. This helps users filter requests by location.
-
- Request Type: Indicates if the request is a Statement (from an uploaded PDF) or an Invoice (manually created).
- SMS Sent Status: Shows the status of the SMS notification sent to the patient (No SMS on File, SMS Delivered, SMS Failed).
- Email Sent Status: Shows the status of the email notification sent to the patient (Email Sent, No Email on File).
- Creation Date: This column displays the date the payment request was created, whether it's for an invoice or a statement. Invoices will not have a statement date.


-
Filter Updates:
- Location Filter: A new filter dropdown for Location has been added, allowing you to filter the dashboard by practice location. Selected locations are displayed with an "x" to remove the filter.

- Payment Status Filter Arrangement: The options in the Payment Status filter dropdown have been updated and reordered. Note that Pending and Scheduled statuses are grouped together under "Pending / Scheduled". The new arrangement is: Missing Info, Pending / Scheduled, Failed, Sent, Seen, Paid, Cancelled by the Office, Paid Different Method, Refunded, Deleted.

- Location Filter: A new filter dropdown for Location has been added, allowing you to filter the dashboard by practice location. Selected locations are displayed with an "x" to remove the filter.
-
Customize Displayed Columns: The new columns (Location, Request Type, SMS Sent Status, Email Sent Status) can be shown or hidden using the "Customize Displayed Columns" modal on the dashboard.
