
A. Step-by-step instructions
This guide will walk you through the steps to create a custom template in Curogram. You will learn how to create a new message template, and save it for future use.
Go to app.curogram.com
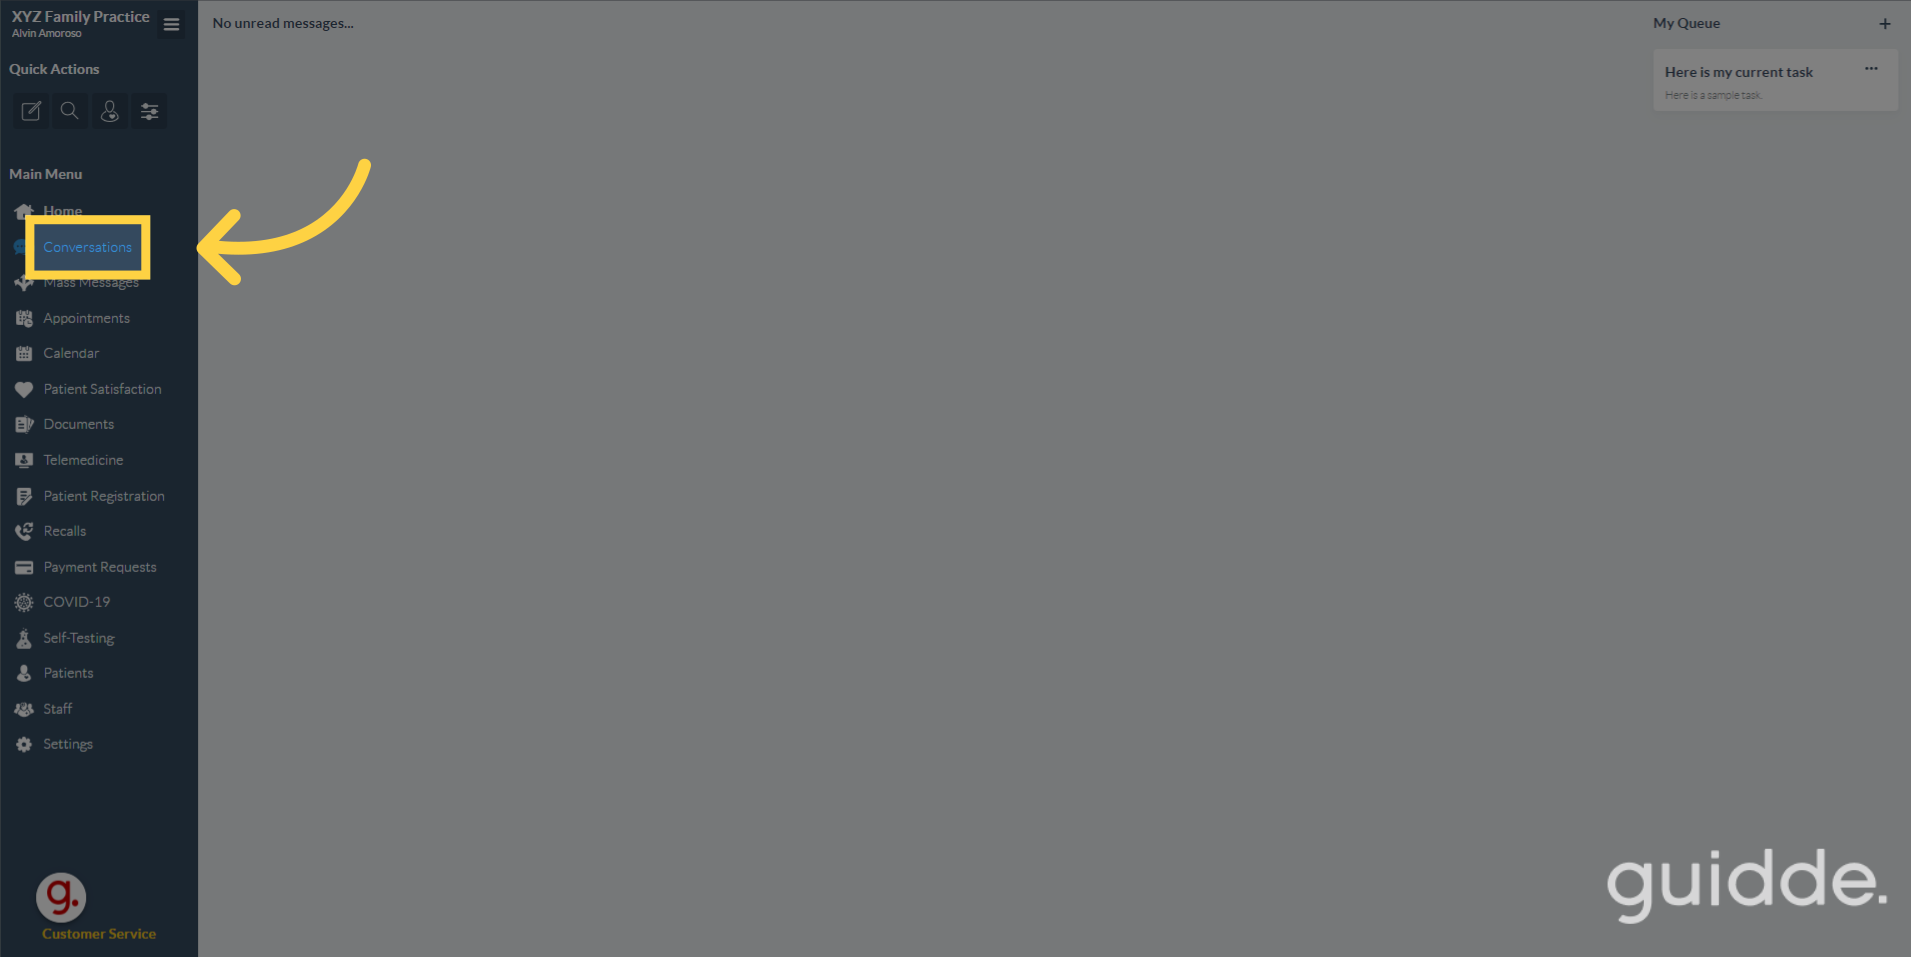
1. Click "Conversations"
On the Curogram dashboard, Navigate on the "Conversations" tab.
 2. Click this new message icon.
Click on the New Message Icon.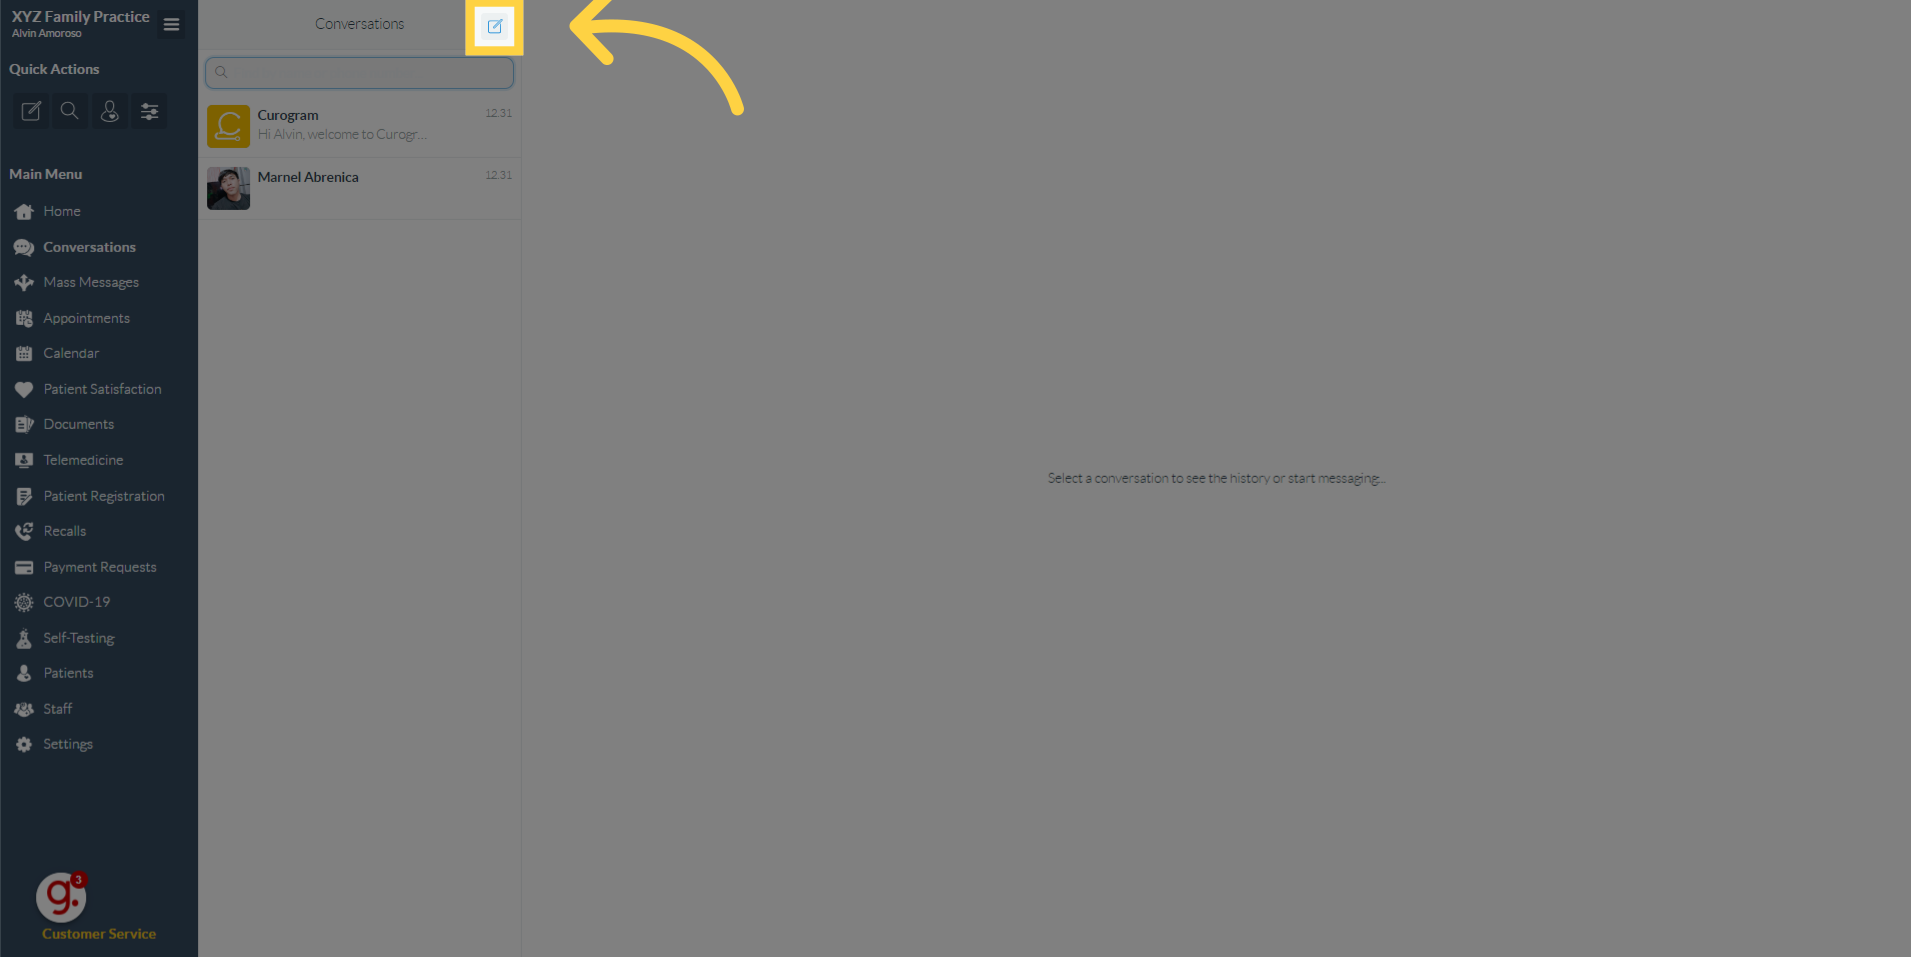
3. Click on the "Chat with a Patient" button.
Click on the "Chat with a Patient" button.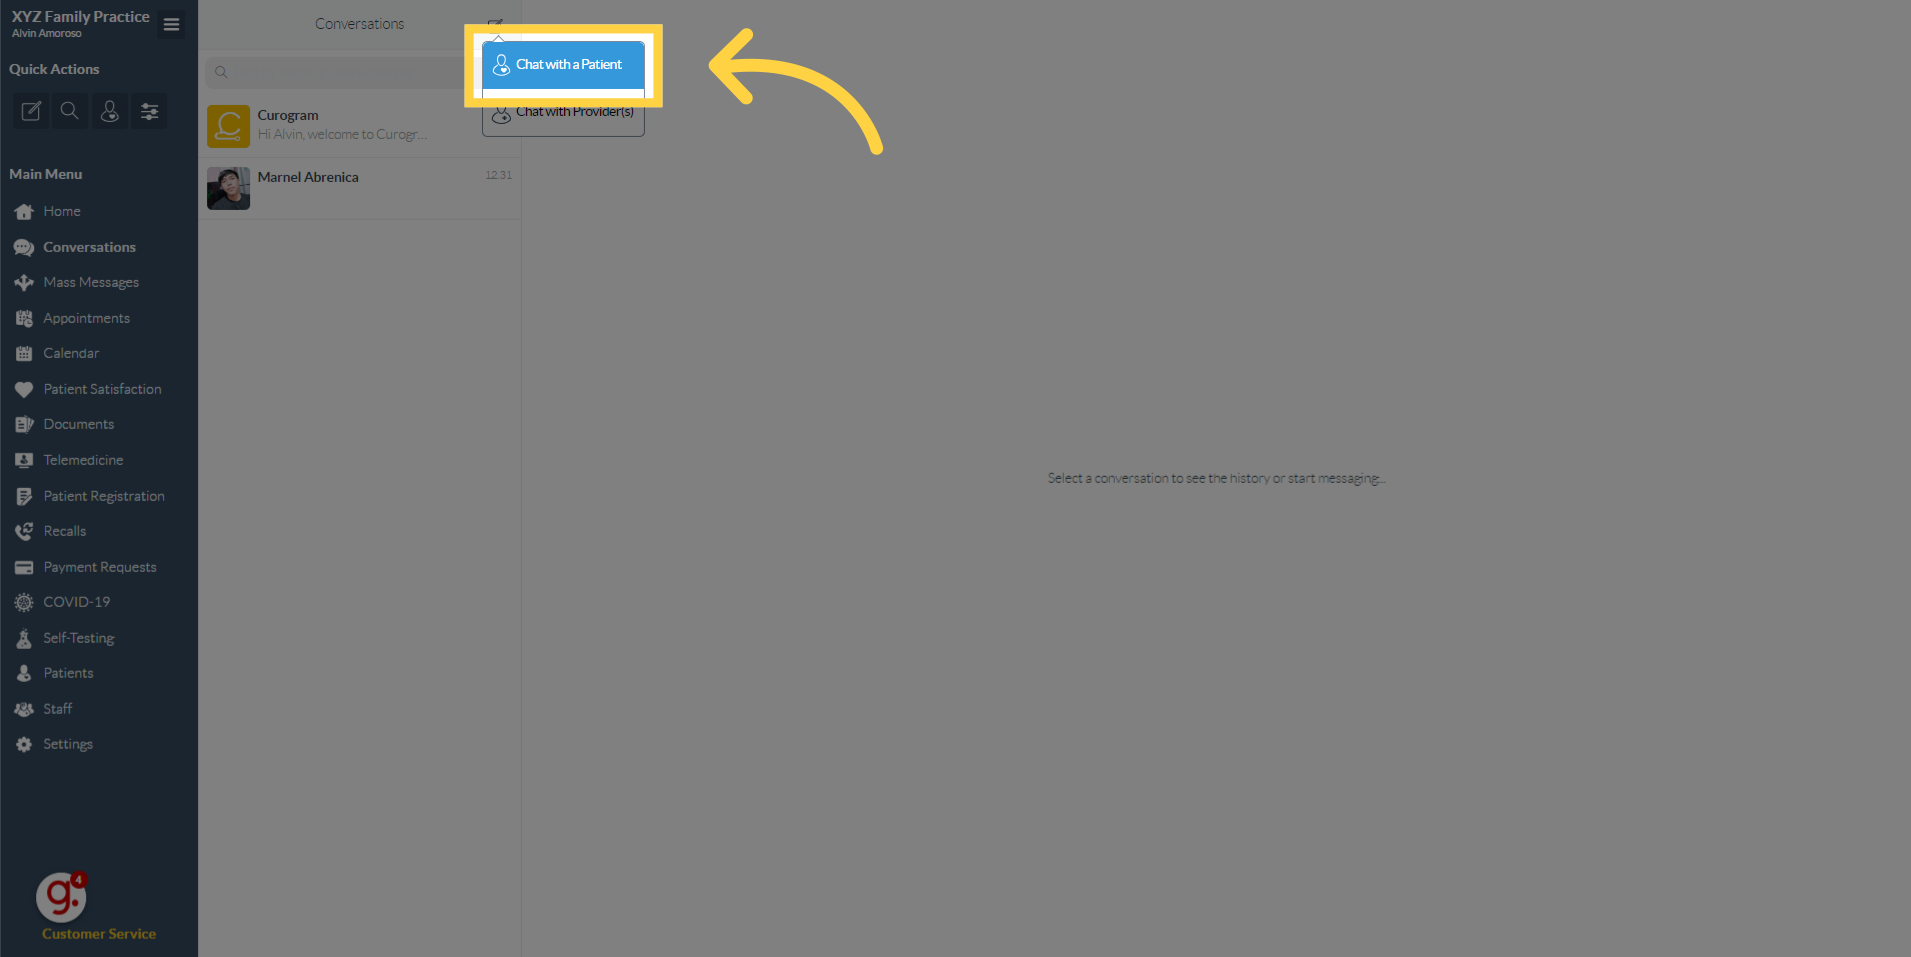
4. Search for the patient name
You will be redirected to this dashboard.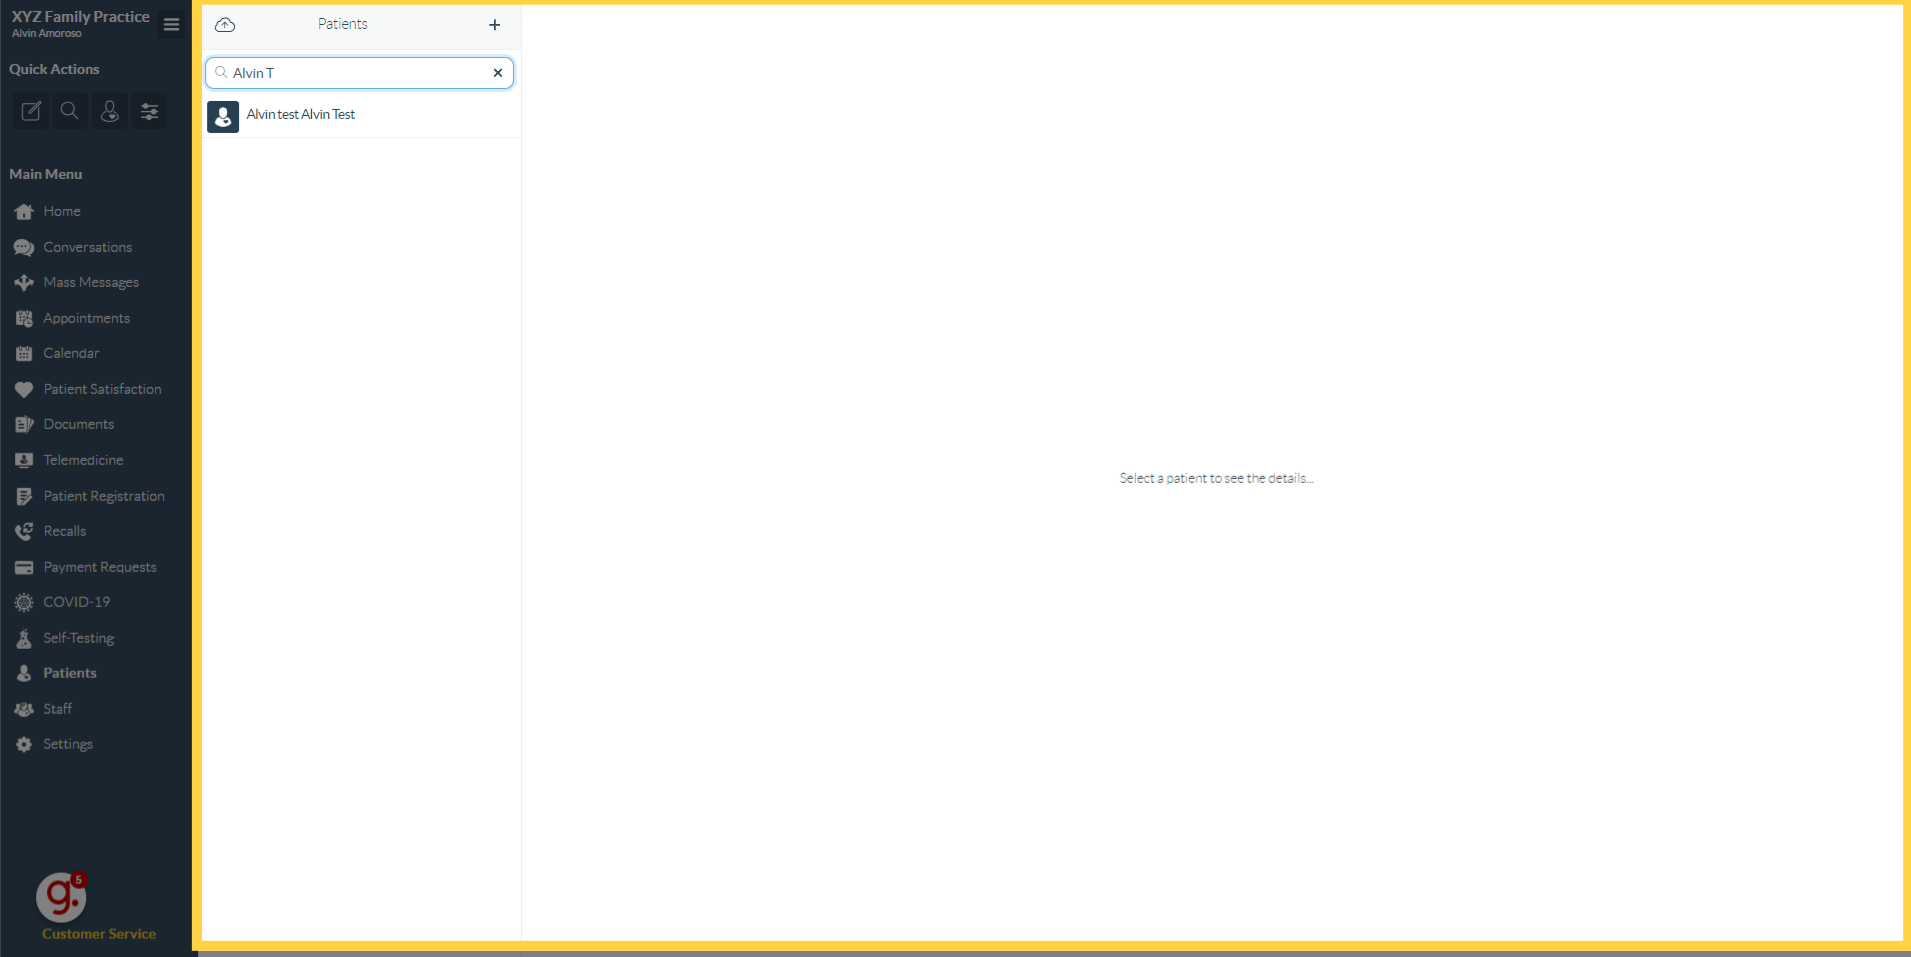
5. On the search field, type the name of the patient.
On the search field, type the name of the patient.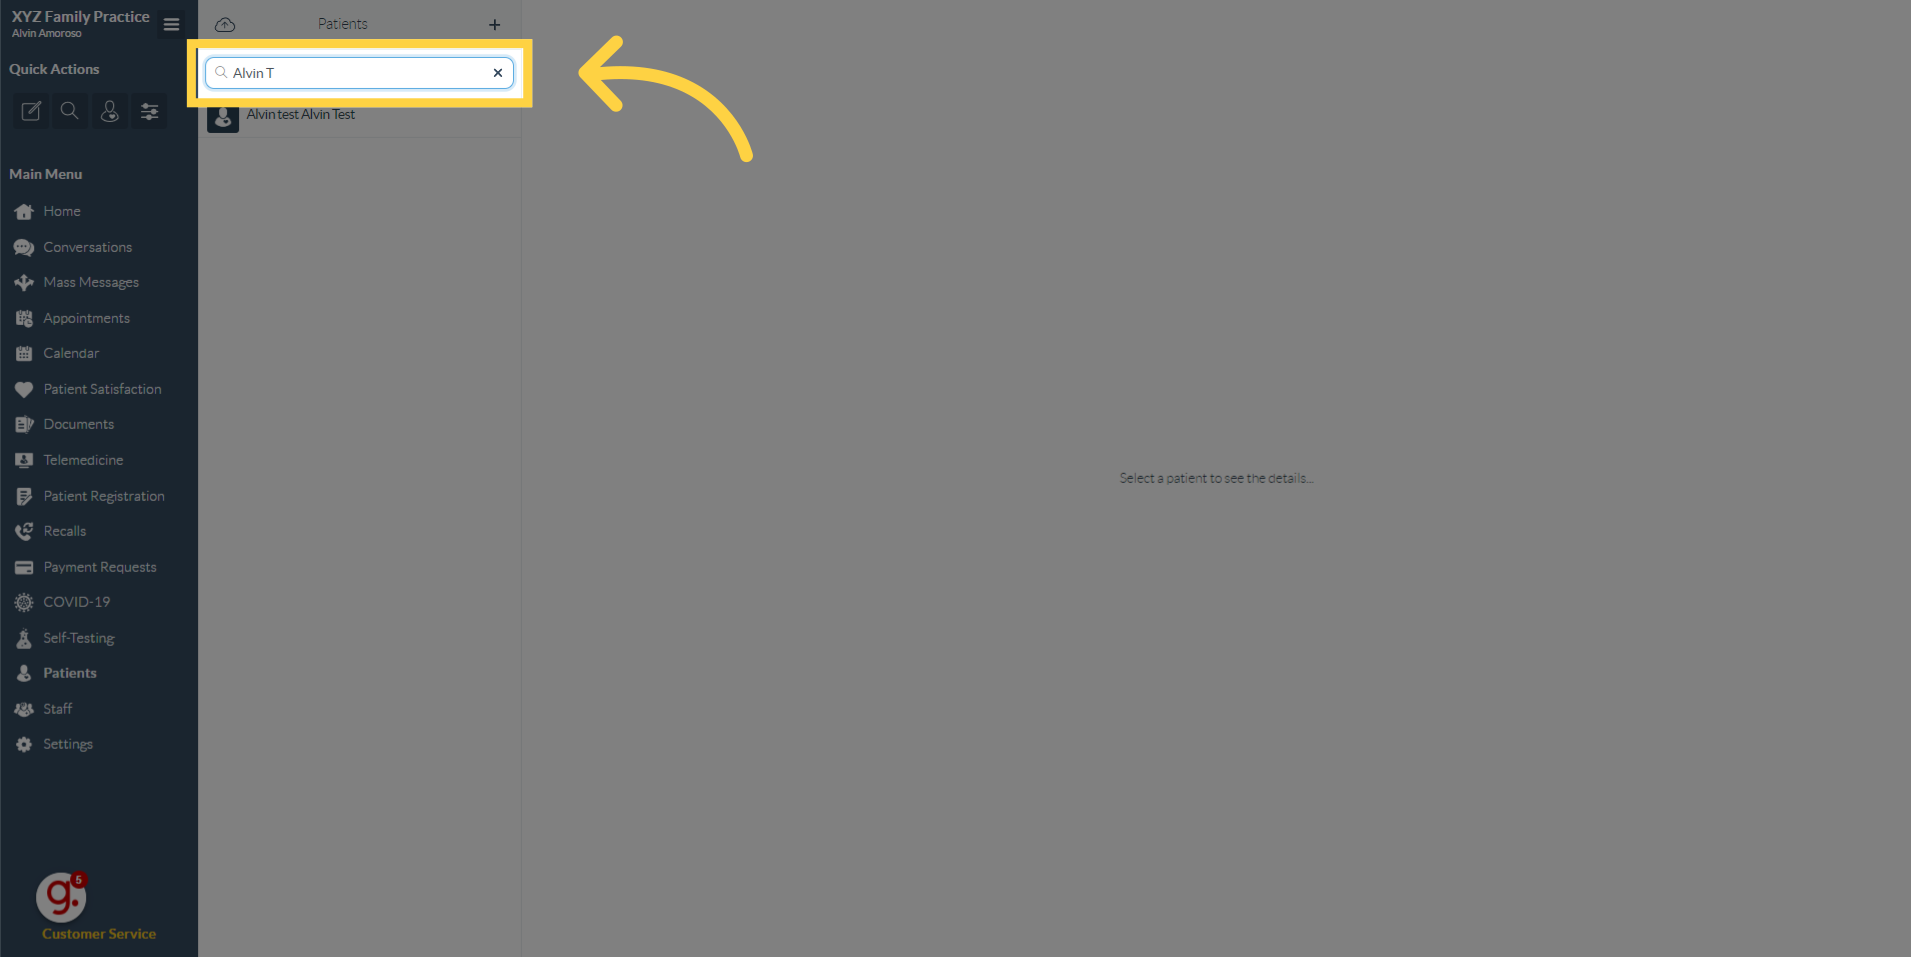
6. Once you find the patient name, click on it.
Once you find the patient name, click on it.
7. Click the message icon found on the patient dashboard.
Click the message icon found on the patient dashboard.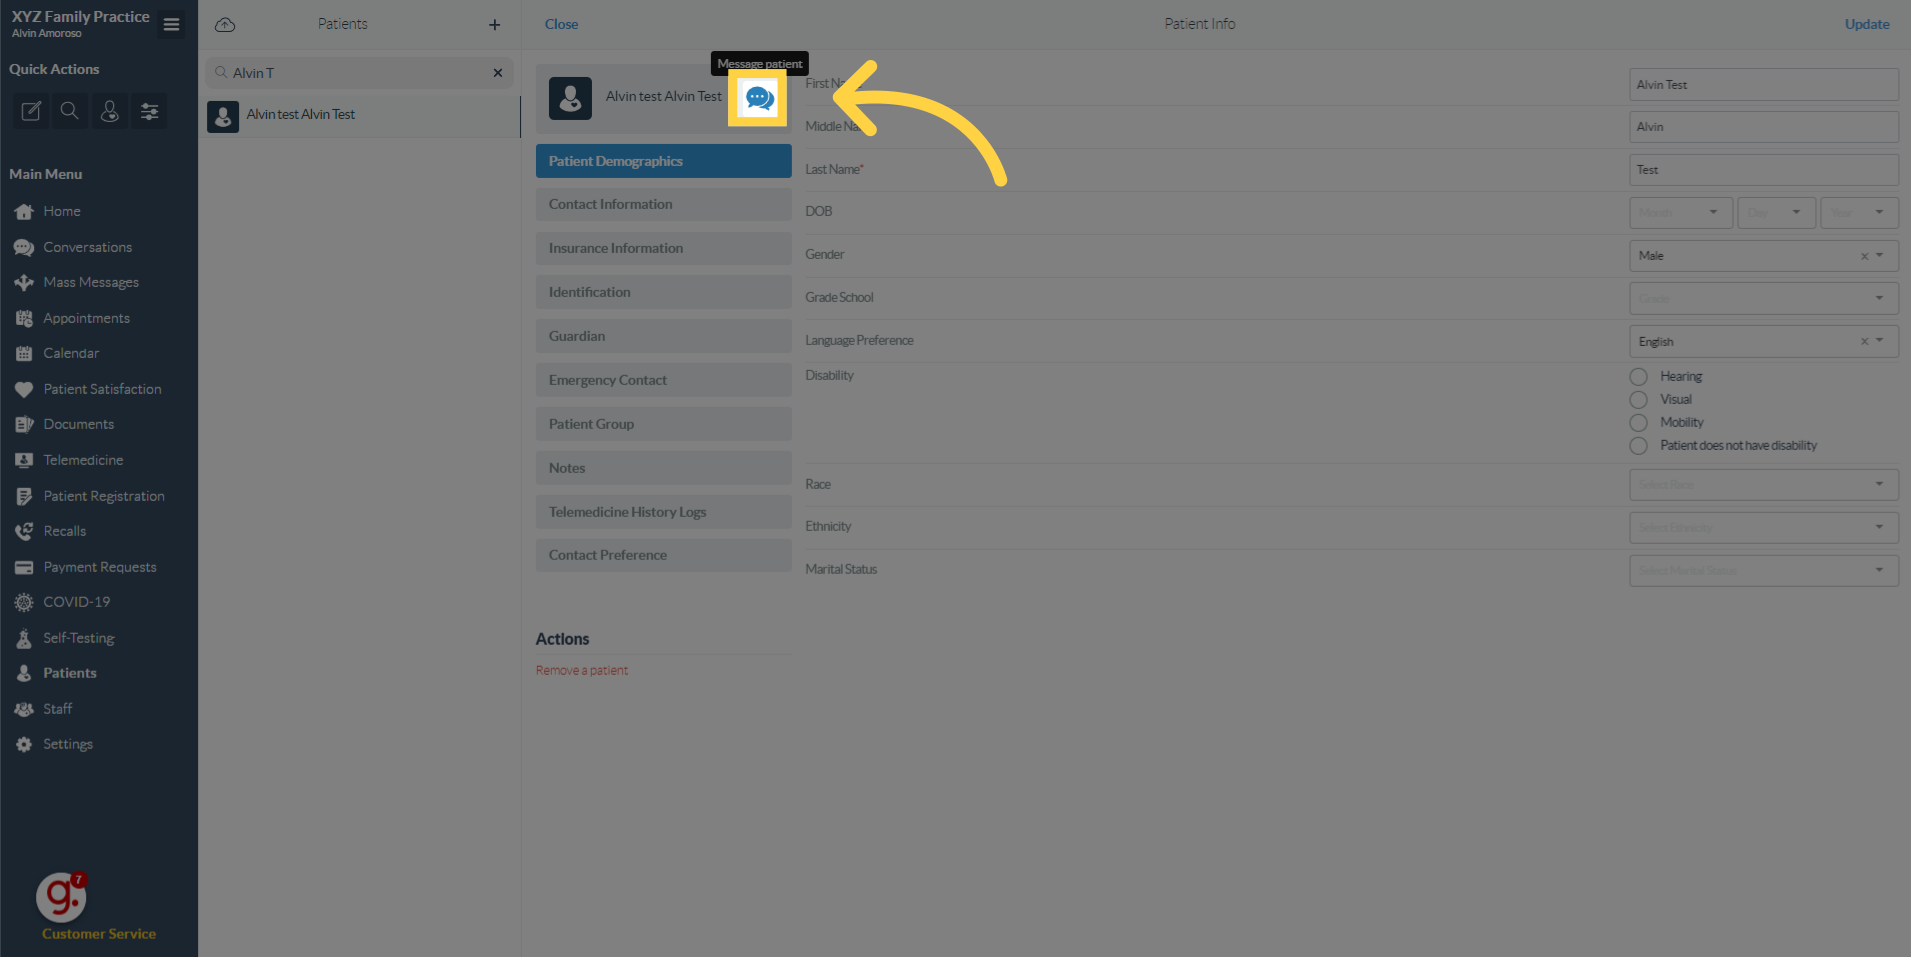
8. On the message dashboard, click on this Icon.
On the message dashboard, click on this Icon.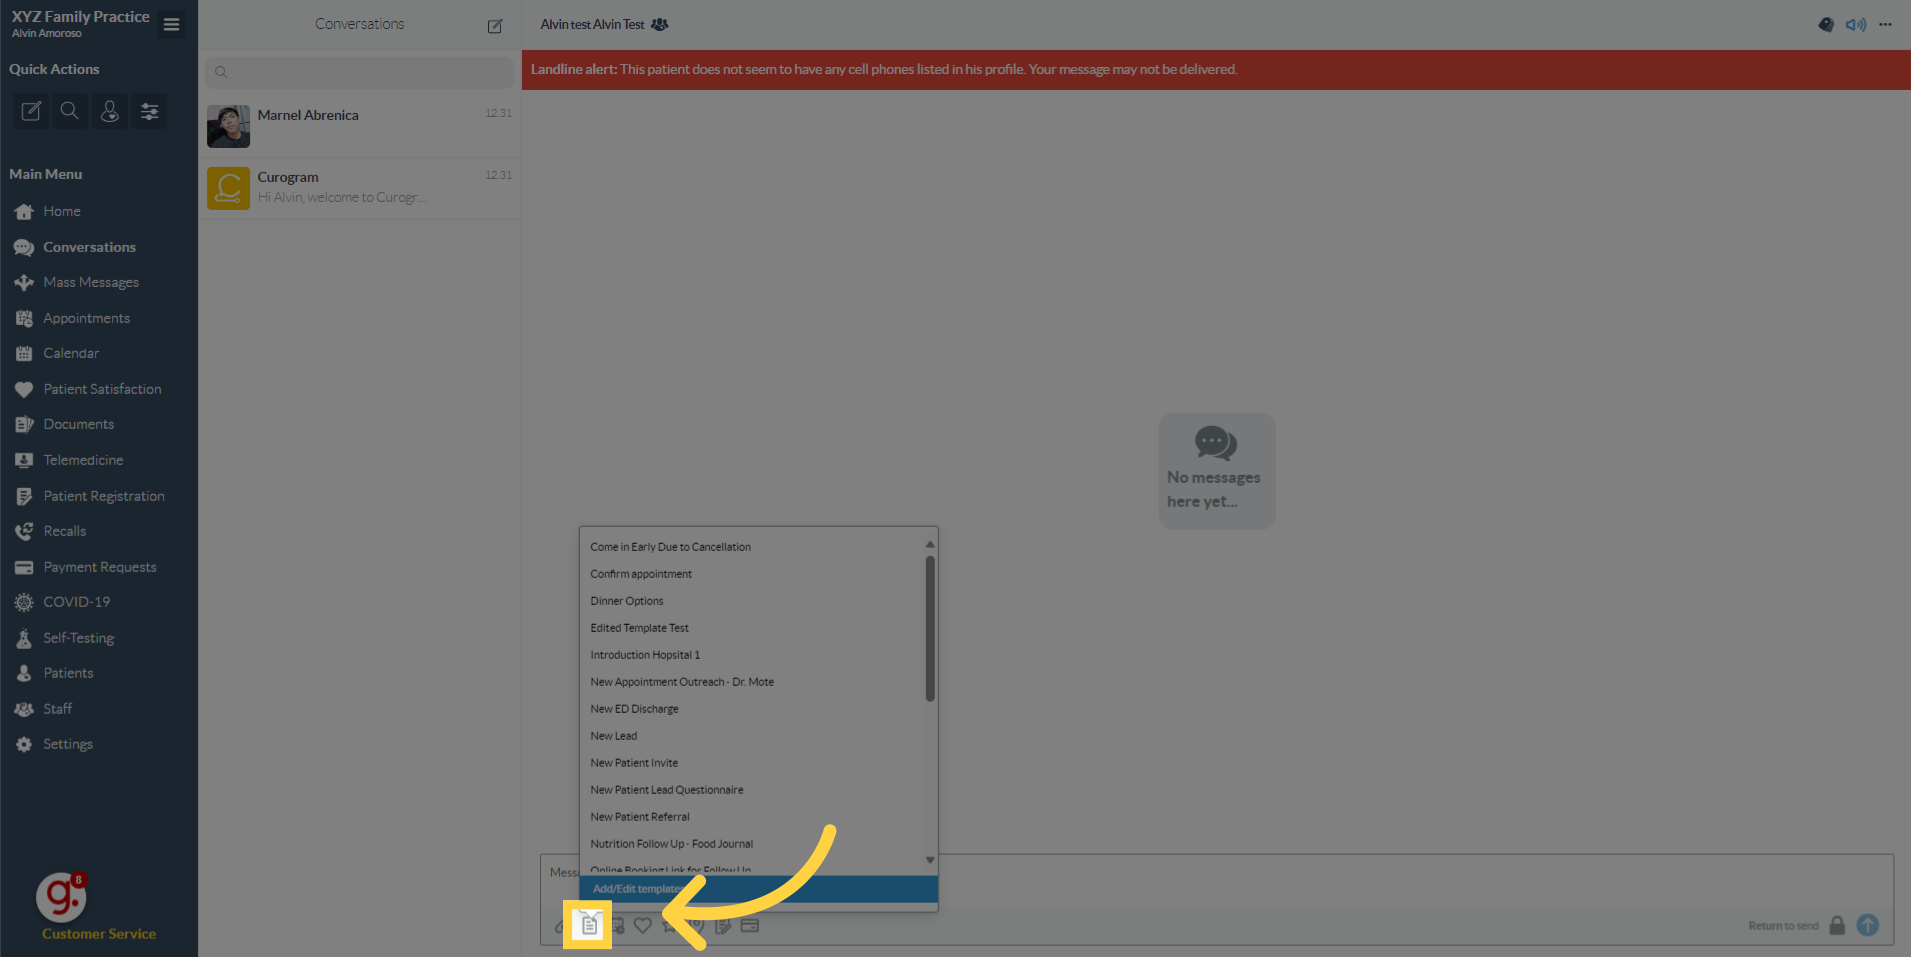
9. Click "Add/Edit templates"
A pop-up will be displayed. Click on the "Add/Edit templates" option.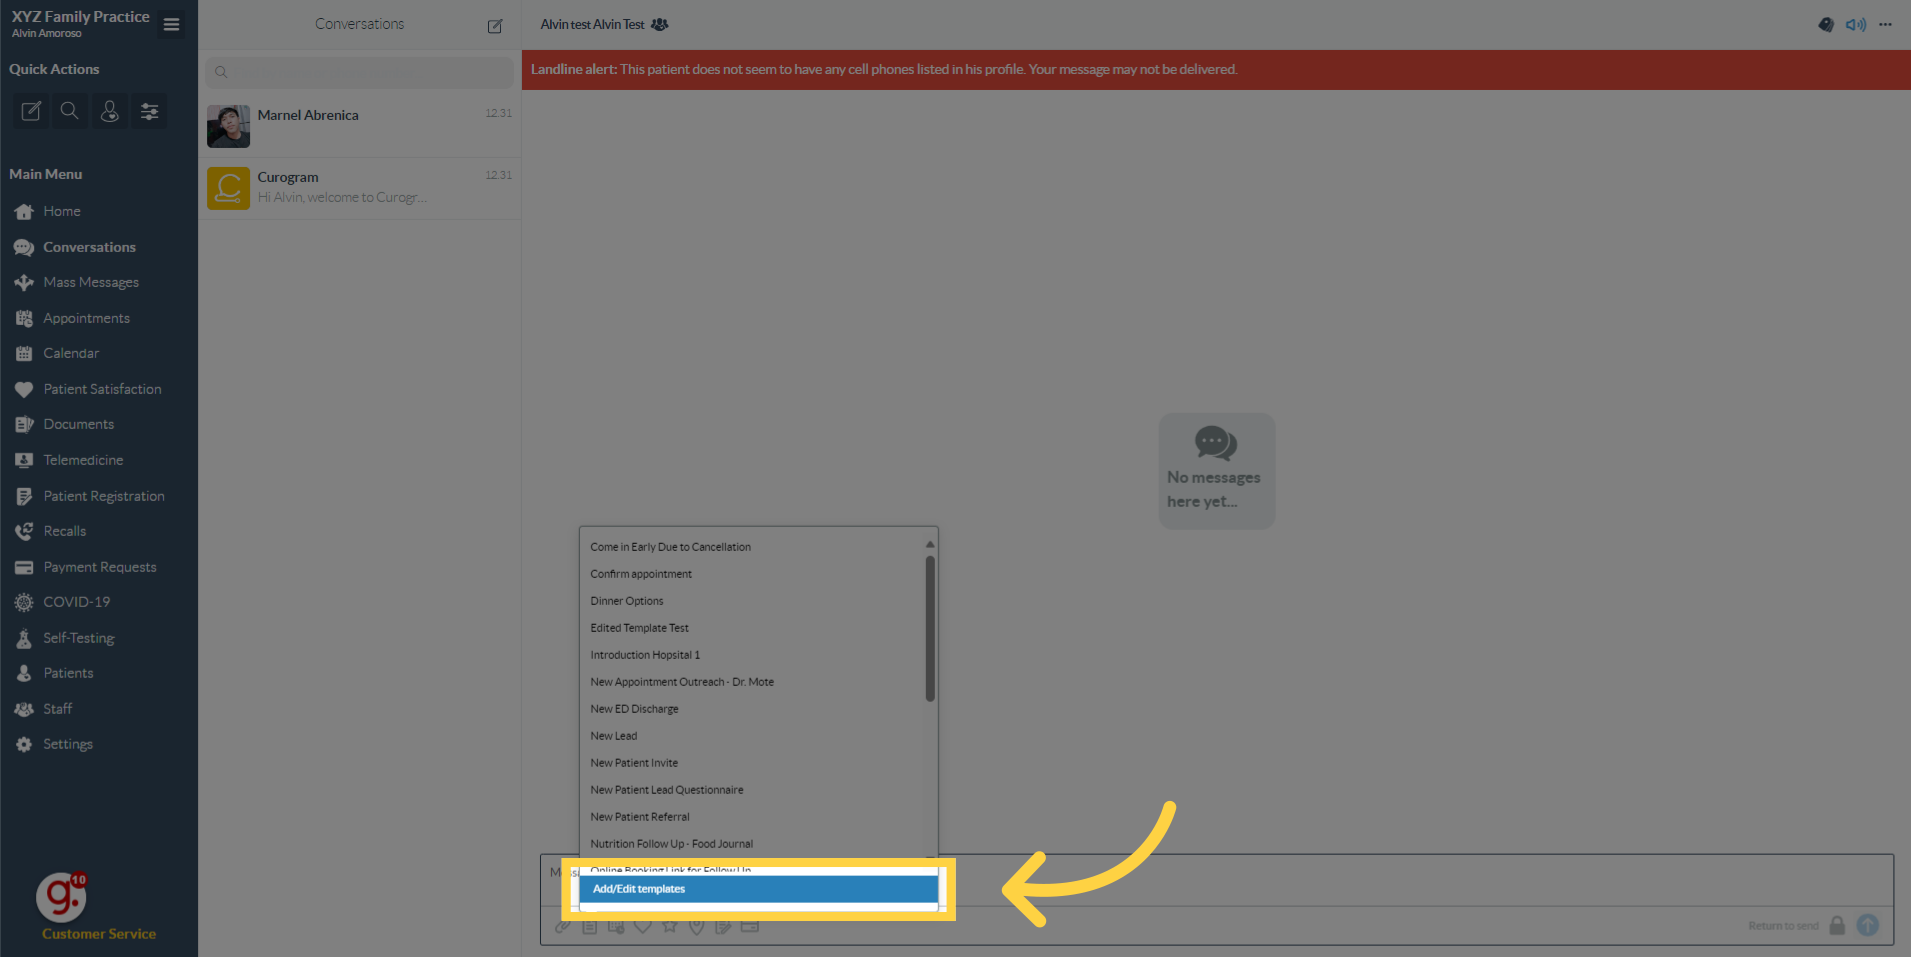
10. Click the "New" button at the upper right corner.
Click on the "New" button located at the upper right corner.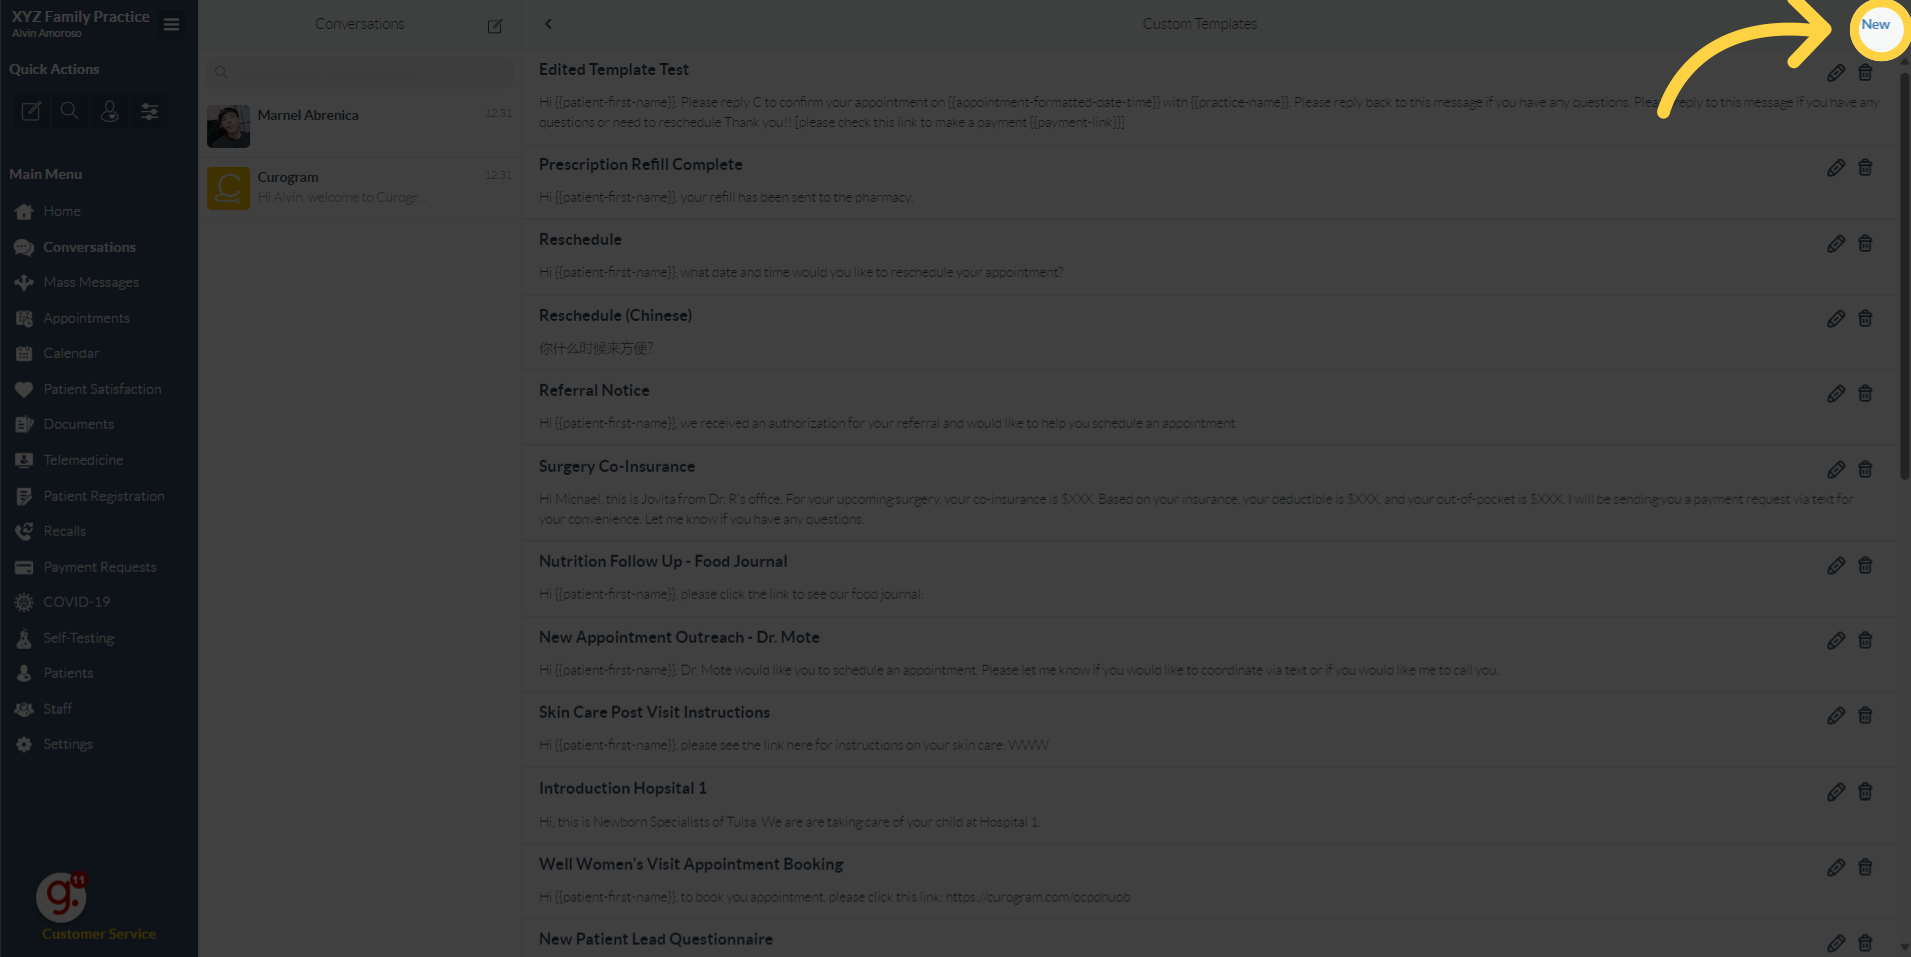
11. Enter the Template Name.
Type the Template Name. This will be the display name for the new message template.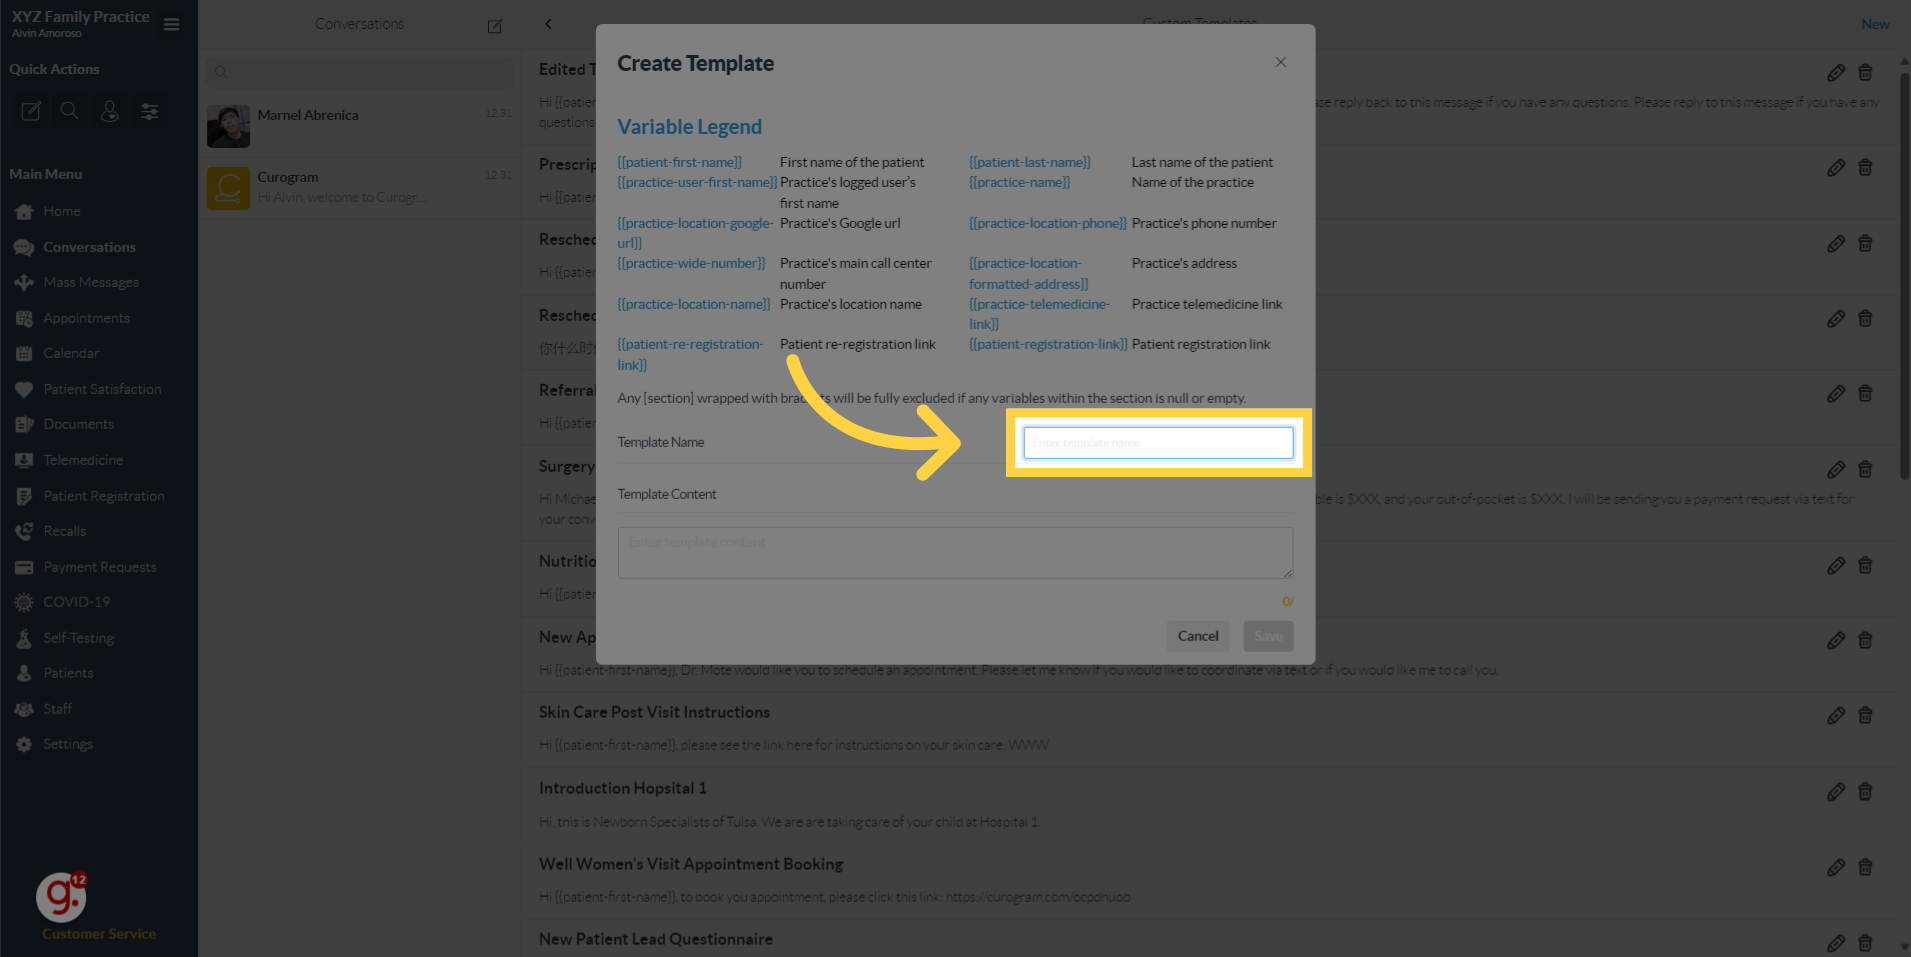
12. Enter the full message template on the template content area.
Enter the full message template on the template content area.
13. Click "Save"
Once completely filled-out. Click on the "Save" button.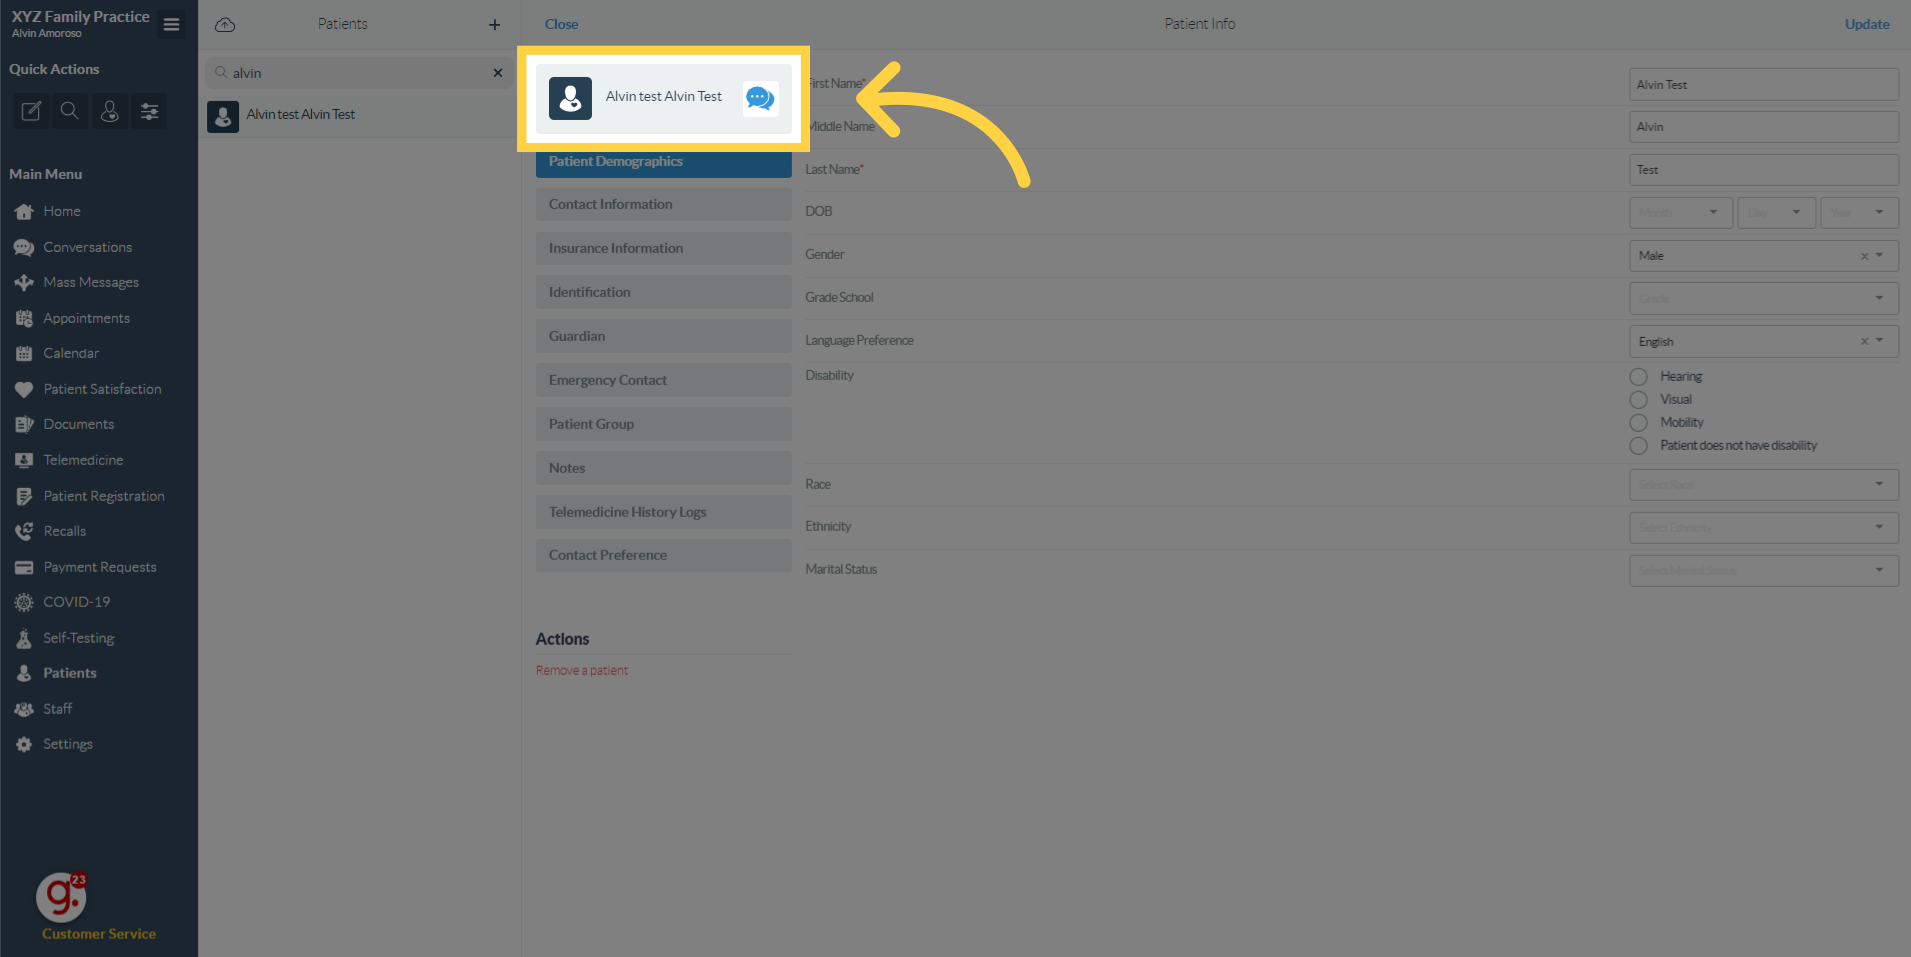
14. Go back to the Conversations tab.
Go back to the Conversations tab.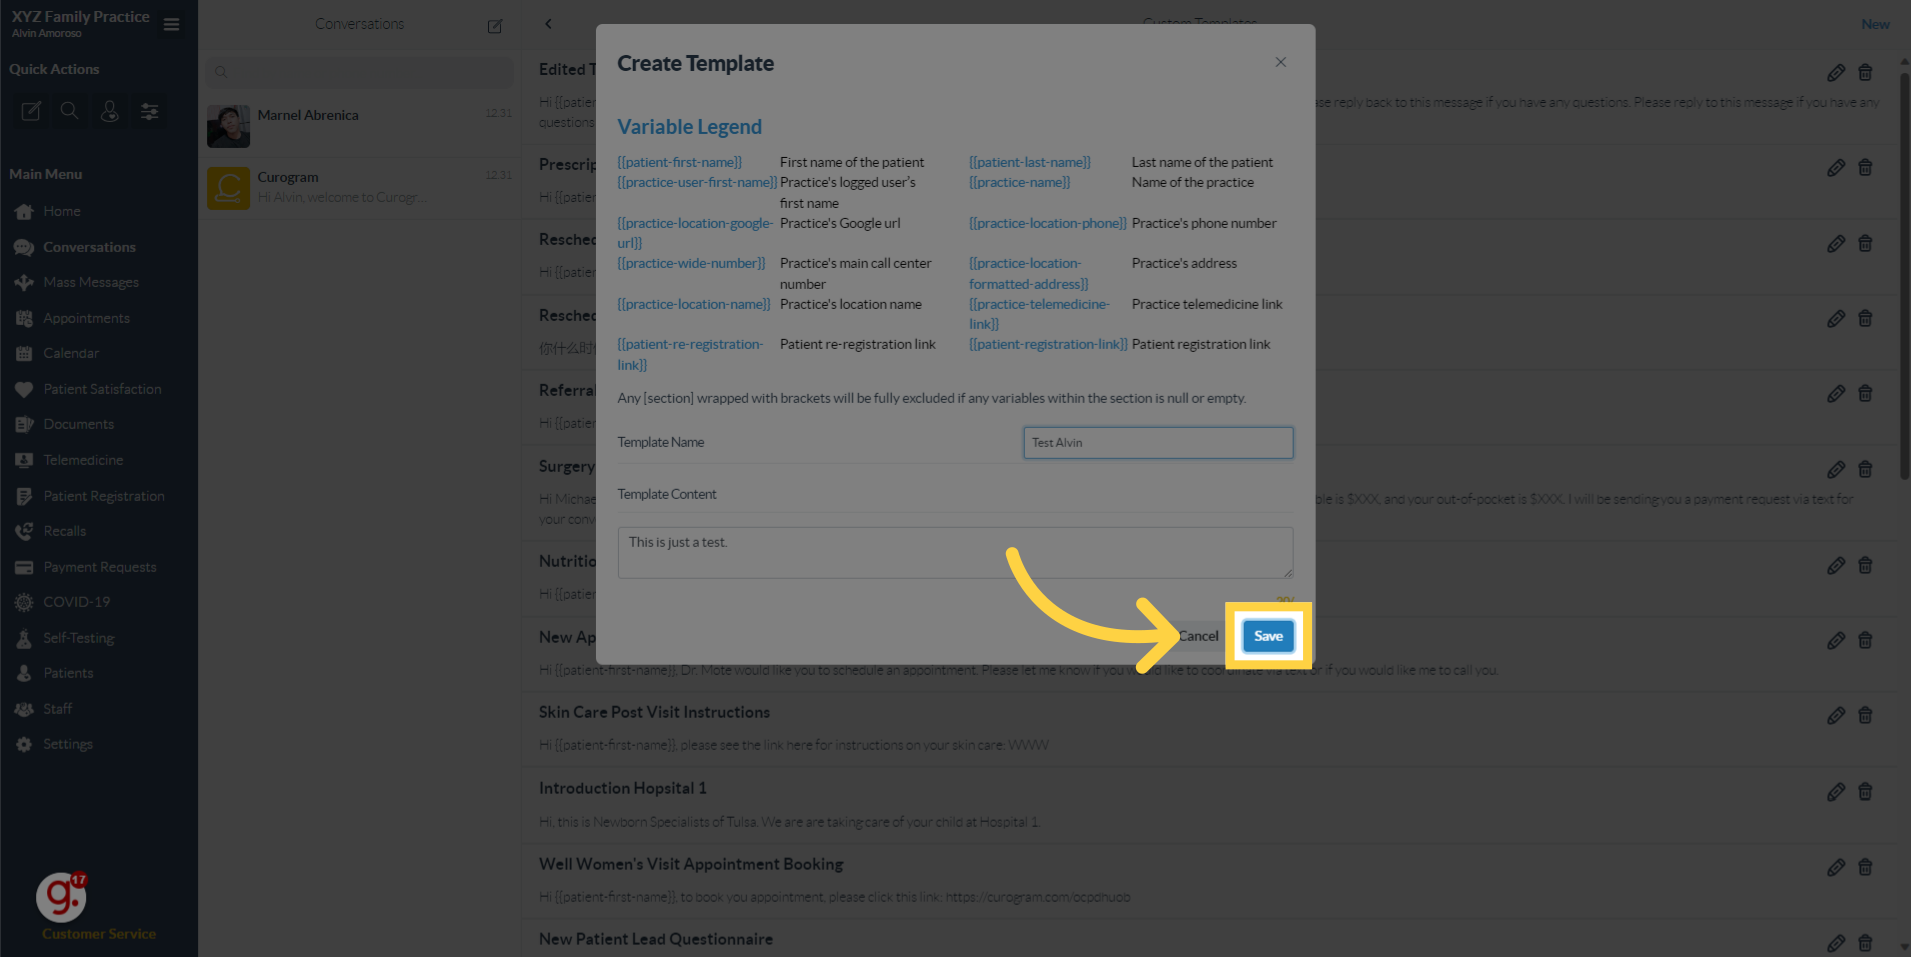
15. Once you are with your patient's Conversation tab. Click on this icon again.
Once you are with your patient's Conversation tab. Click on this icon again.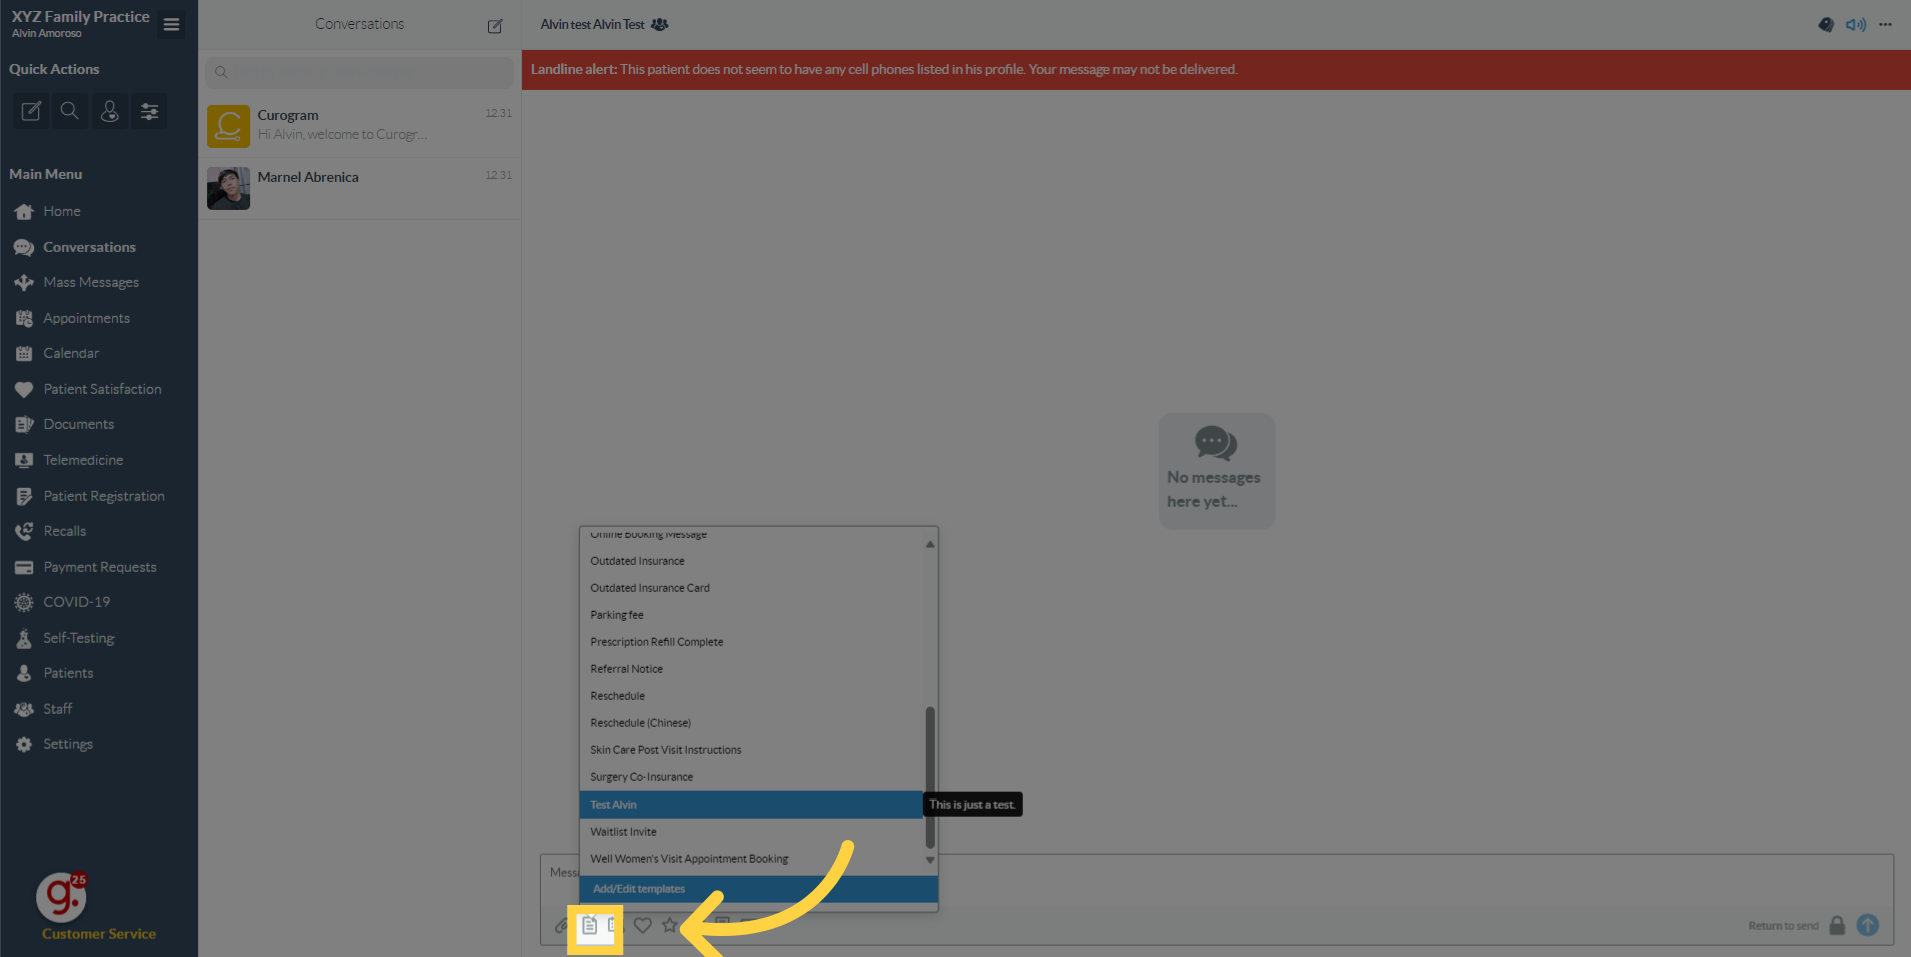
16. A pop-up will appear. From there, you can select which template you want to use for sending the message.
A pop-up will appear and from there, you will see all your message templates, including that one you recently created. You may now start selecting which message template you will use for your message.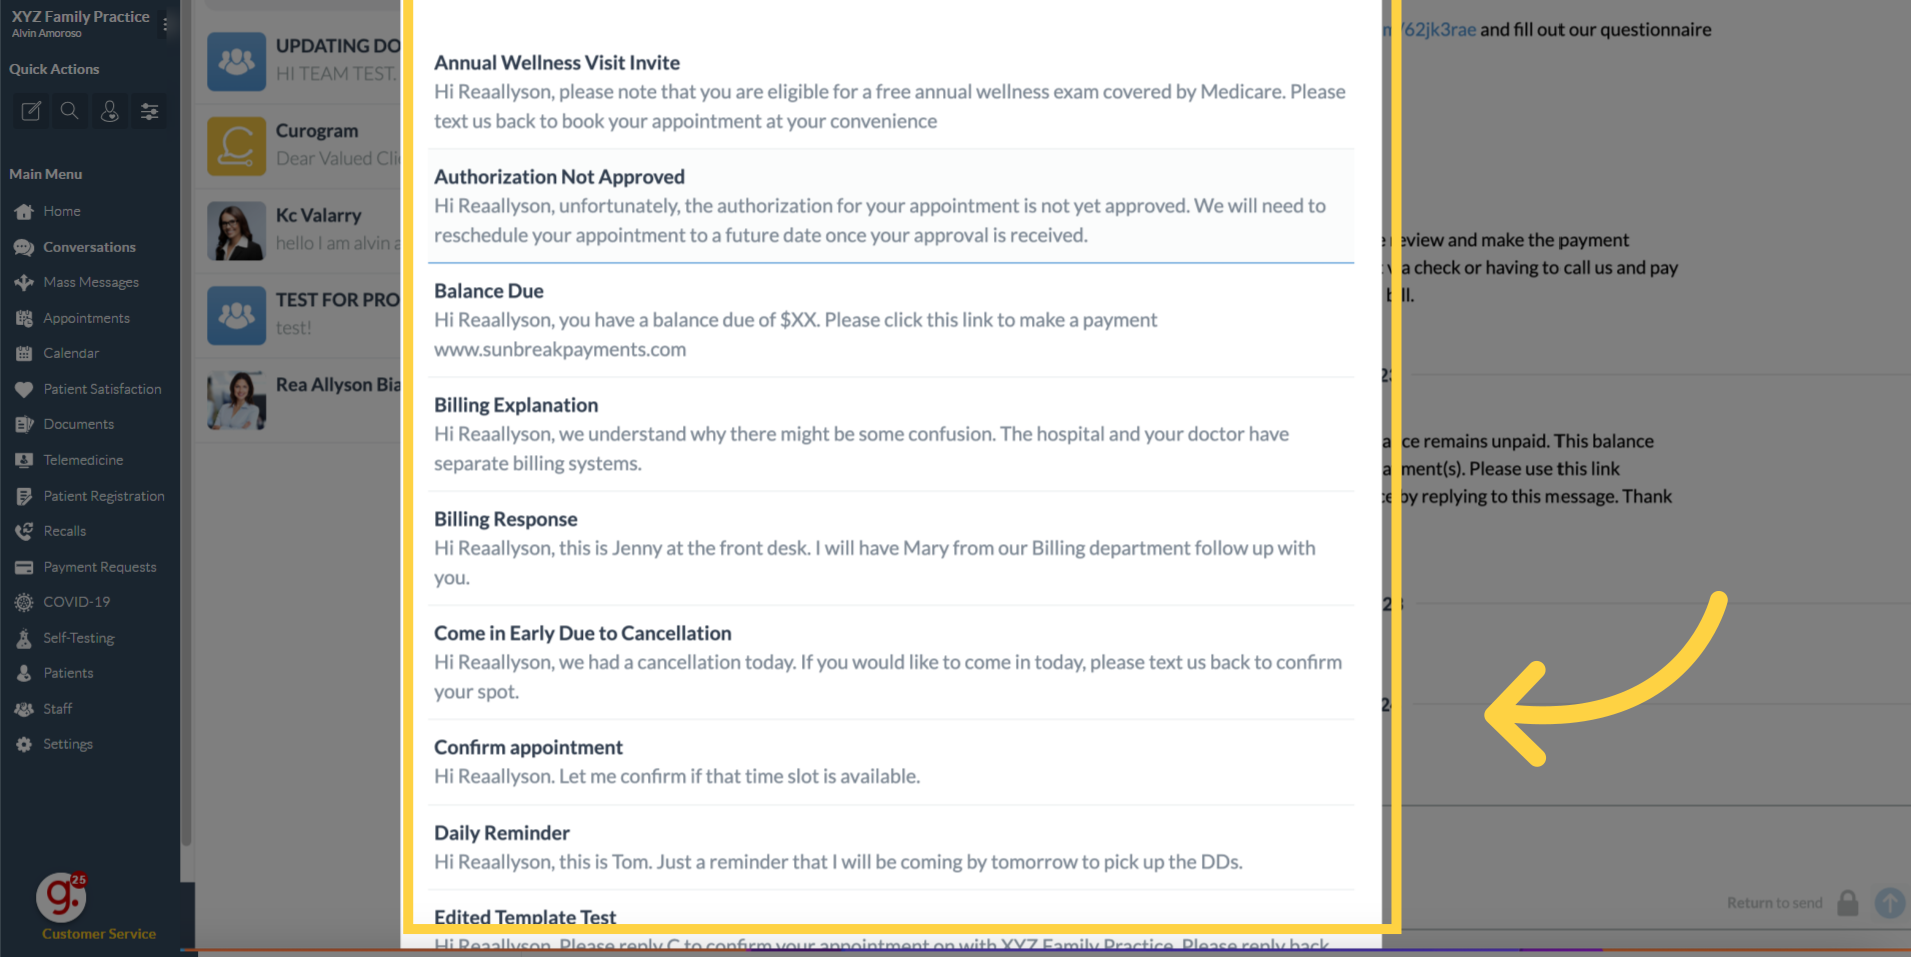
That's it. You've successfully create a custom message template.Updated as of September 2024