
In this guide, we will walk you through the steps in generating survey report on the Curogram App Dashboard.
Go to app.curogram.com
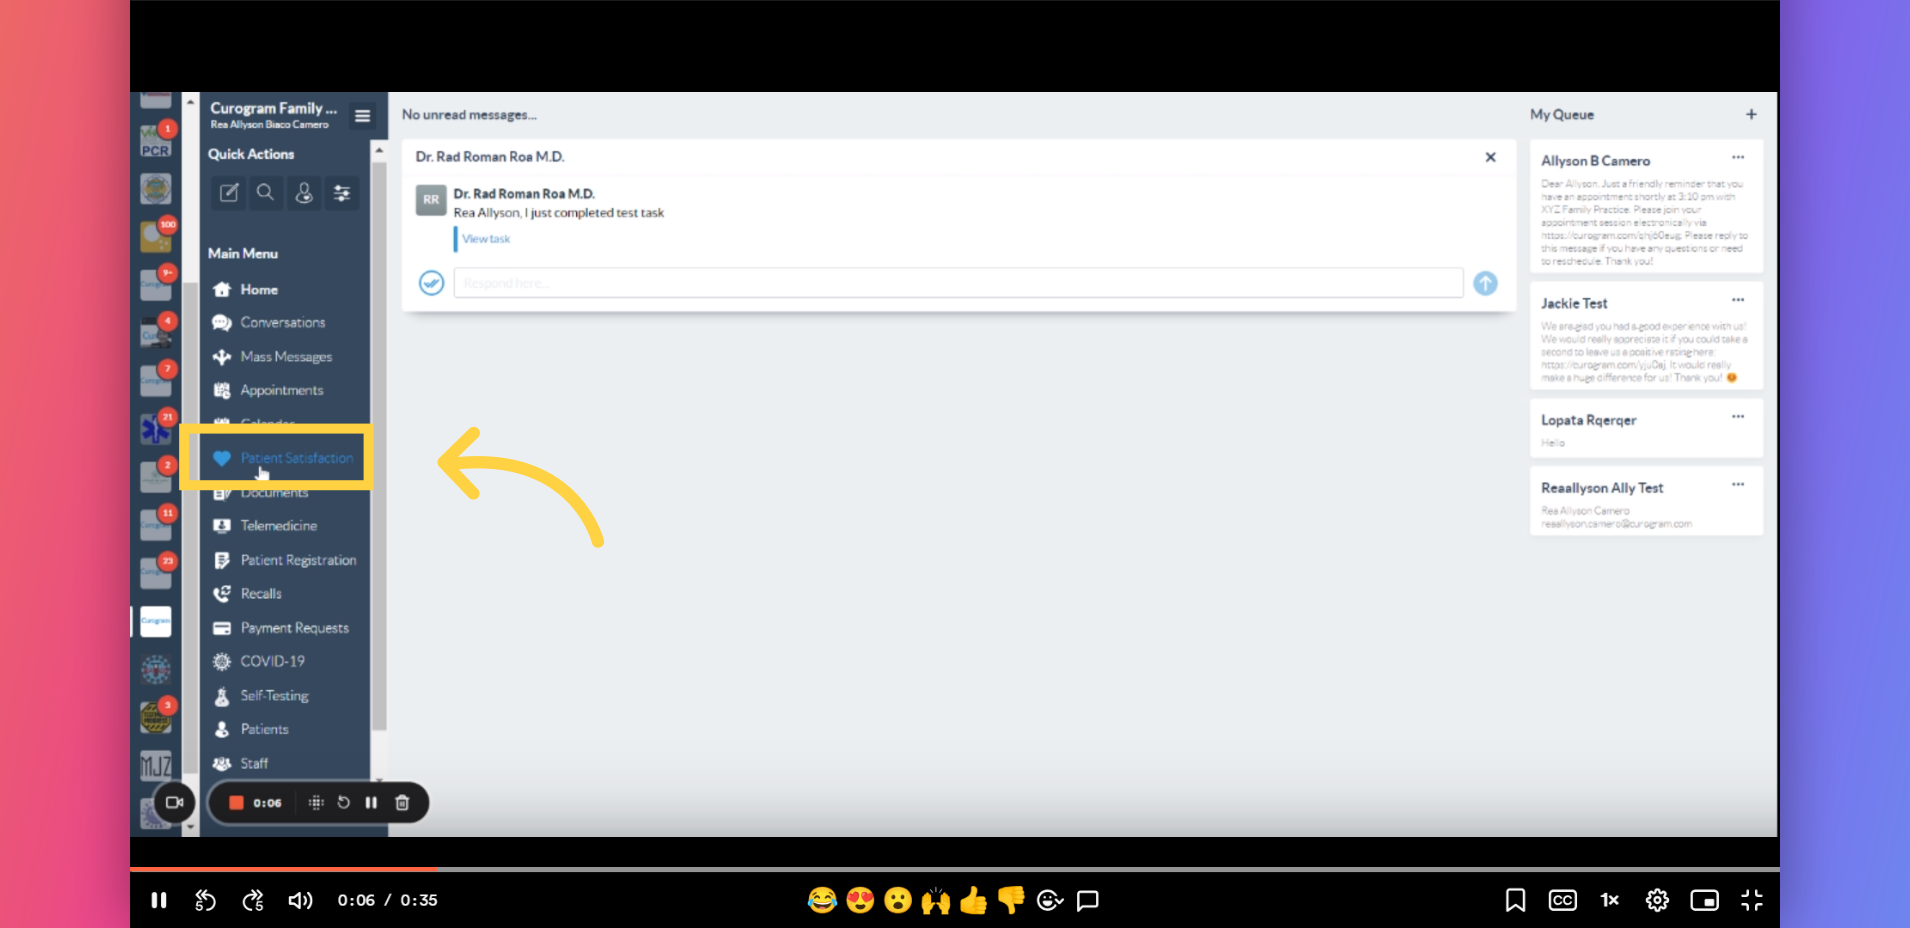
1. Click the Patient Satisfaction.
On the Curogram App dashboard, navigate to the Patient Satisfaction tab.
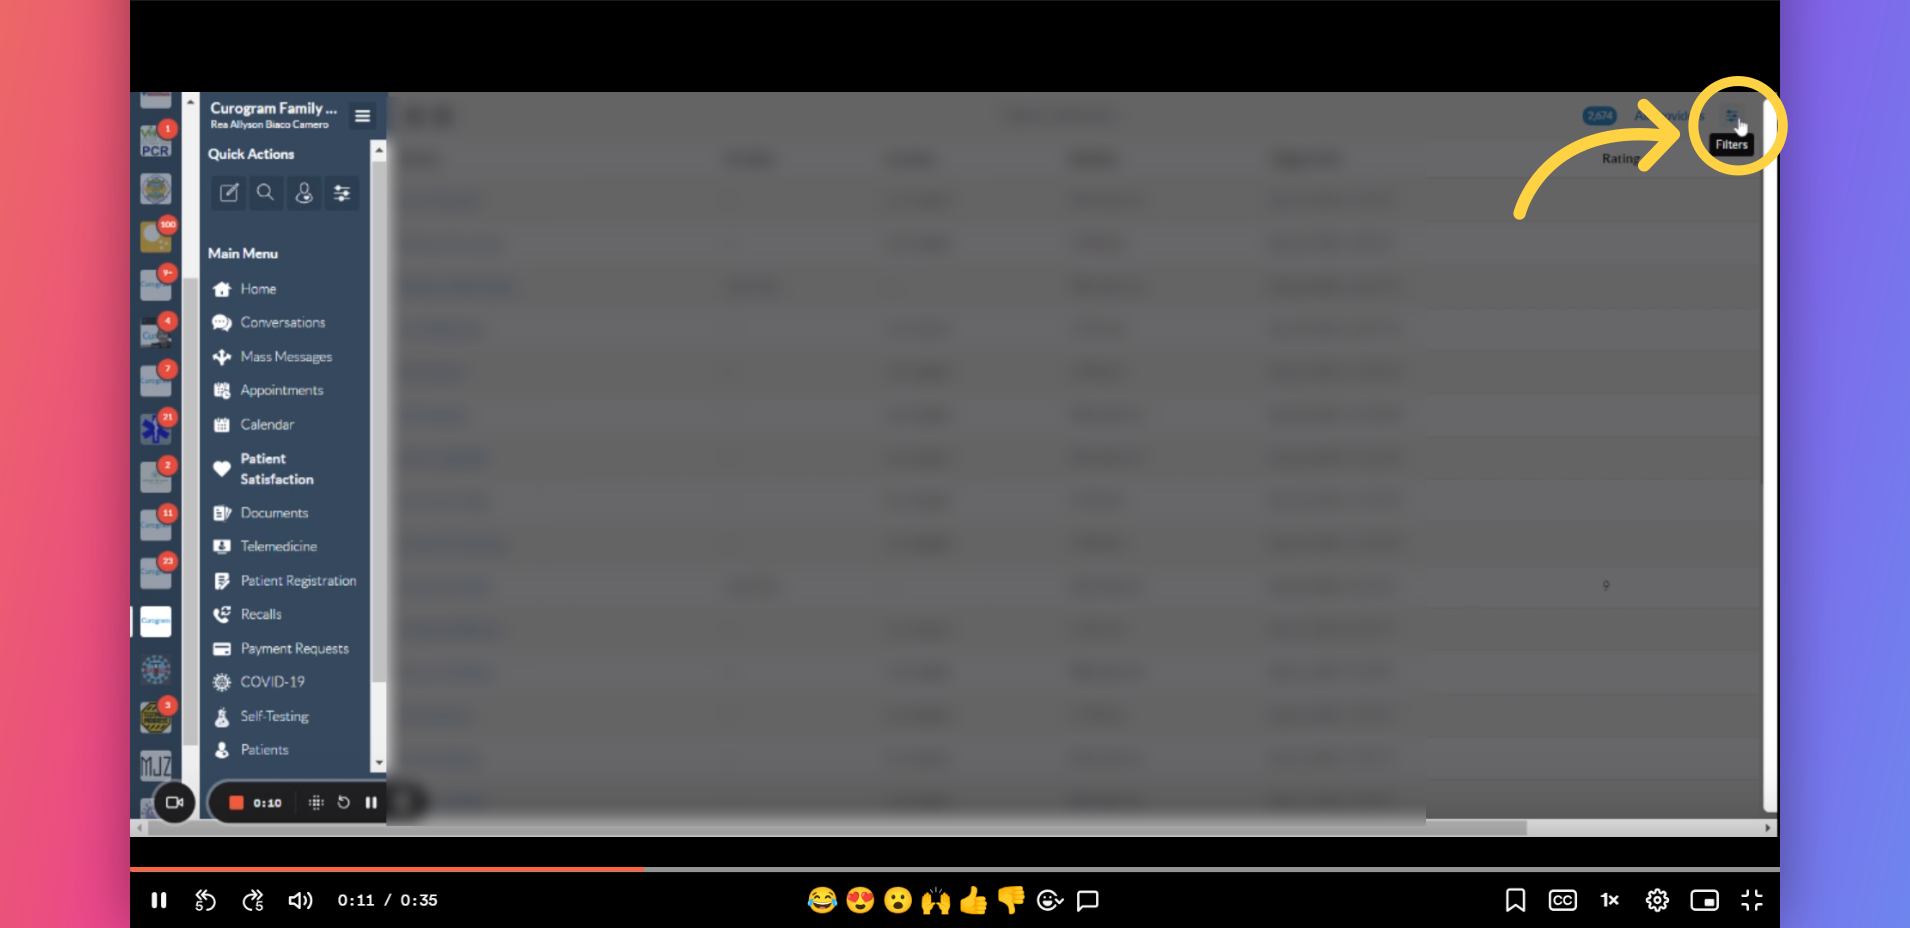
2. Click the filter icon.
Once redirected to the Patient Satisfaction tab, navigate to the filters button located at upper right corner button.
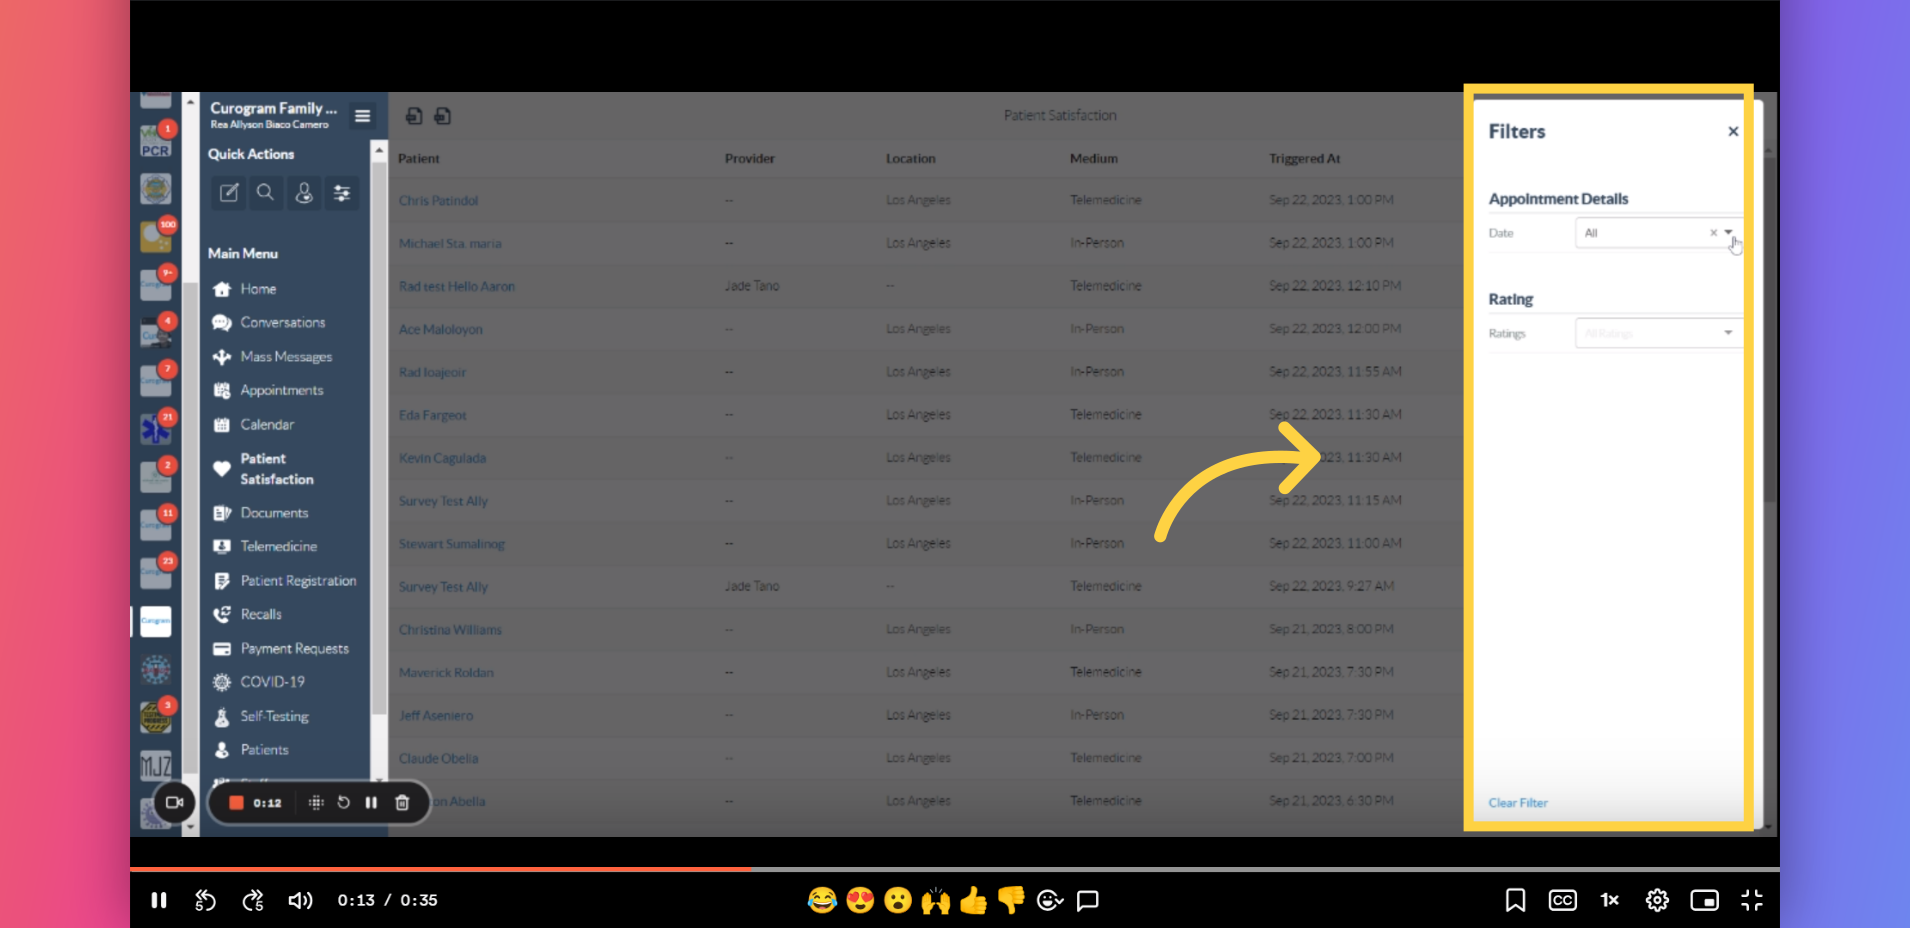
3. Appointment Range Filters
A pop-up dialogue will appear, displaying the appointment filters. Navigate to the ‘Date’ button, click on the ‘All’ button, and select ‘Custom’.
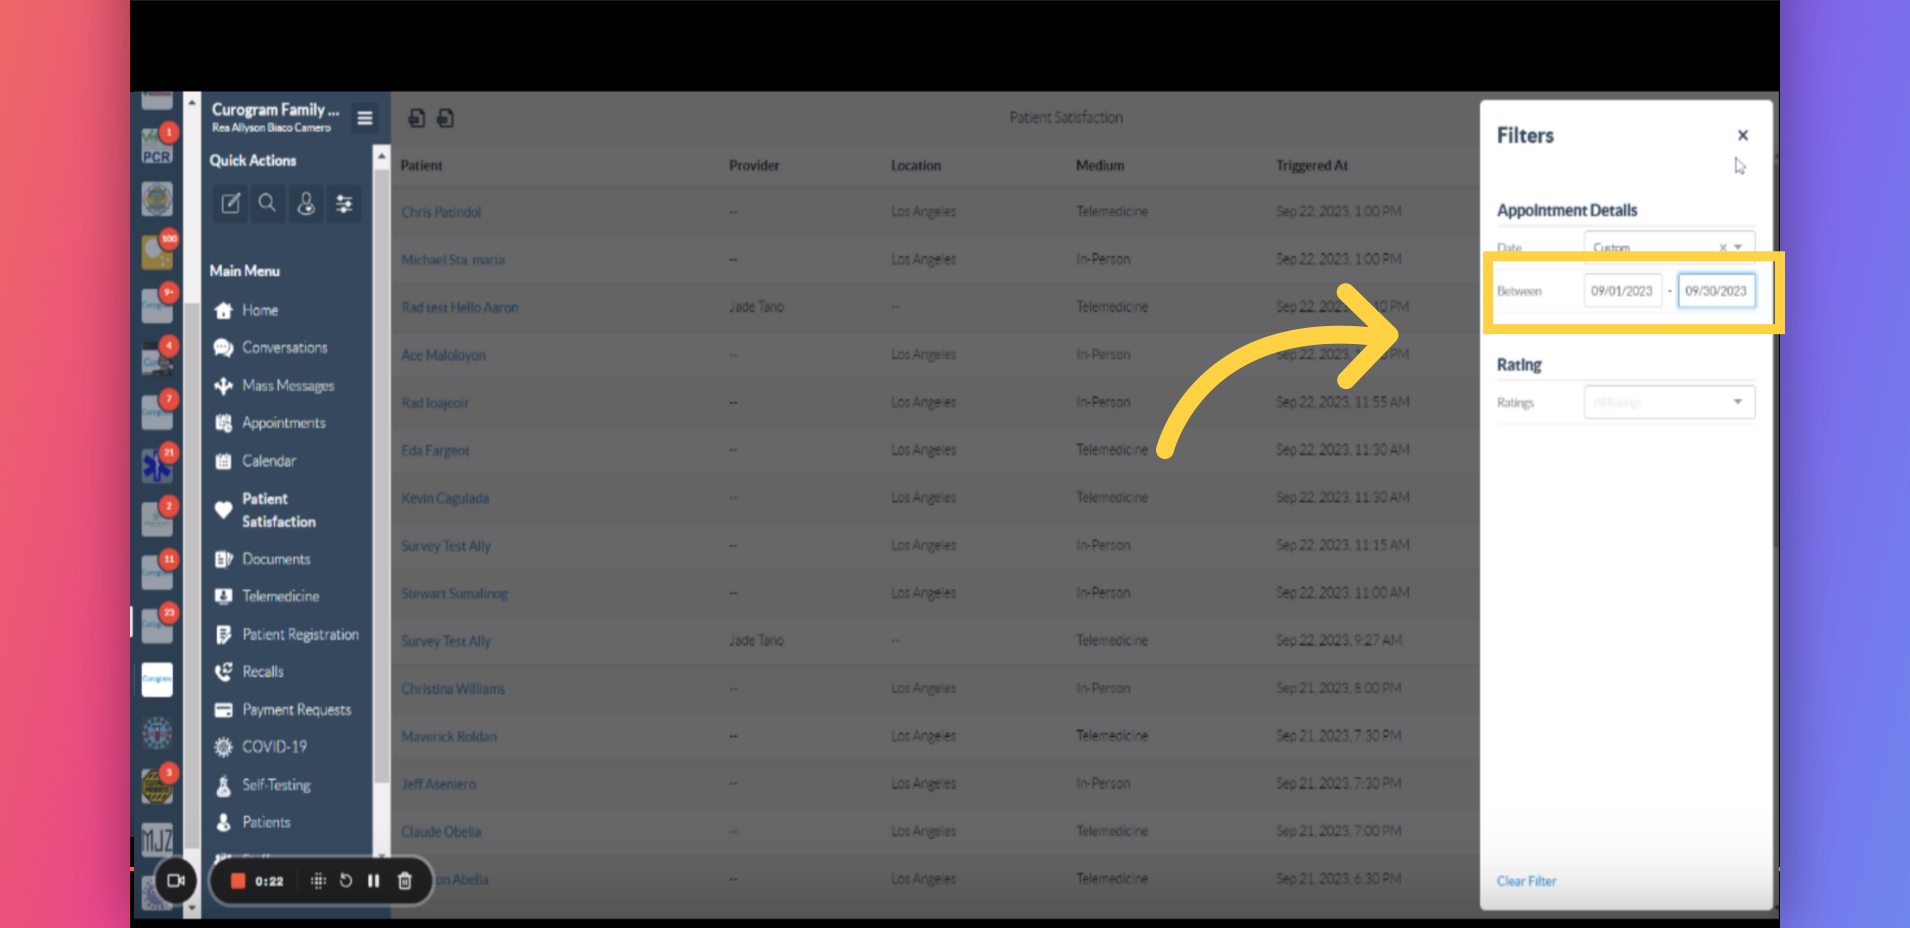
4. Input the infos.
Select the start date on the first box and the end date on the second box on the appointment range you wish to generate.
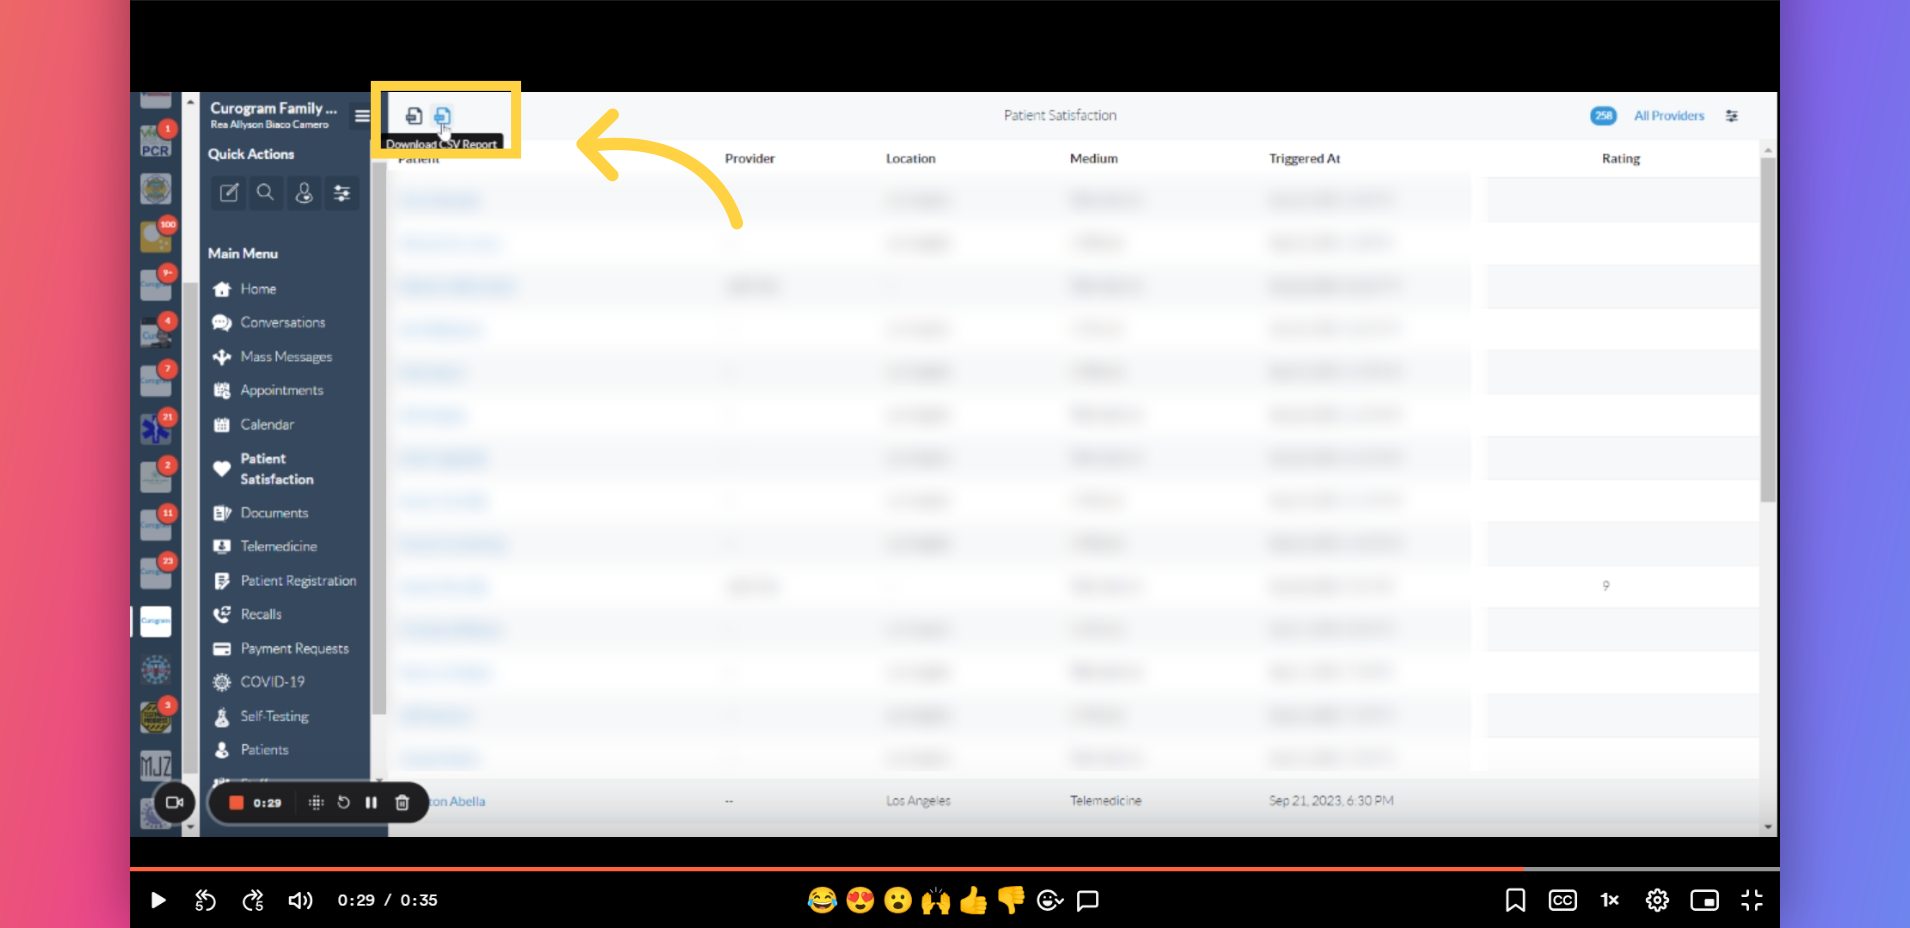
5. Click either of the icon.
Once the appointment range has been choosen, choose between the two icon as shown below either if you want to generate it as a pdf or as a sheets (csv file). Your preferred download file format will be downloaded.
That's it. You've successfully generated survey reports on your preferred appointment range.